Prep time: 1 day 15 mins Cook time: 0 min Rest time: 1-2 hrs Total time: 1 day 2 hrs 15 mins
Macronutrients per batch: 27g fat | 27g protein | 196g carbohydrates
Makes: 6 cups
Make it Carnivore, Sugar-Free, Keto, Zero Carb: Do not include the mangoes or honey (the result will taste identical to milk)
![]()
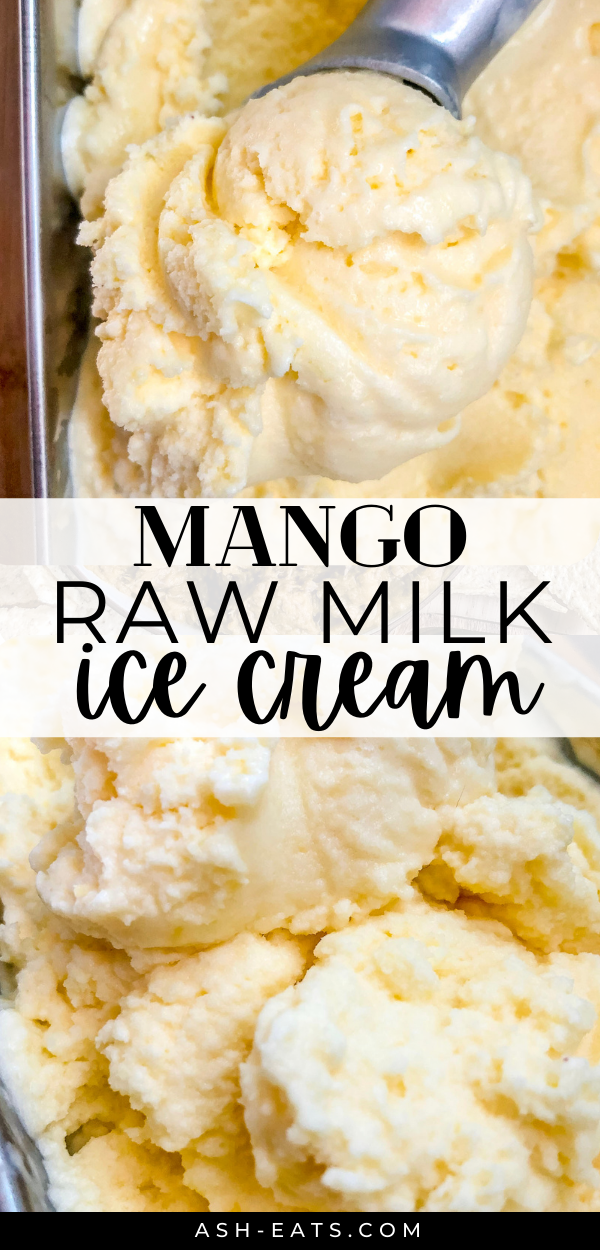
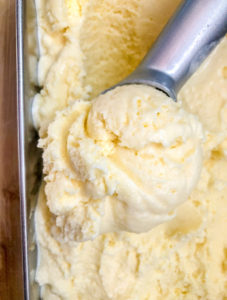
With just four simple whole ingredients, this mango raw milk ice cream is nutrient-dense, decadent, and naturally sweetened with honey.

What you need to make Mango Raw Milk Ice Cream
Ingredients:
- Raw milk (ASHLEY20 for 20% off)
- Raw honey (ASHLEYR for 10% off); Note: I recommend local or Manuka
- Frozen mangoes
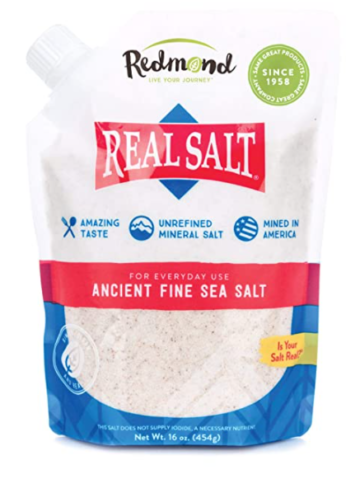
- Sea salt (ASHLEYR for 15% off)
Equipment:
- Ice cream maker
- Storage container for ice cream (this is the one I used; here is another idea)
- Blender
Substitutions
Pasteurized milk/cream will work in place of raw milk/cream.
You can substitute honey for dates (1/2 cup honey = 1 cup dates + make sure they’re soaked), although I do highly recommend honey with this recipe. The flavor profile goes great with the strawberries. Any type of date would work.


How to make Mango Raw Milk Ice Cream
Prep work: 24 hours prior.
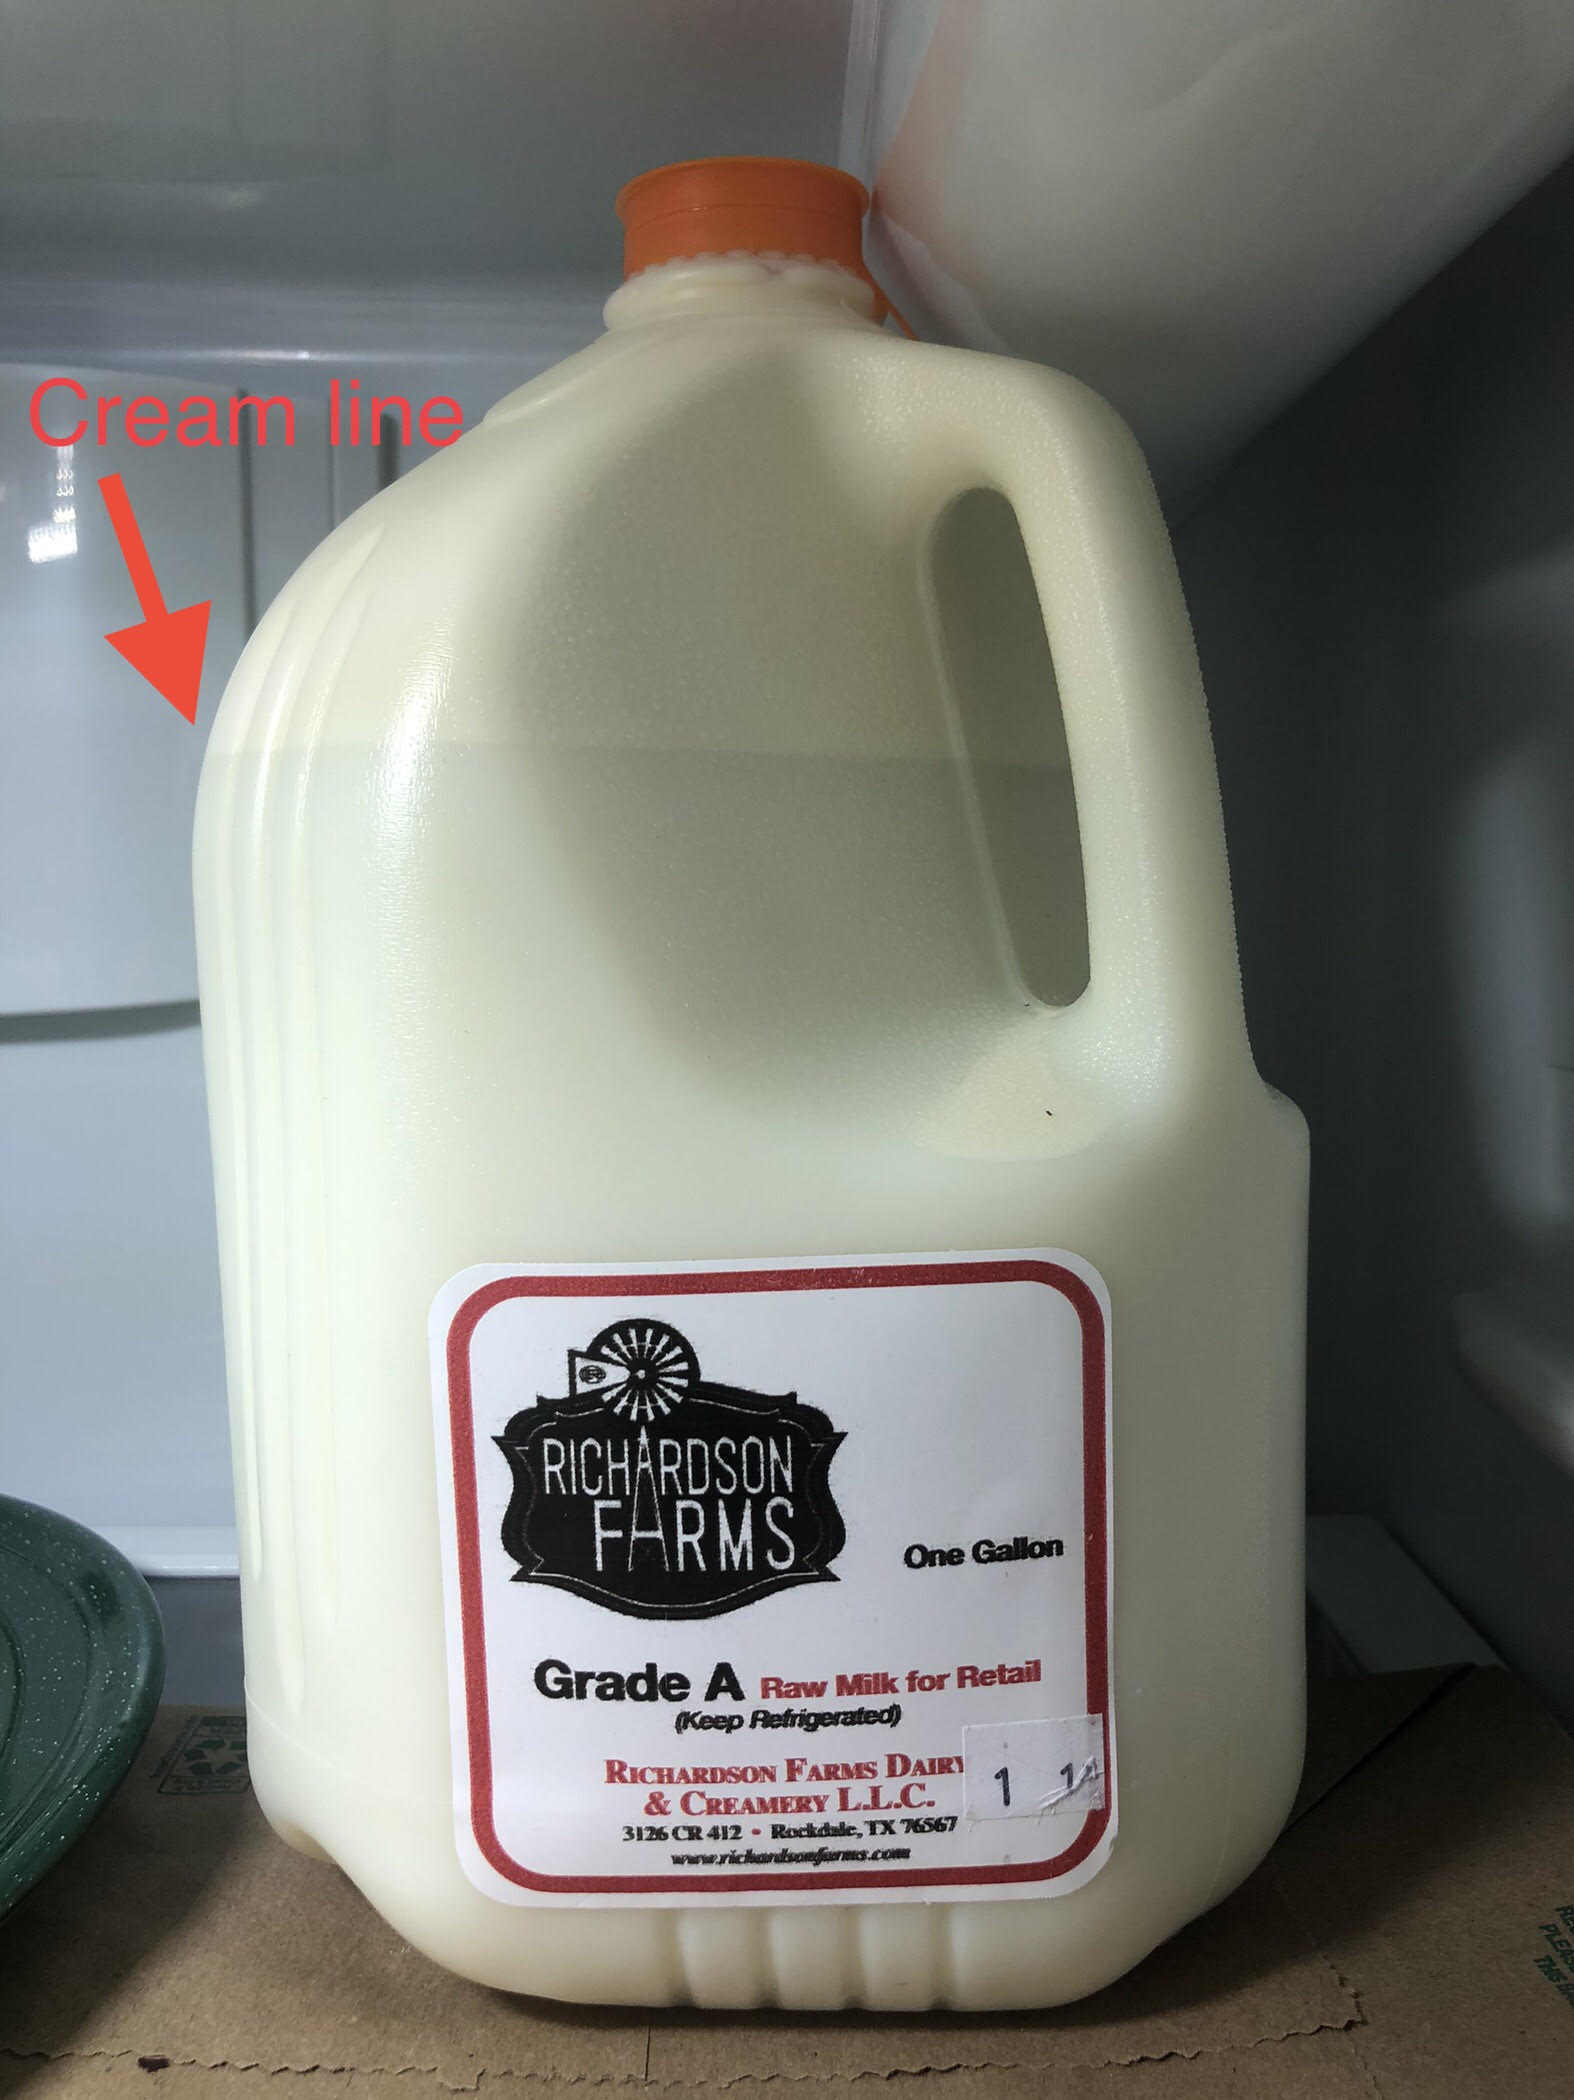
*To prep the raw milk (ASHLEY20 for 20% off), leave it sitting (preferably a fresh, unopened container of raw milk) in your fridge for 24 hours prior to making the ice cream. The goal is to get the cream to accumulate at the top of the container, so when you pour out your 4 cups, it’s mostly cream. There is a photo of this in the “Tips to make the best…” section above. And don’t fret – some cream stays behind, so this method won’t ruin the taste or texture of the remaining milk.
Don’t forget to freeze your ice cream maker bowl 24 hours in advance as well.


Make the ice cream batter.
Place the frozen mangoes, raw milk (remember, don’t shake it!), raw honey (ASHLEYR for 10% off), and sea salt (ASHLEYR for 15% off) into your blender.
Blend the batter until it’s mostly smooth. I prefer this ice cream flavor to be smooth, but leaving chunks is okay if you prefer them. They end up as chunks in the ice cream!


Make the ice cream.
Remove your ice cream maker bowl from your freezer, set up your ice cream maker, and turn it on so it begins to churn.
Pour the ice cream batter into the machine. It should fill up to the brim. I placed about 95% of my batter in (it filled almost to the top), and I let it churn and thicken a bit before adding the rest. You may get a little overflow. This is fine.
Let the ice cream maker run for 20 minutes (or longer if you prefer your ice cream thicker).
Eat your ice cream!
Note: If you eat the ice cream right after it’s finished churning, it will have a texture of soft serve. My husband loved it like this! If you store it in the freezer for 1-2 hours, it has a wonderful creamy texture (similar to standard ice cream). If you store it for longer, you may have to thaw it out a bit before scooping it.
Store it in the freezer as you would regular ice cream (this is the container I used; here is another idea).
Serving hack: after you scoop some ice cream into a bowl to eat, salt the top with a generous amount of sea salt. My husband pioneered this and it was a game-changer. It warms the flavor and is so delicious. Enjoy!


Tips to make the best Mango Raw Milk Ice Cream
- To prep the raw milk, leave it sitting (preferably a fresh, unopened container of raw milk) in your fridge for 24 hours prior to making the ice cream. The goal is to get the cream to accumulate at the top of the container, so when you pour out your 4 cups, it’s mostly cream. There is a photo to demonstrate this below. And don’t fret – some cream stays behind, so this method won’t ruin the taste or texture of the remaining milk.
- Don’t forget to freeze your ice cream maker bowl 24 hours in advance.
- When you add the ice cream batter to the ice cream machine, it should fill up to the brim. I placed about 95% of my batter in (it filled almost to the top), and I let it churn and thicken a bit before adding the rest. You may get a little overflow. This is fine.
- If you eat the ice cream right after it’s finished churning, it will have a texture of soft serve. My husband loved it like this! If you store it in the freezer for 1-2 hours, it has a wonderful creamy texture (similar to standard ice cream). If you store it for longer, you may have to thaw it out a bit before scooping it.
- Serving hack: after you scoop some ice cream into a bowl to eat, salt the top with a generous amount of sea salt. My husband pioneered this and it was a game-changer. It warms the flavor and is so delicious.


A few of my other favorite sweet eats:
Jumbo Chocolate Cups with Salted Chunky Date Filling
Flourless Lemon Blueberry Muffins
Mango Raw Milk Ice Cream
Mango Raw Milk Ice Cream
Ingredients
- 3 cups raw milk*
- 4 cups frozen mangoes
- 1/4 cup raw honey (local or Manuka - ASHLEYR for 10% off)
- 1/4 tsp sea salt (ASHLEYR for 15% off)
Instructions
- If you’re interested solely in the recipe, skip this bullet point and keep on reading. For those interested in sourcing nutrient-dense food, low-toxic household products, and discounts on brands that may support your AB journey, you may find value in my product guides. Head over to this page if you’d like to check them out. All are free (and always will be).
- Note: If you liked this ice cream recipe, click here for more animal-based ice cream recipes.
Prep work: 24 hours prior.
- *To prep the raw milk (ASHLEY20 for 20% off), leave it sitting (preferably a fresh, unopened container of raw milk) in your fridge for 24 hours prior to making the ice cream. The goal is to get the cream to accumulate at the top of the container, so when you pour out your 2 cups, it's mostly cream. There is a photo of this in the "Tips to make the best..." section above. And don't fret - some cream stays behind, so this method won't ruin the taste or texture of the remaining milk.
- Note: I created this recipe when I did not have access to raw cream. I do now though and prefer to use it for convenience. If you have access to raw cream and want to use that instead of following this method, I recommend a 3:1 milk to cream ratio (you can always adjust this up or down to your liking). Cream is very thick/dense. I've tried this recipe with 100% cream and could only eat very small portions at a time due to how heavy the result turned out to be.
- Don't forget to freeze your ice cream maker bowl 24 hours in advance as well.
Make the ice cream batter.
- Note: if you go through tons of salt in your household like we do, check out this salt purchasing hack that will save you money + make things more efficient. We started this last year, and I'm so happy we did!
- Blend the batter until it's mostly smooth. I prefer this ice cream flavor to be smooth, but leaving chunks is okay if you prefer them. They end up as chunks in the ice cream!
Make the ice cream.
- Remove your ice cream maker bowl from your freezer, set up your ice cream maker, and turn it on so it begins to churn.
- Pour the ice cream batter into the machine.
- Note: if you have too much batter, store the leftover batter in your fridge for a separate batch.
- Let the ice cream maker run for 20 minutes (or longer if you prefer your ice cream thicker).
Eat your ice cream!
- Note: If you eat the ice cream right after it's finished churning, it will have a texture of soft serve. My husband loved it like this! If you store it in the freezer for 1-2 hours, it has a wonderful creamy texture (similar to standard ice cream). If you store it for longer, you may have to thaw it out a bit before scooping it.
- Serving hack: after you scoop some ice cream into a bowl to eat, salt the top with a generous amount of sea salt. My husband pioneered this and it was a game-changer. It warms the flavor and is so delicious. Enjoy!
Notes
What I used for this recipe:
A few of my other favorite sweet eats:
Jumbo Chocolate Cups with Salted Chunky Date Filling
Flourless Lemon Blueberry Muffins
Note: This post contains Amazon affiliate links. This means that if you click on a link and make a purchase, I will receive a small commission at no cost to you. Thank you for supporting me!





Can you use heavy whipping cream?
Author
Yes!