Prep time: 30 min Cook time: 50 min Rest time: 10 mins Total time: 1 hr 30 min
Makes: 1 large sheet of fries
![]()
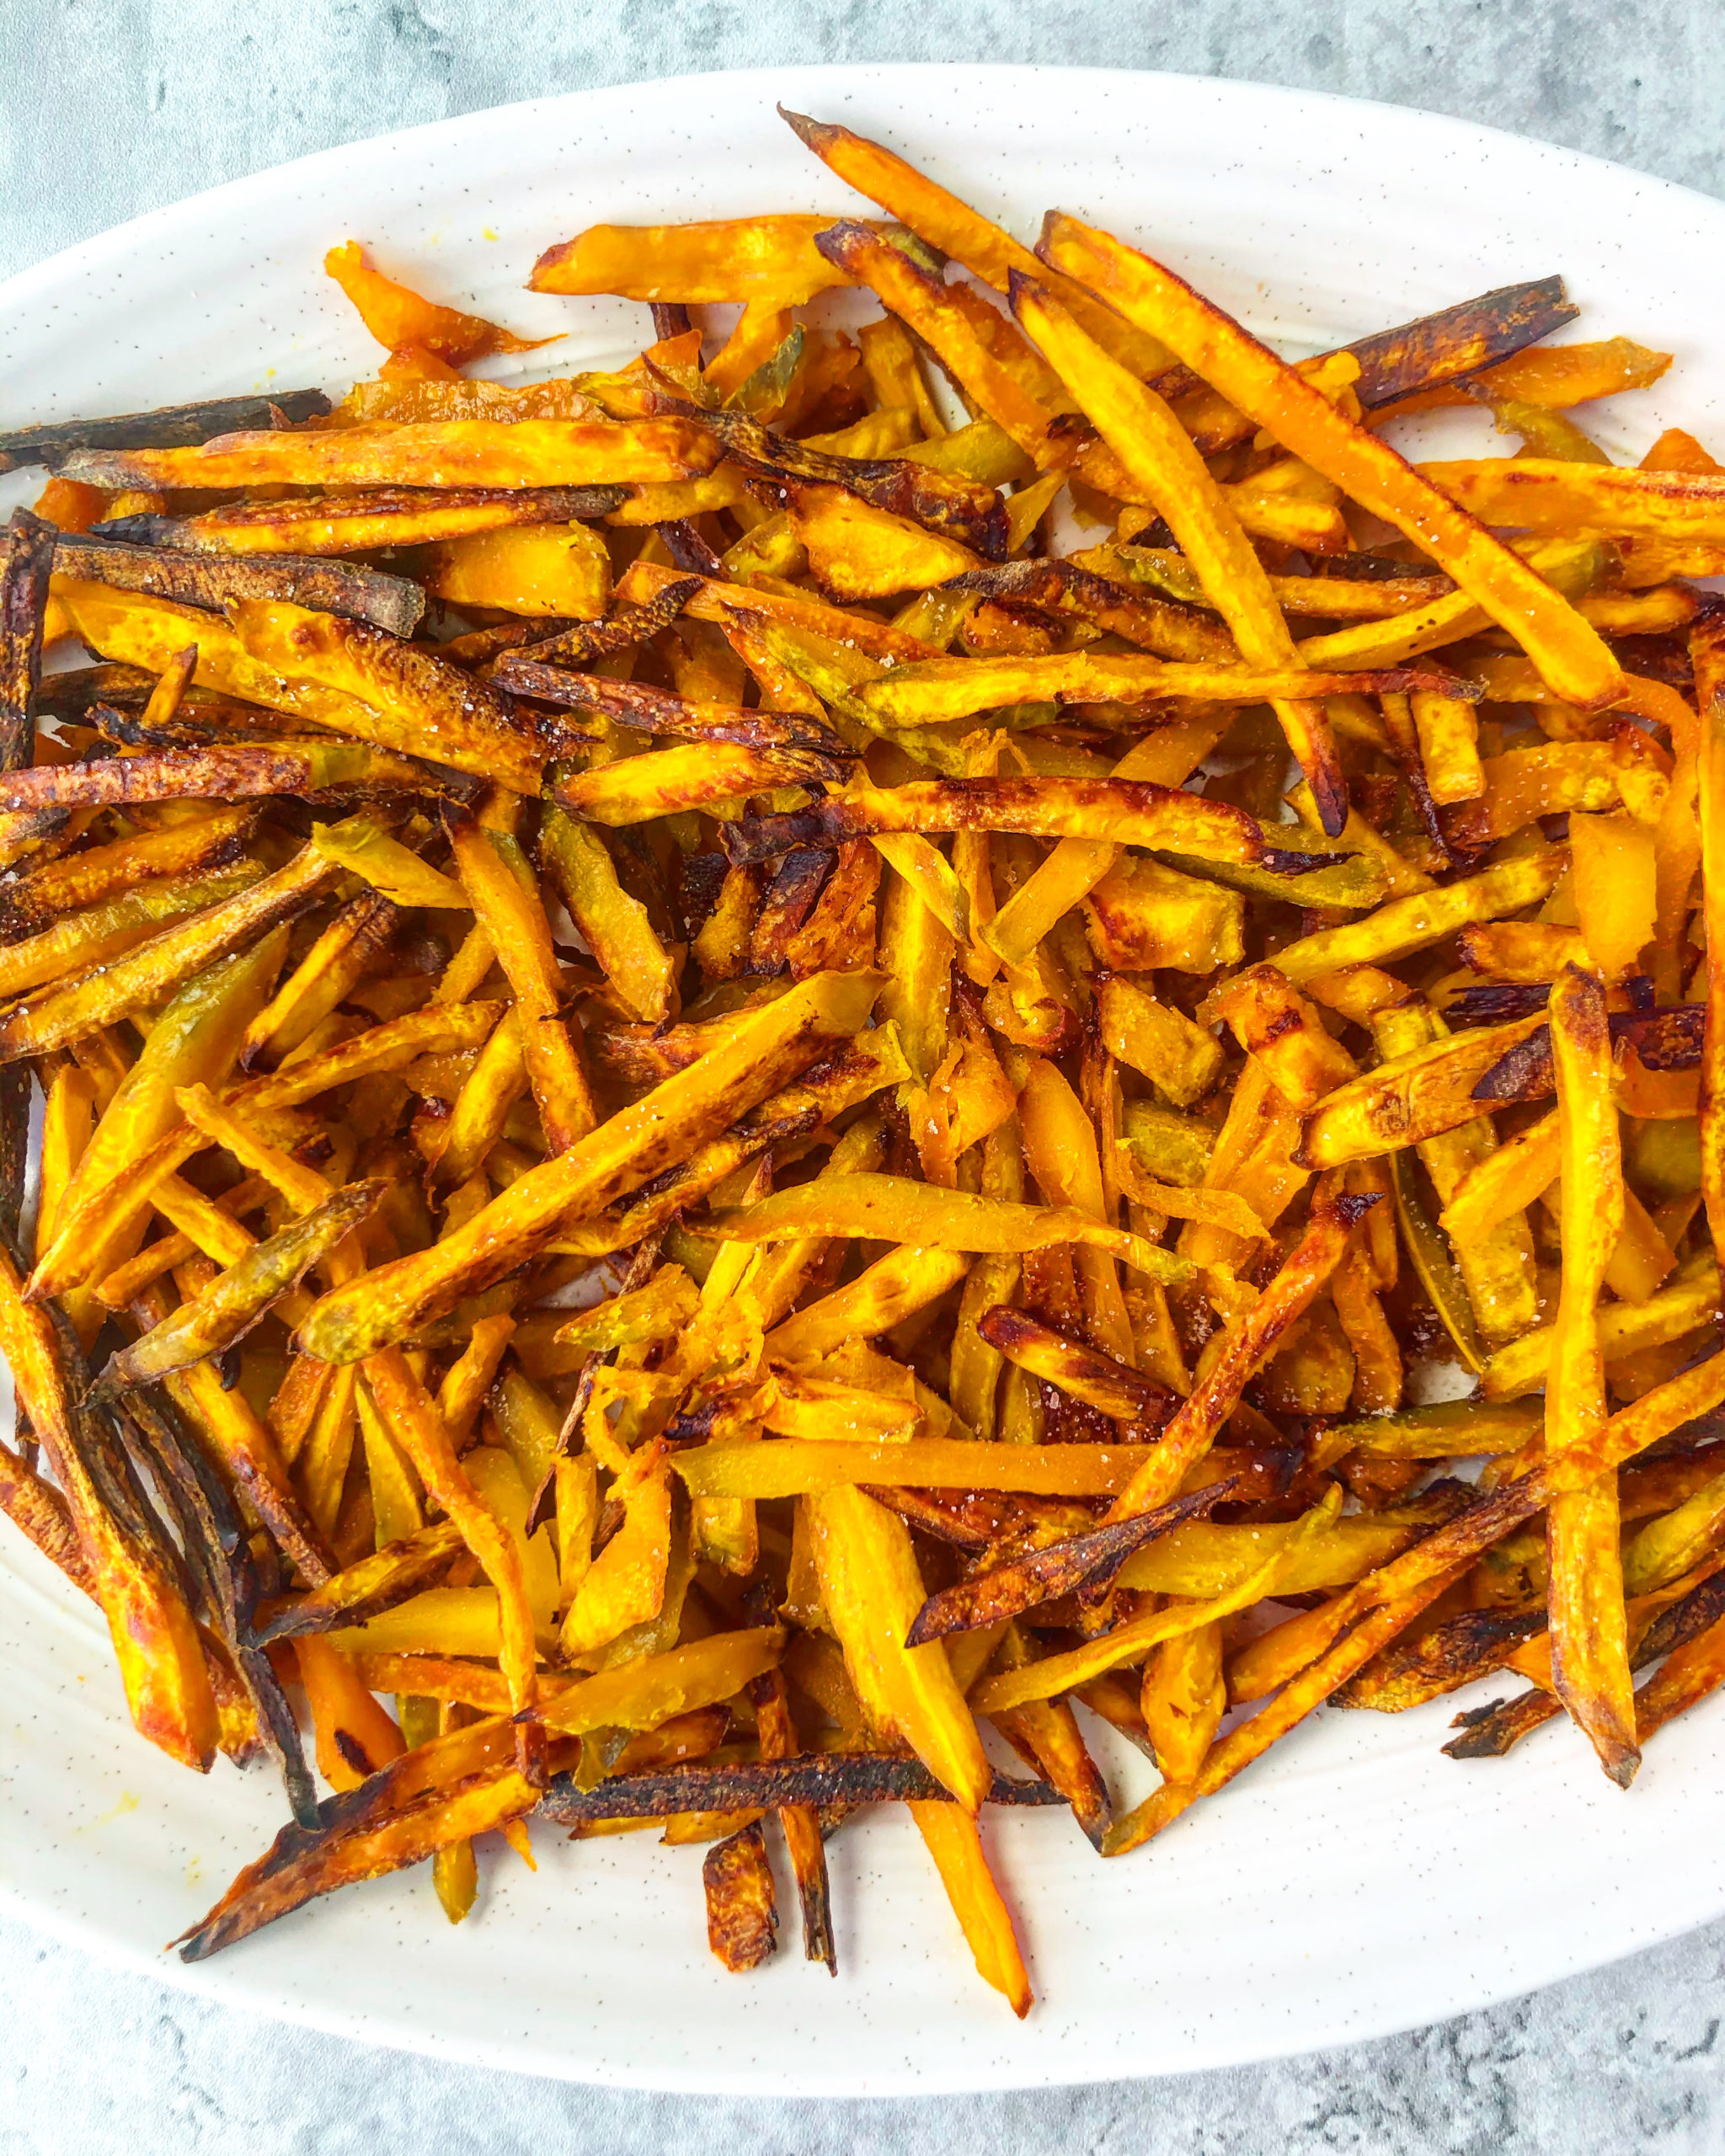
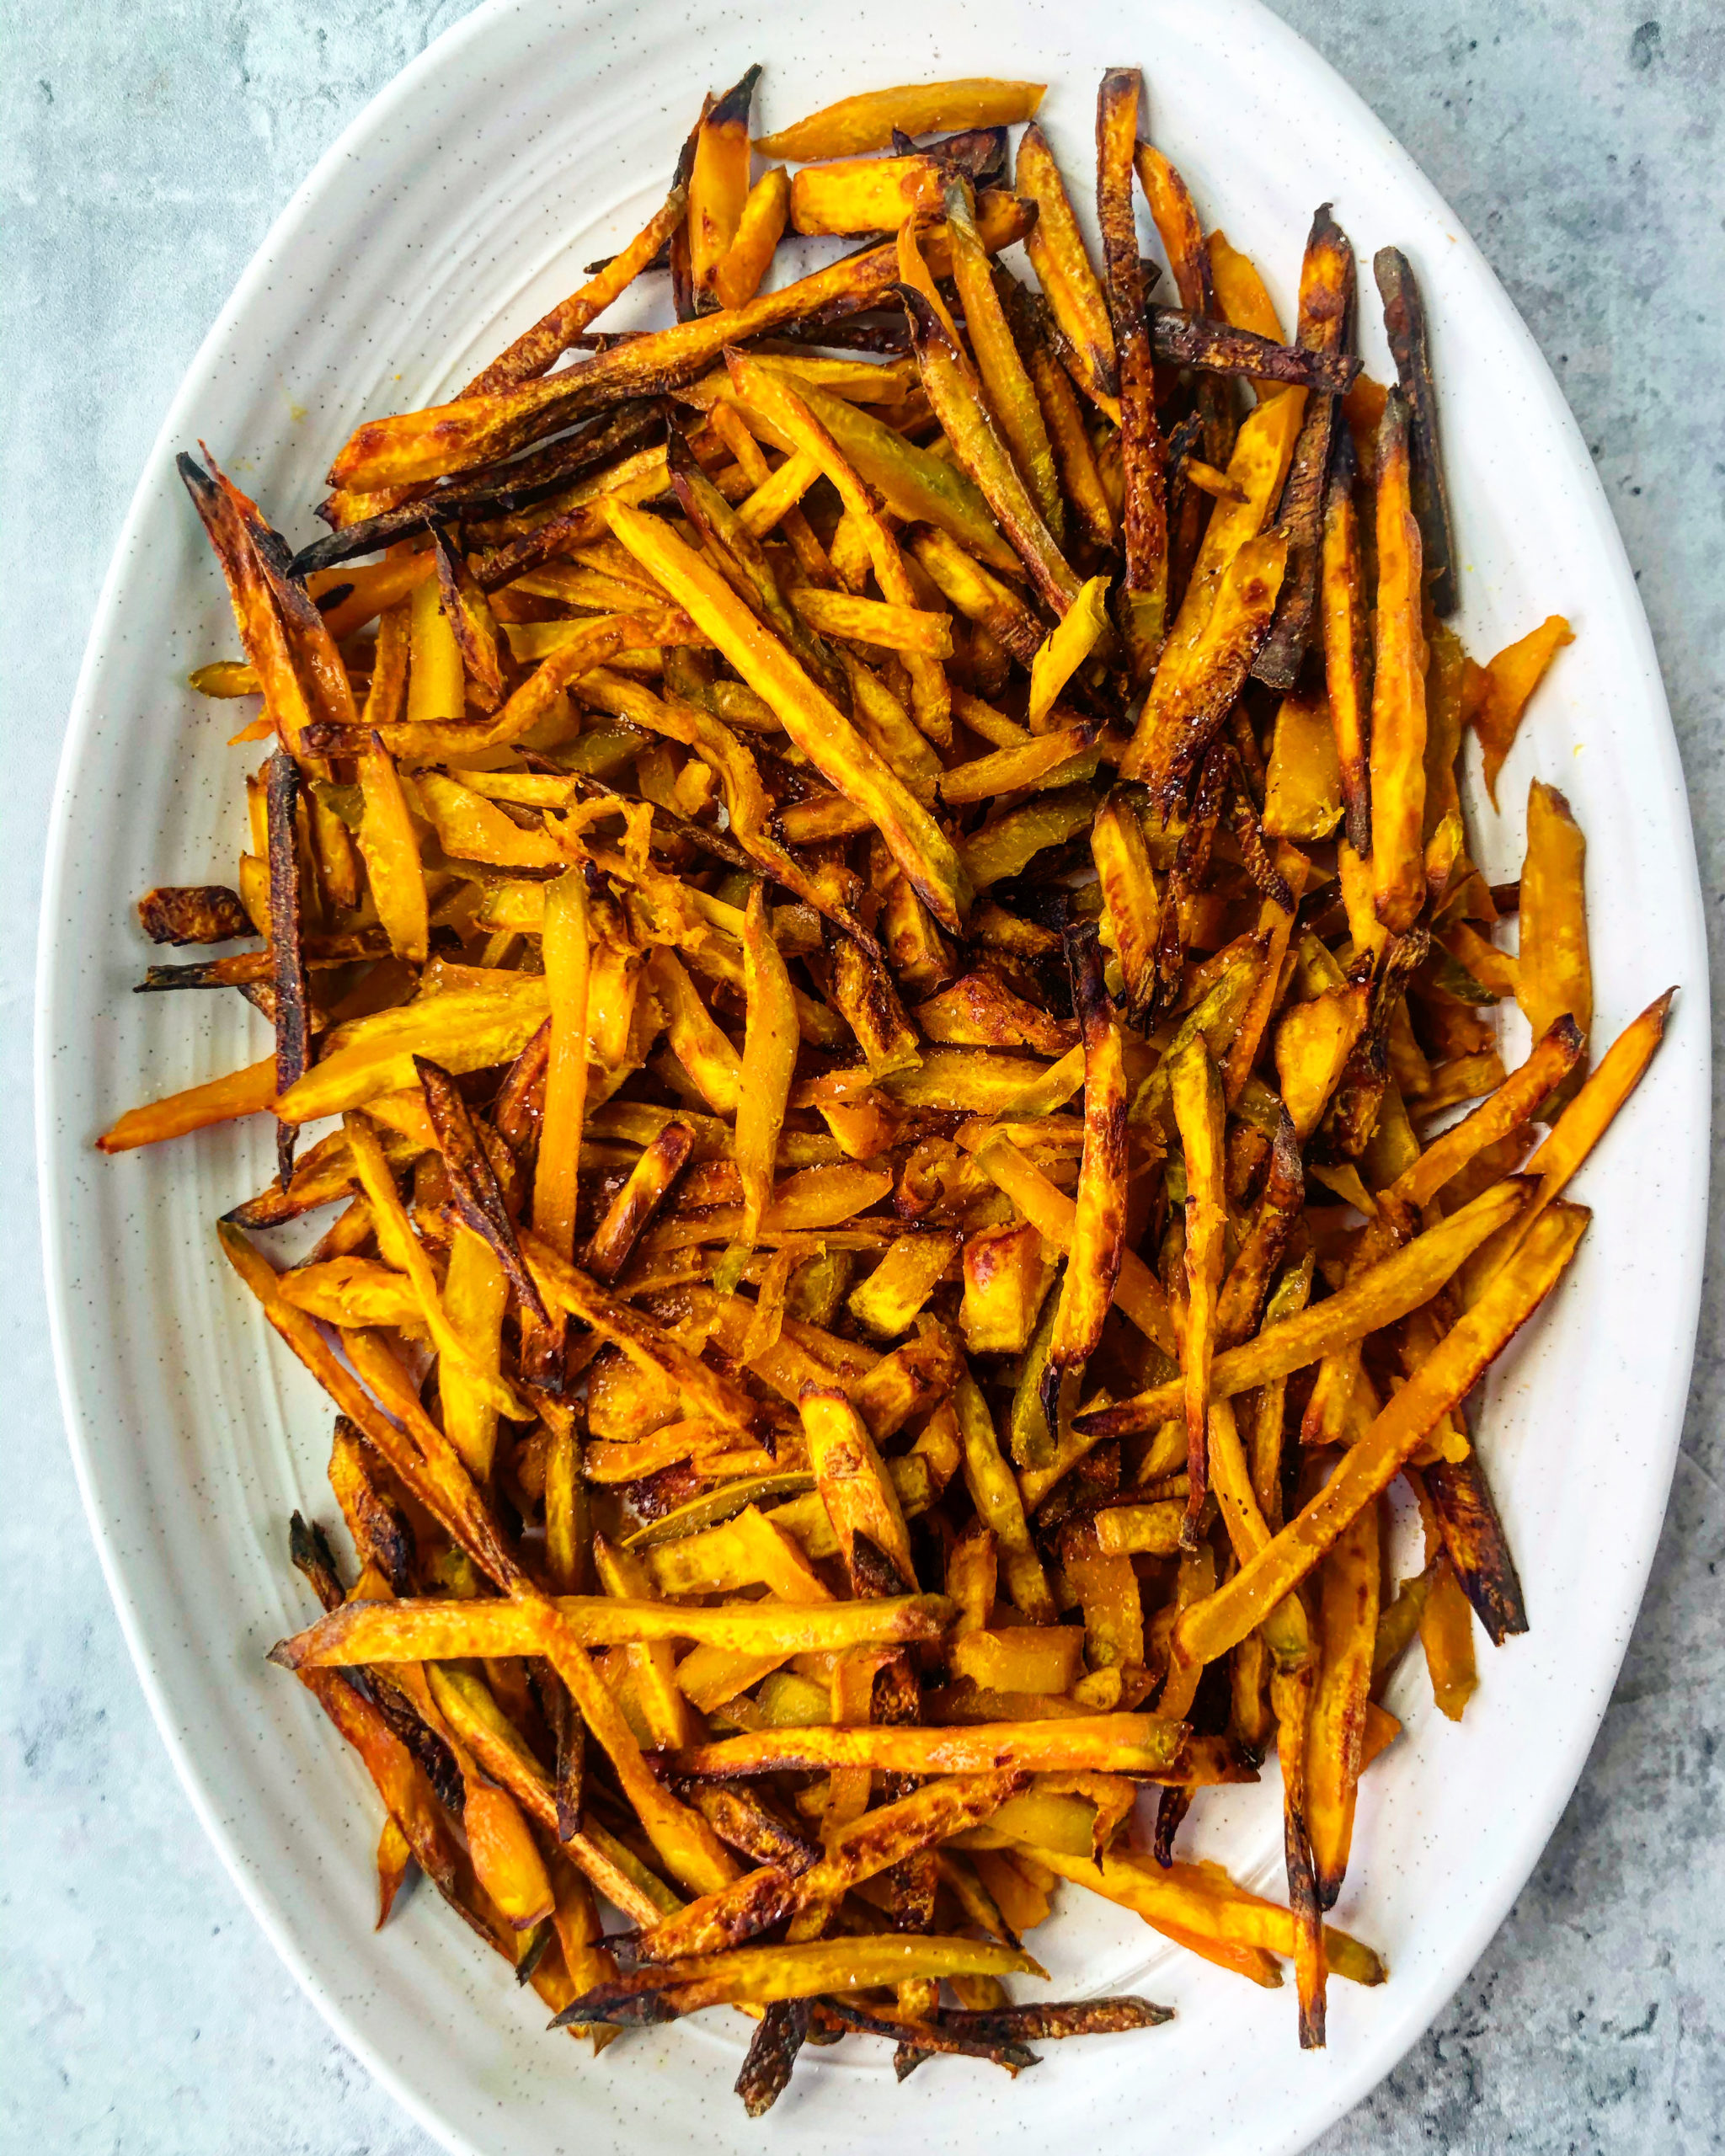
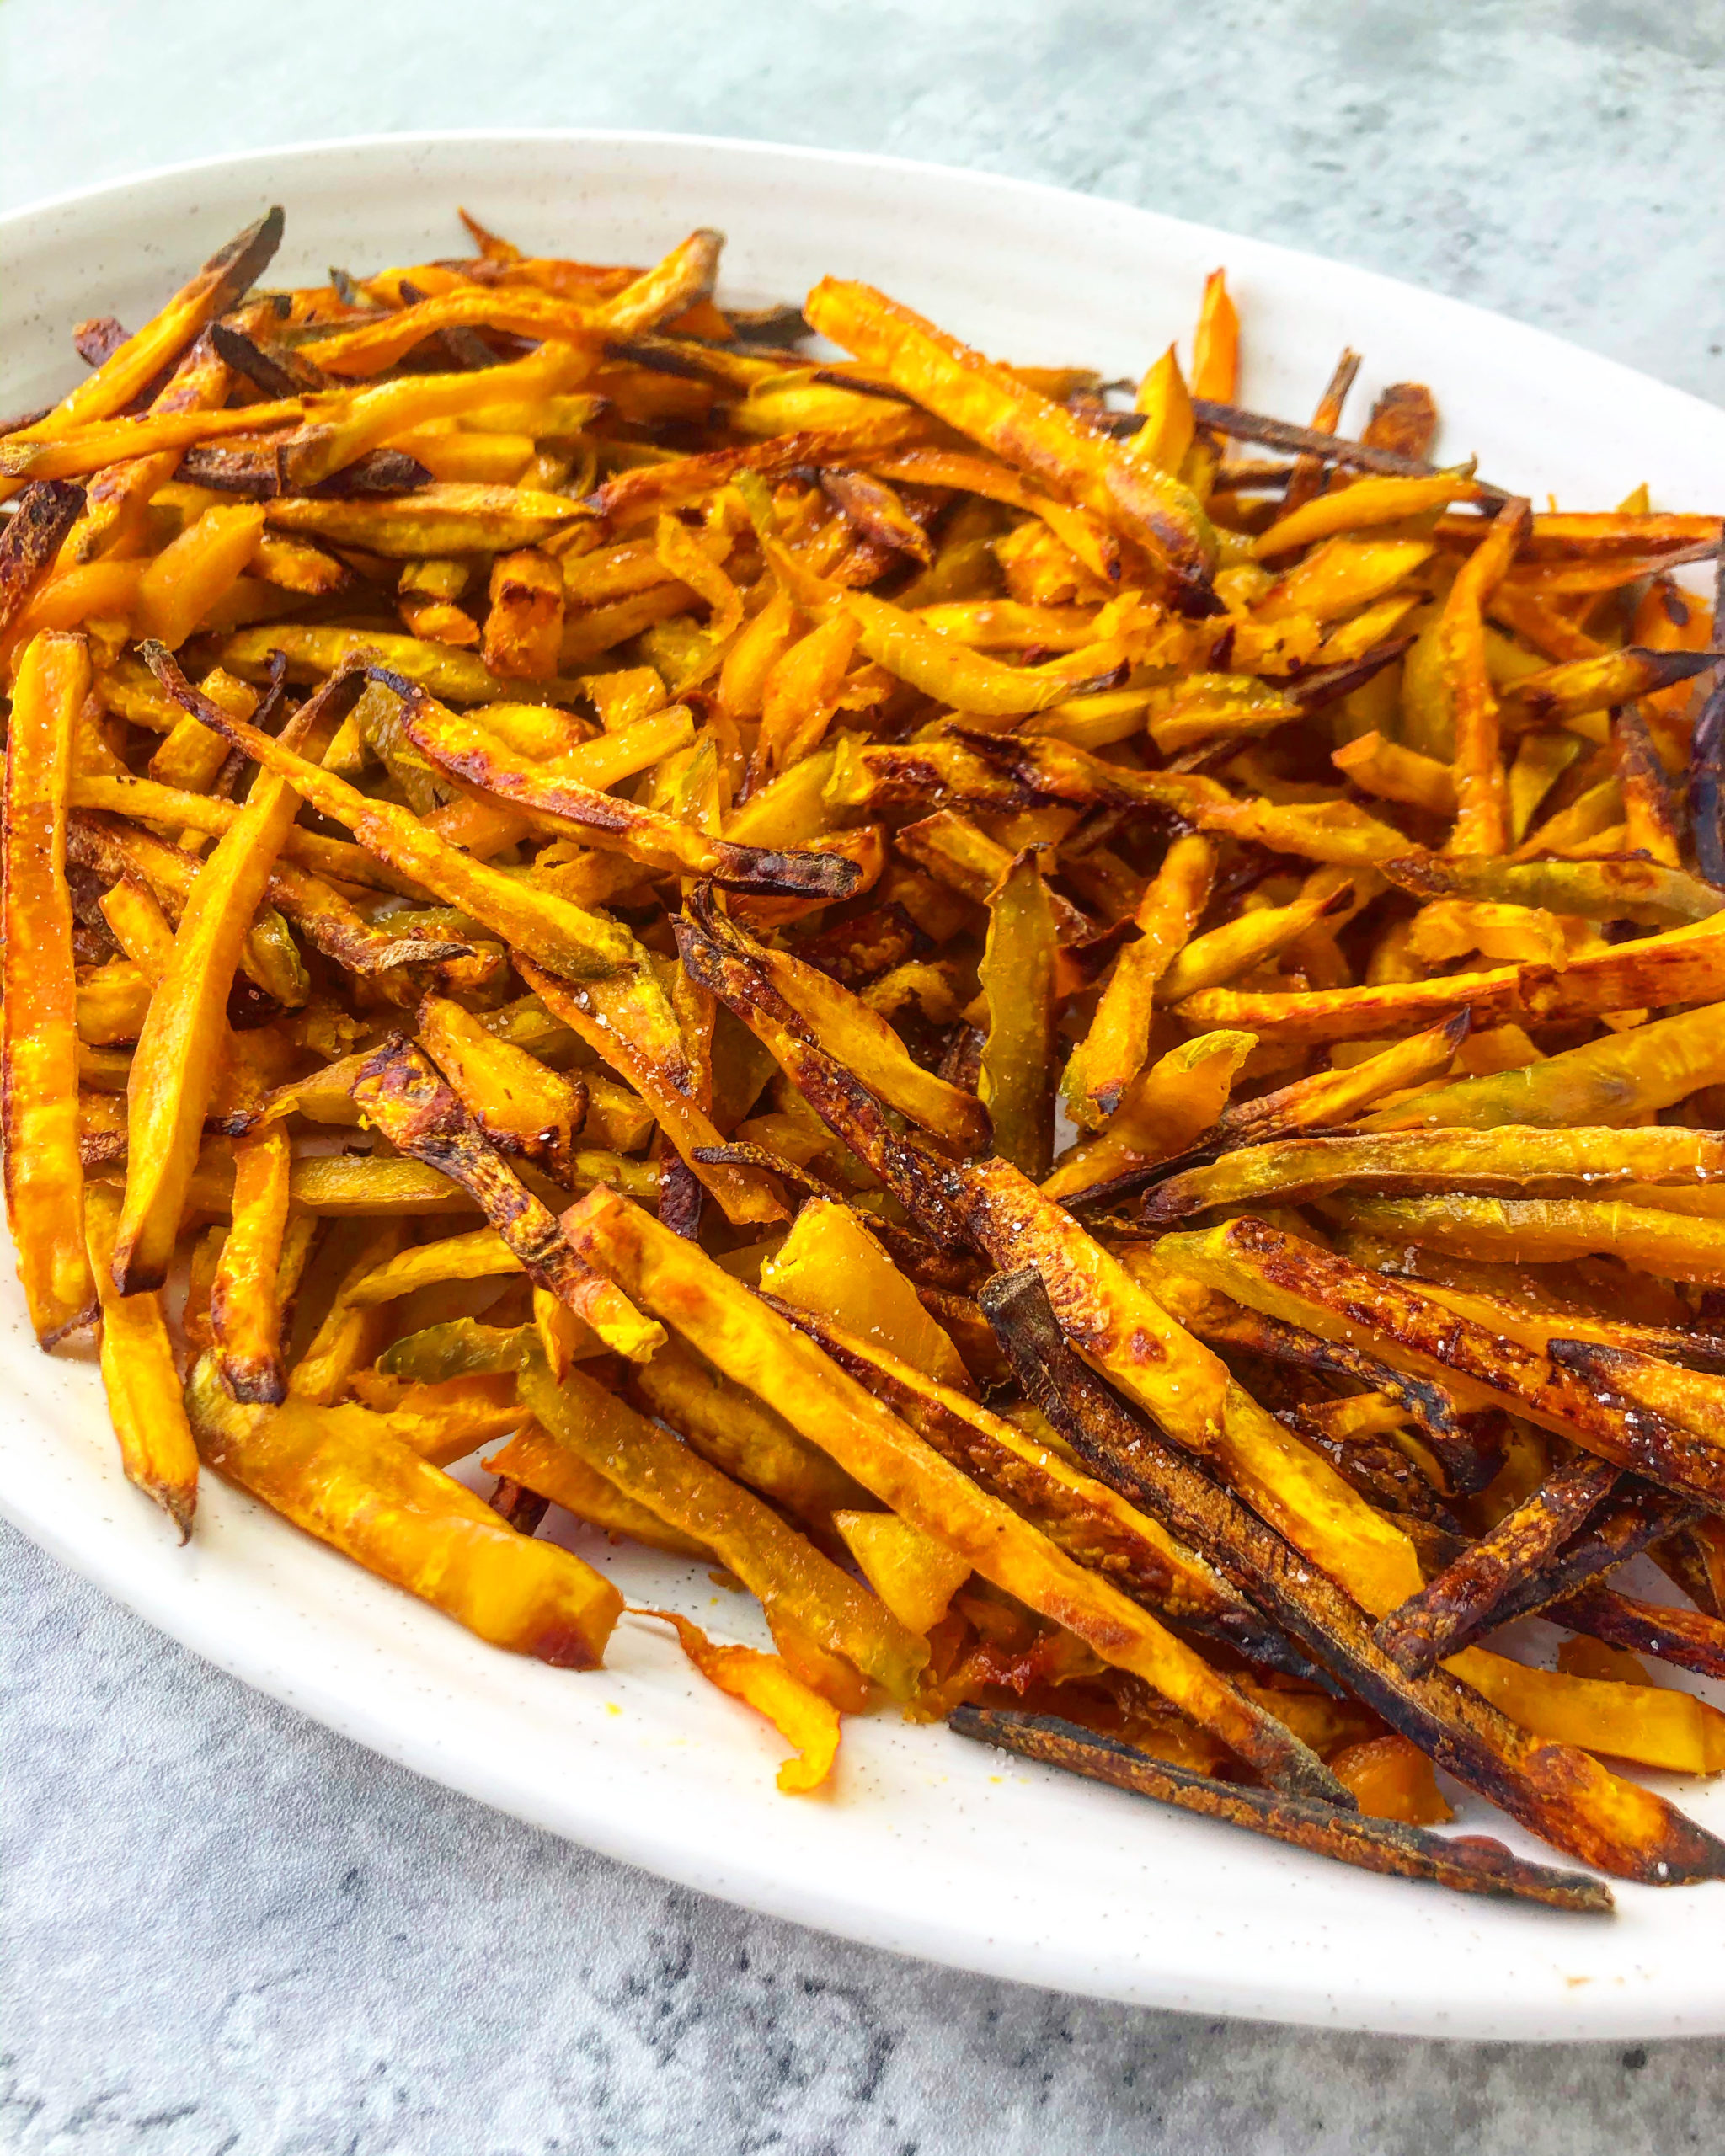
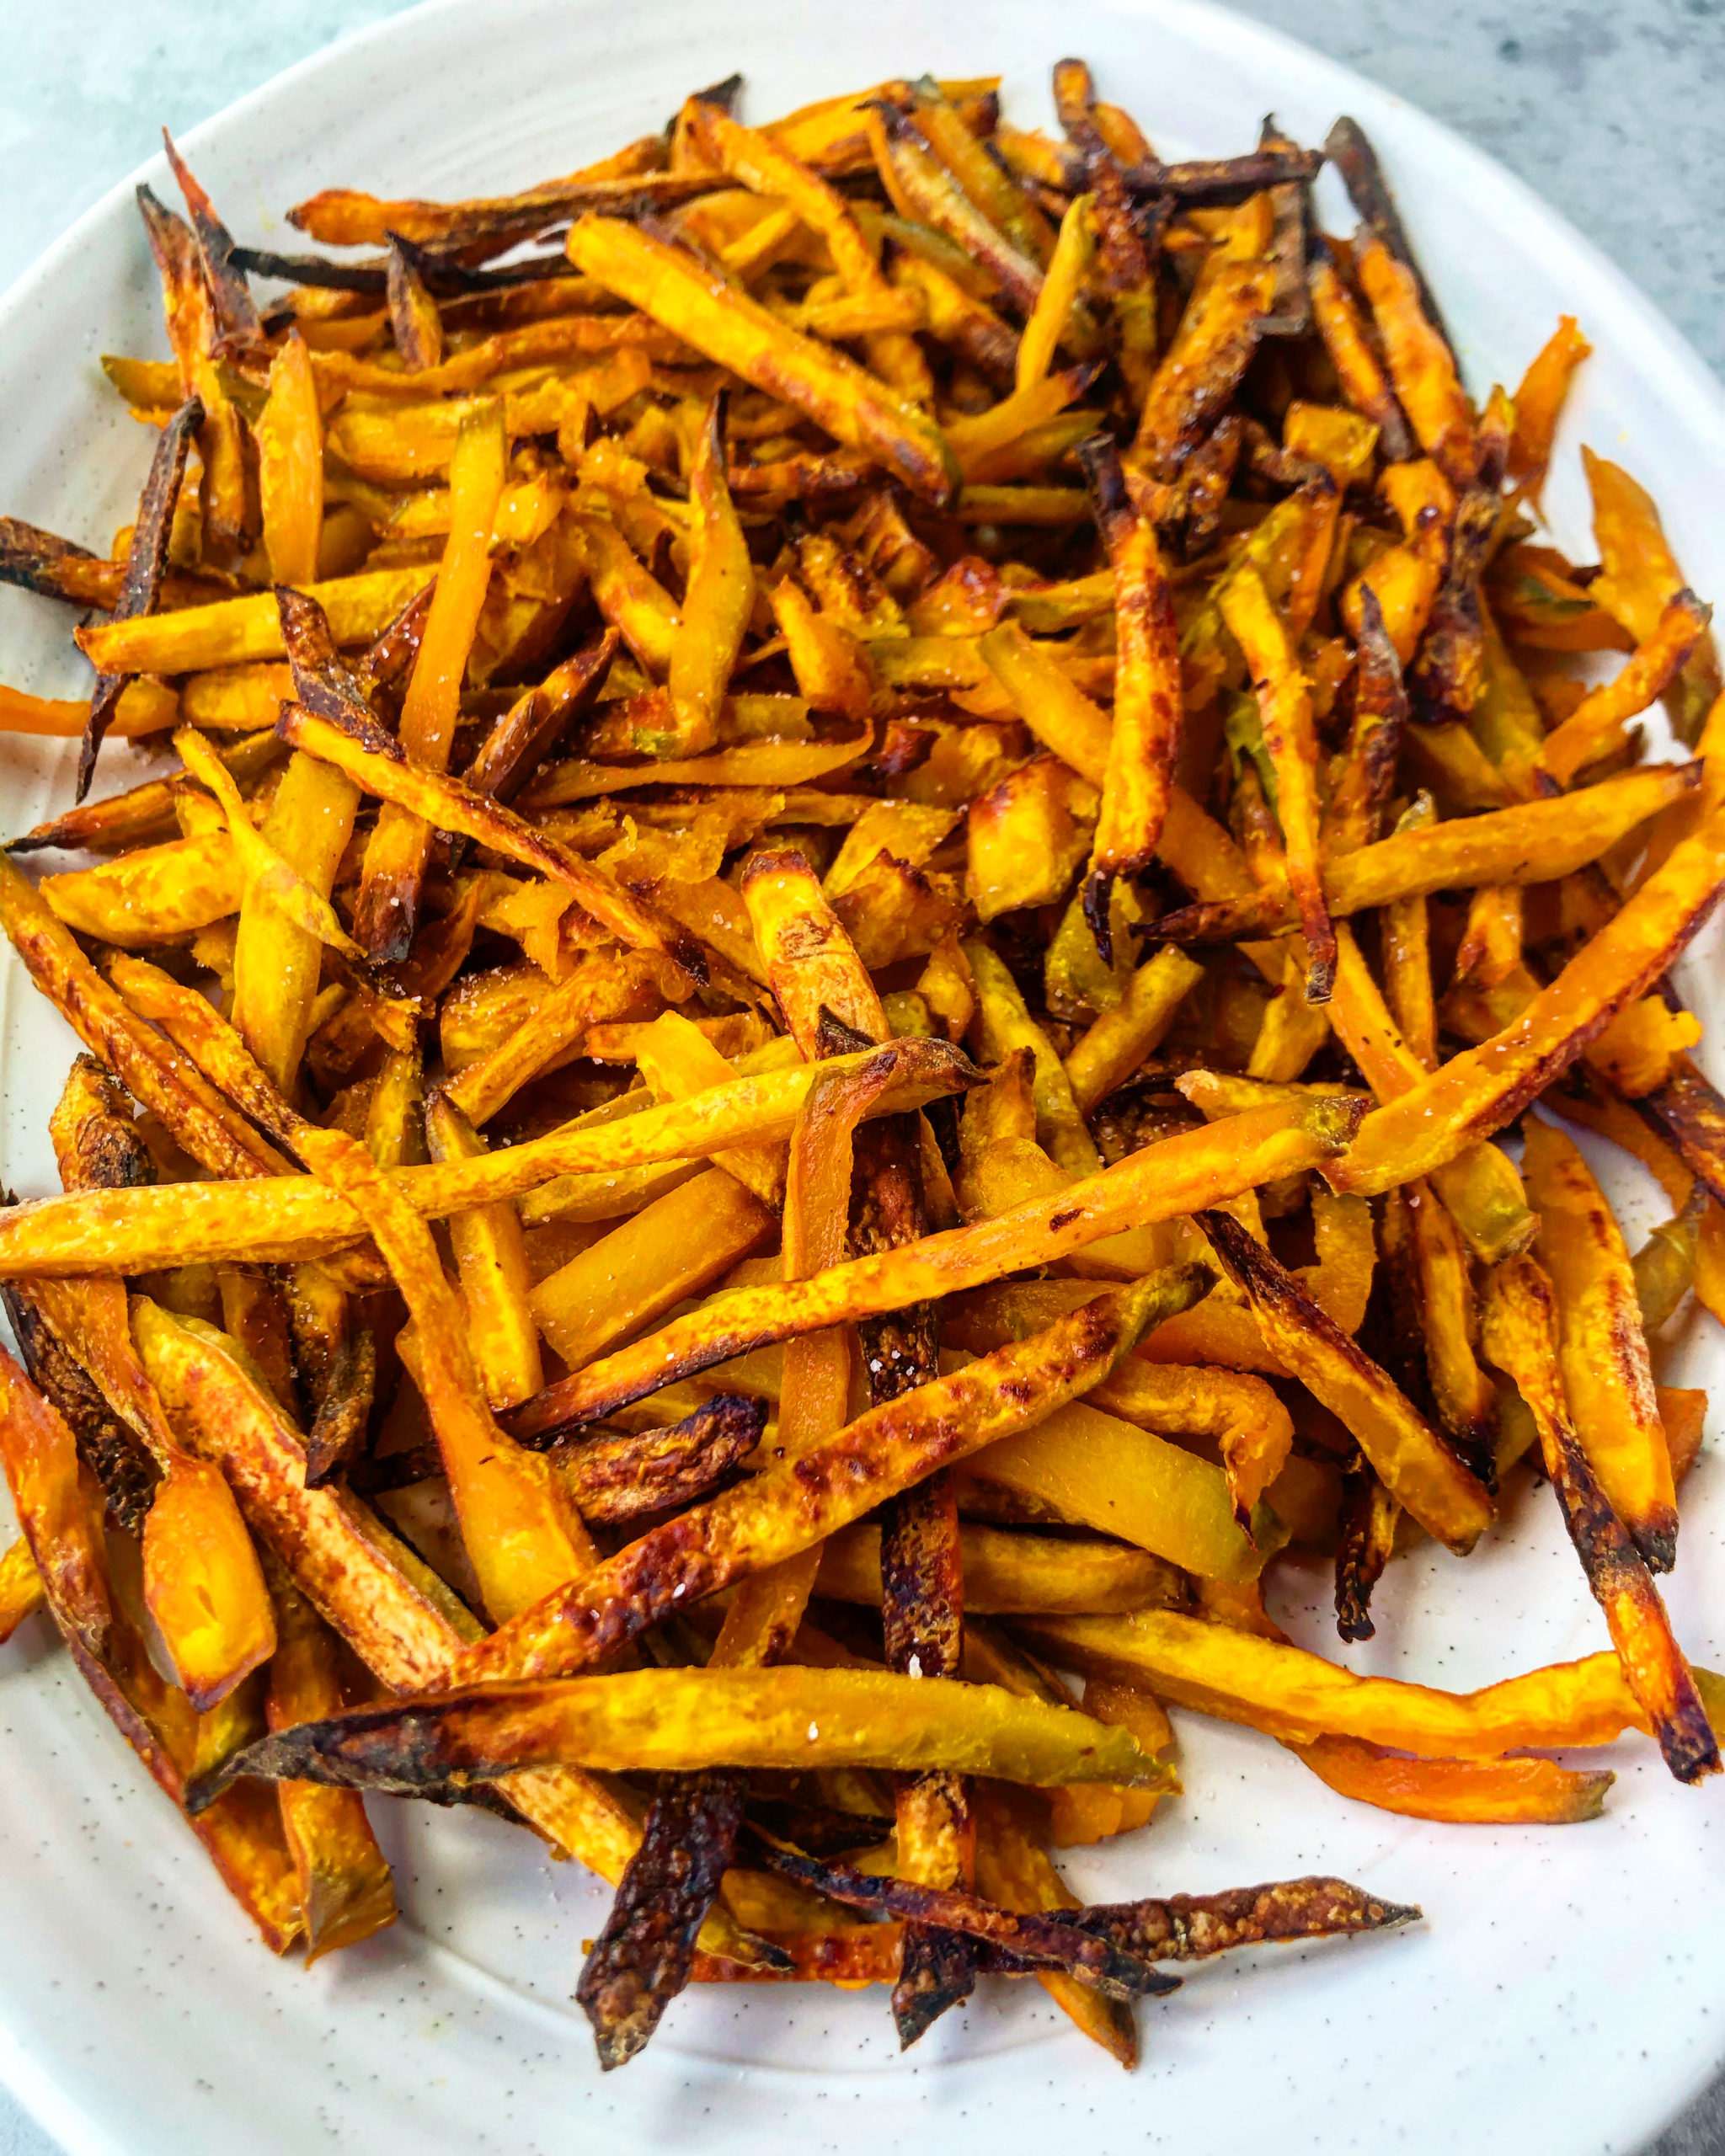
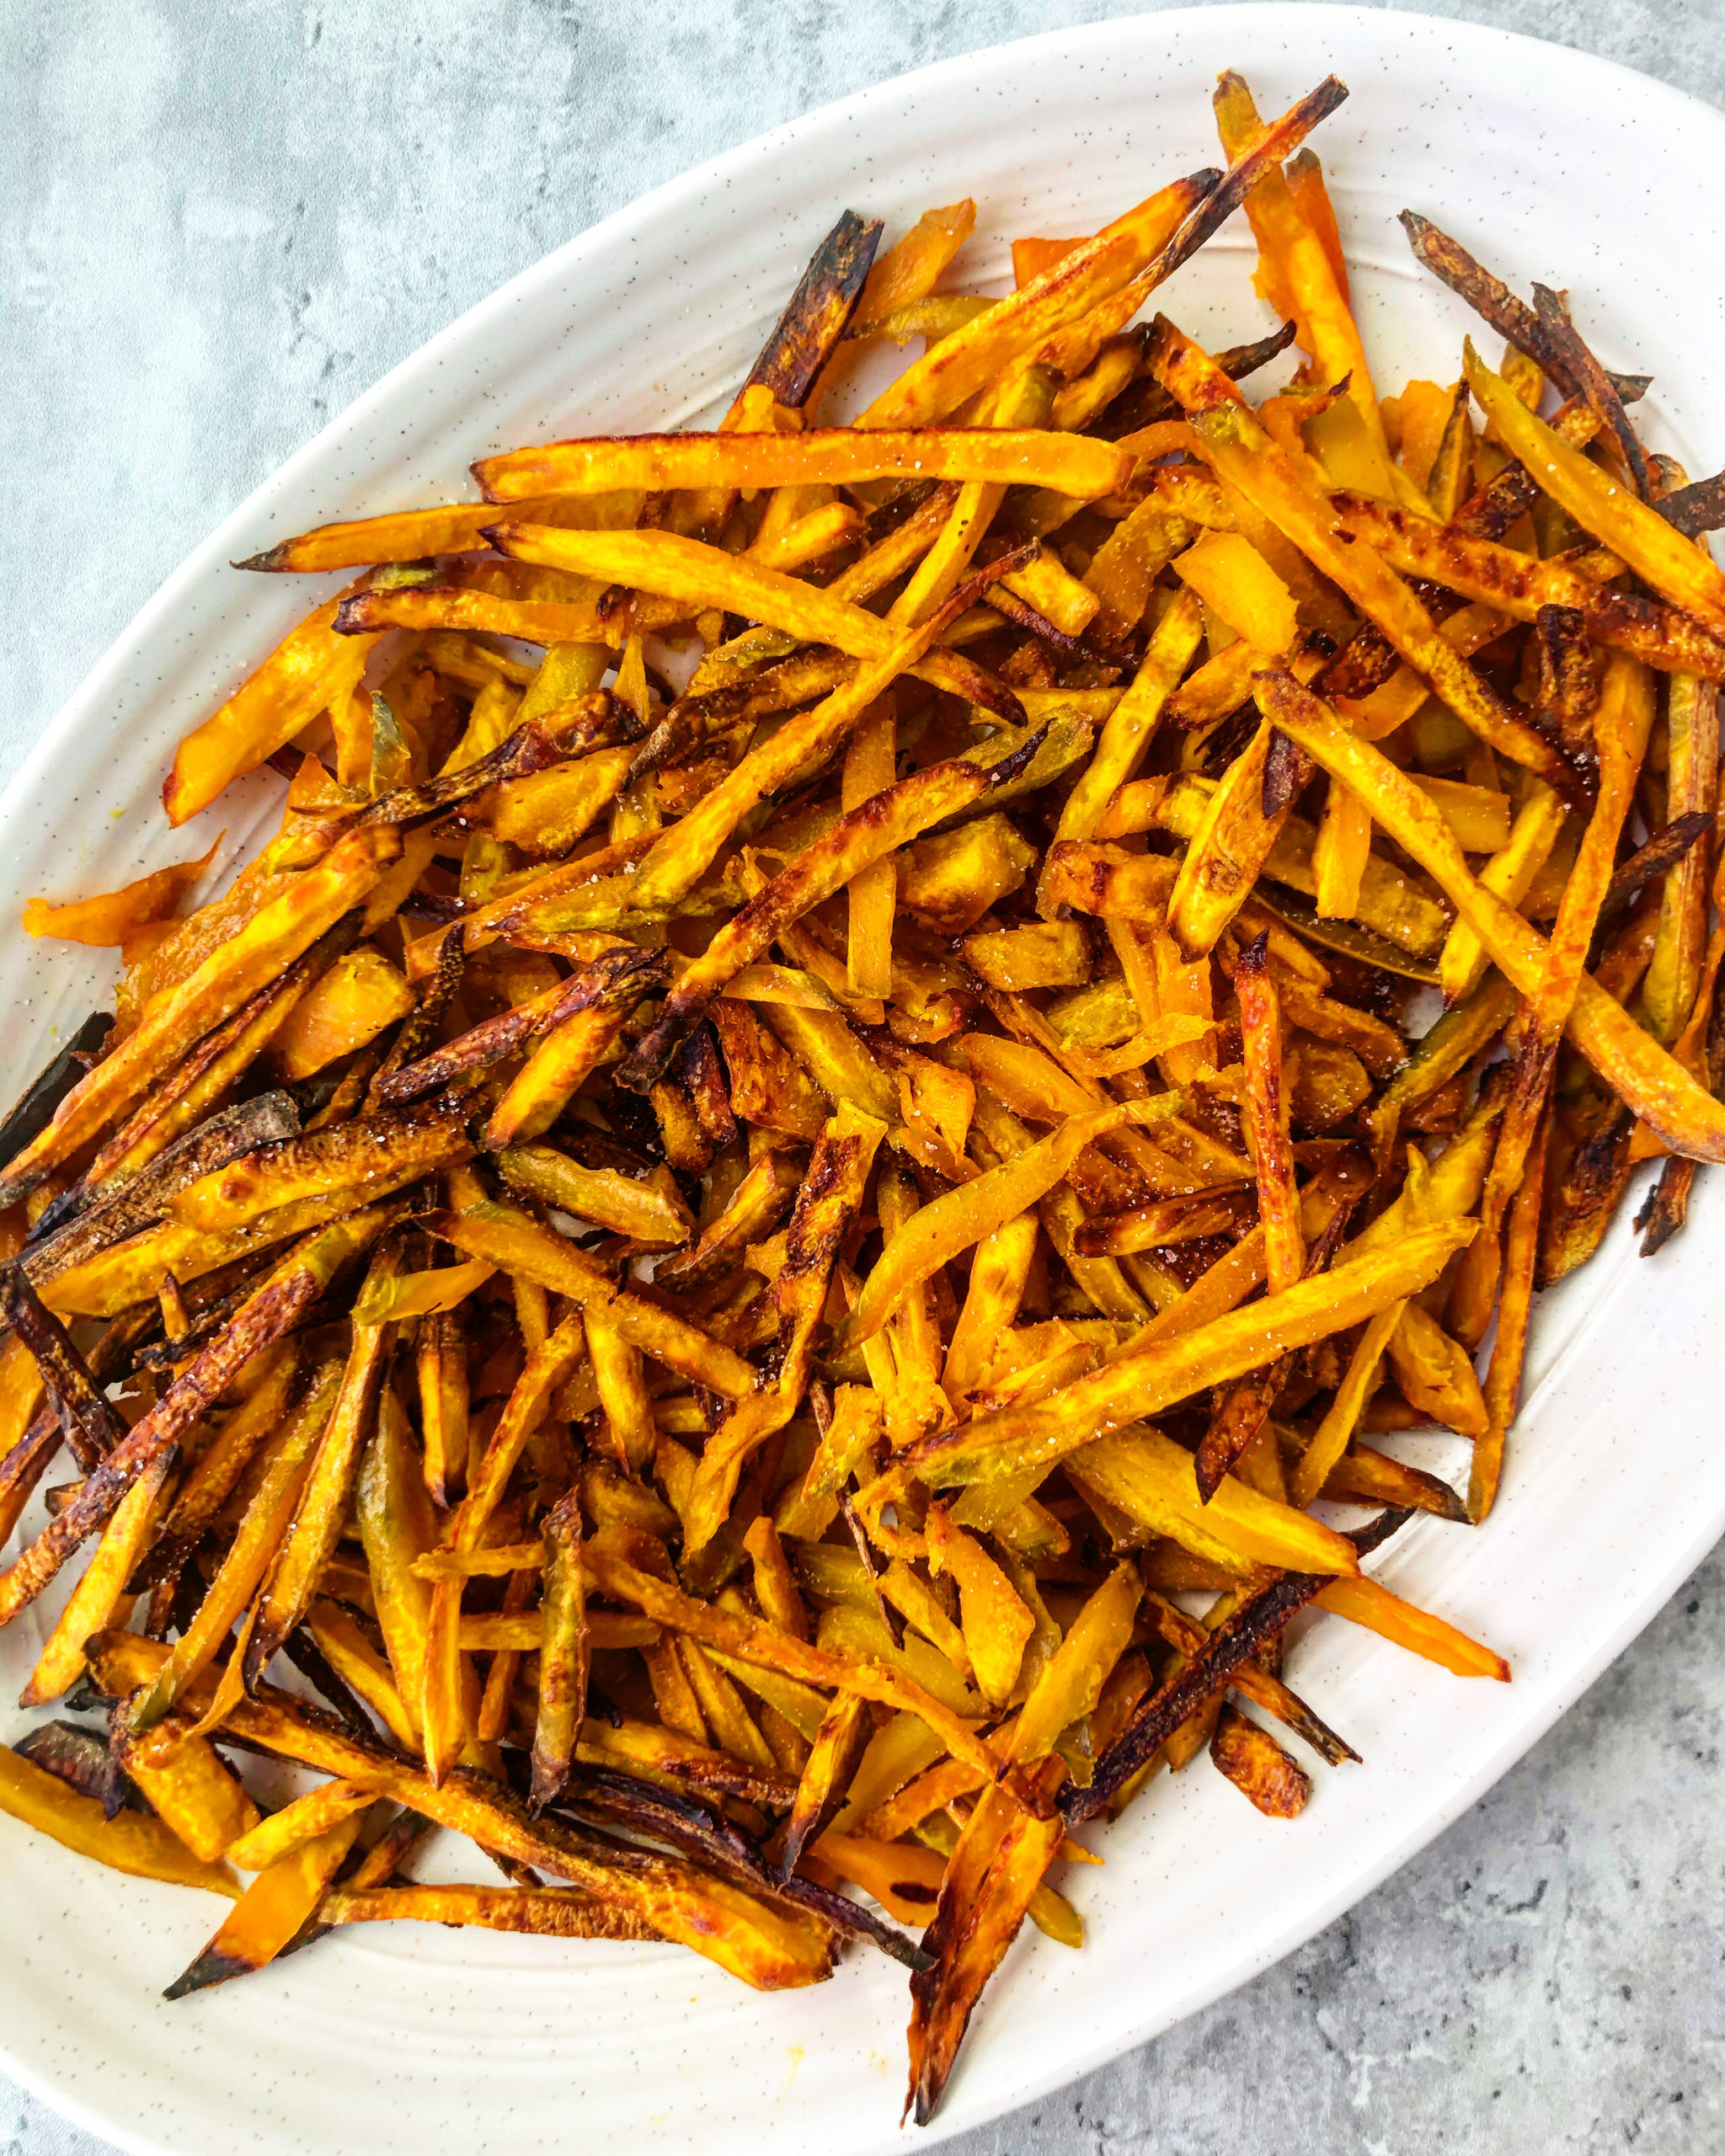
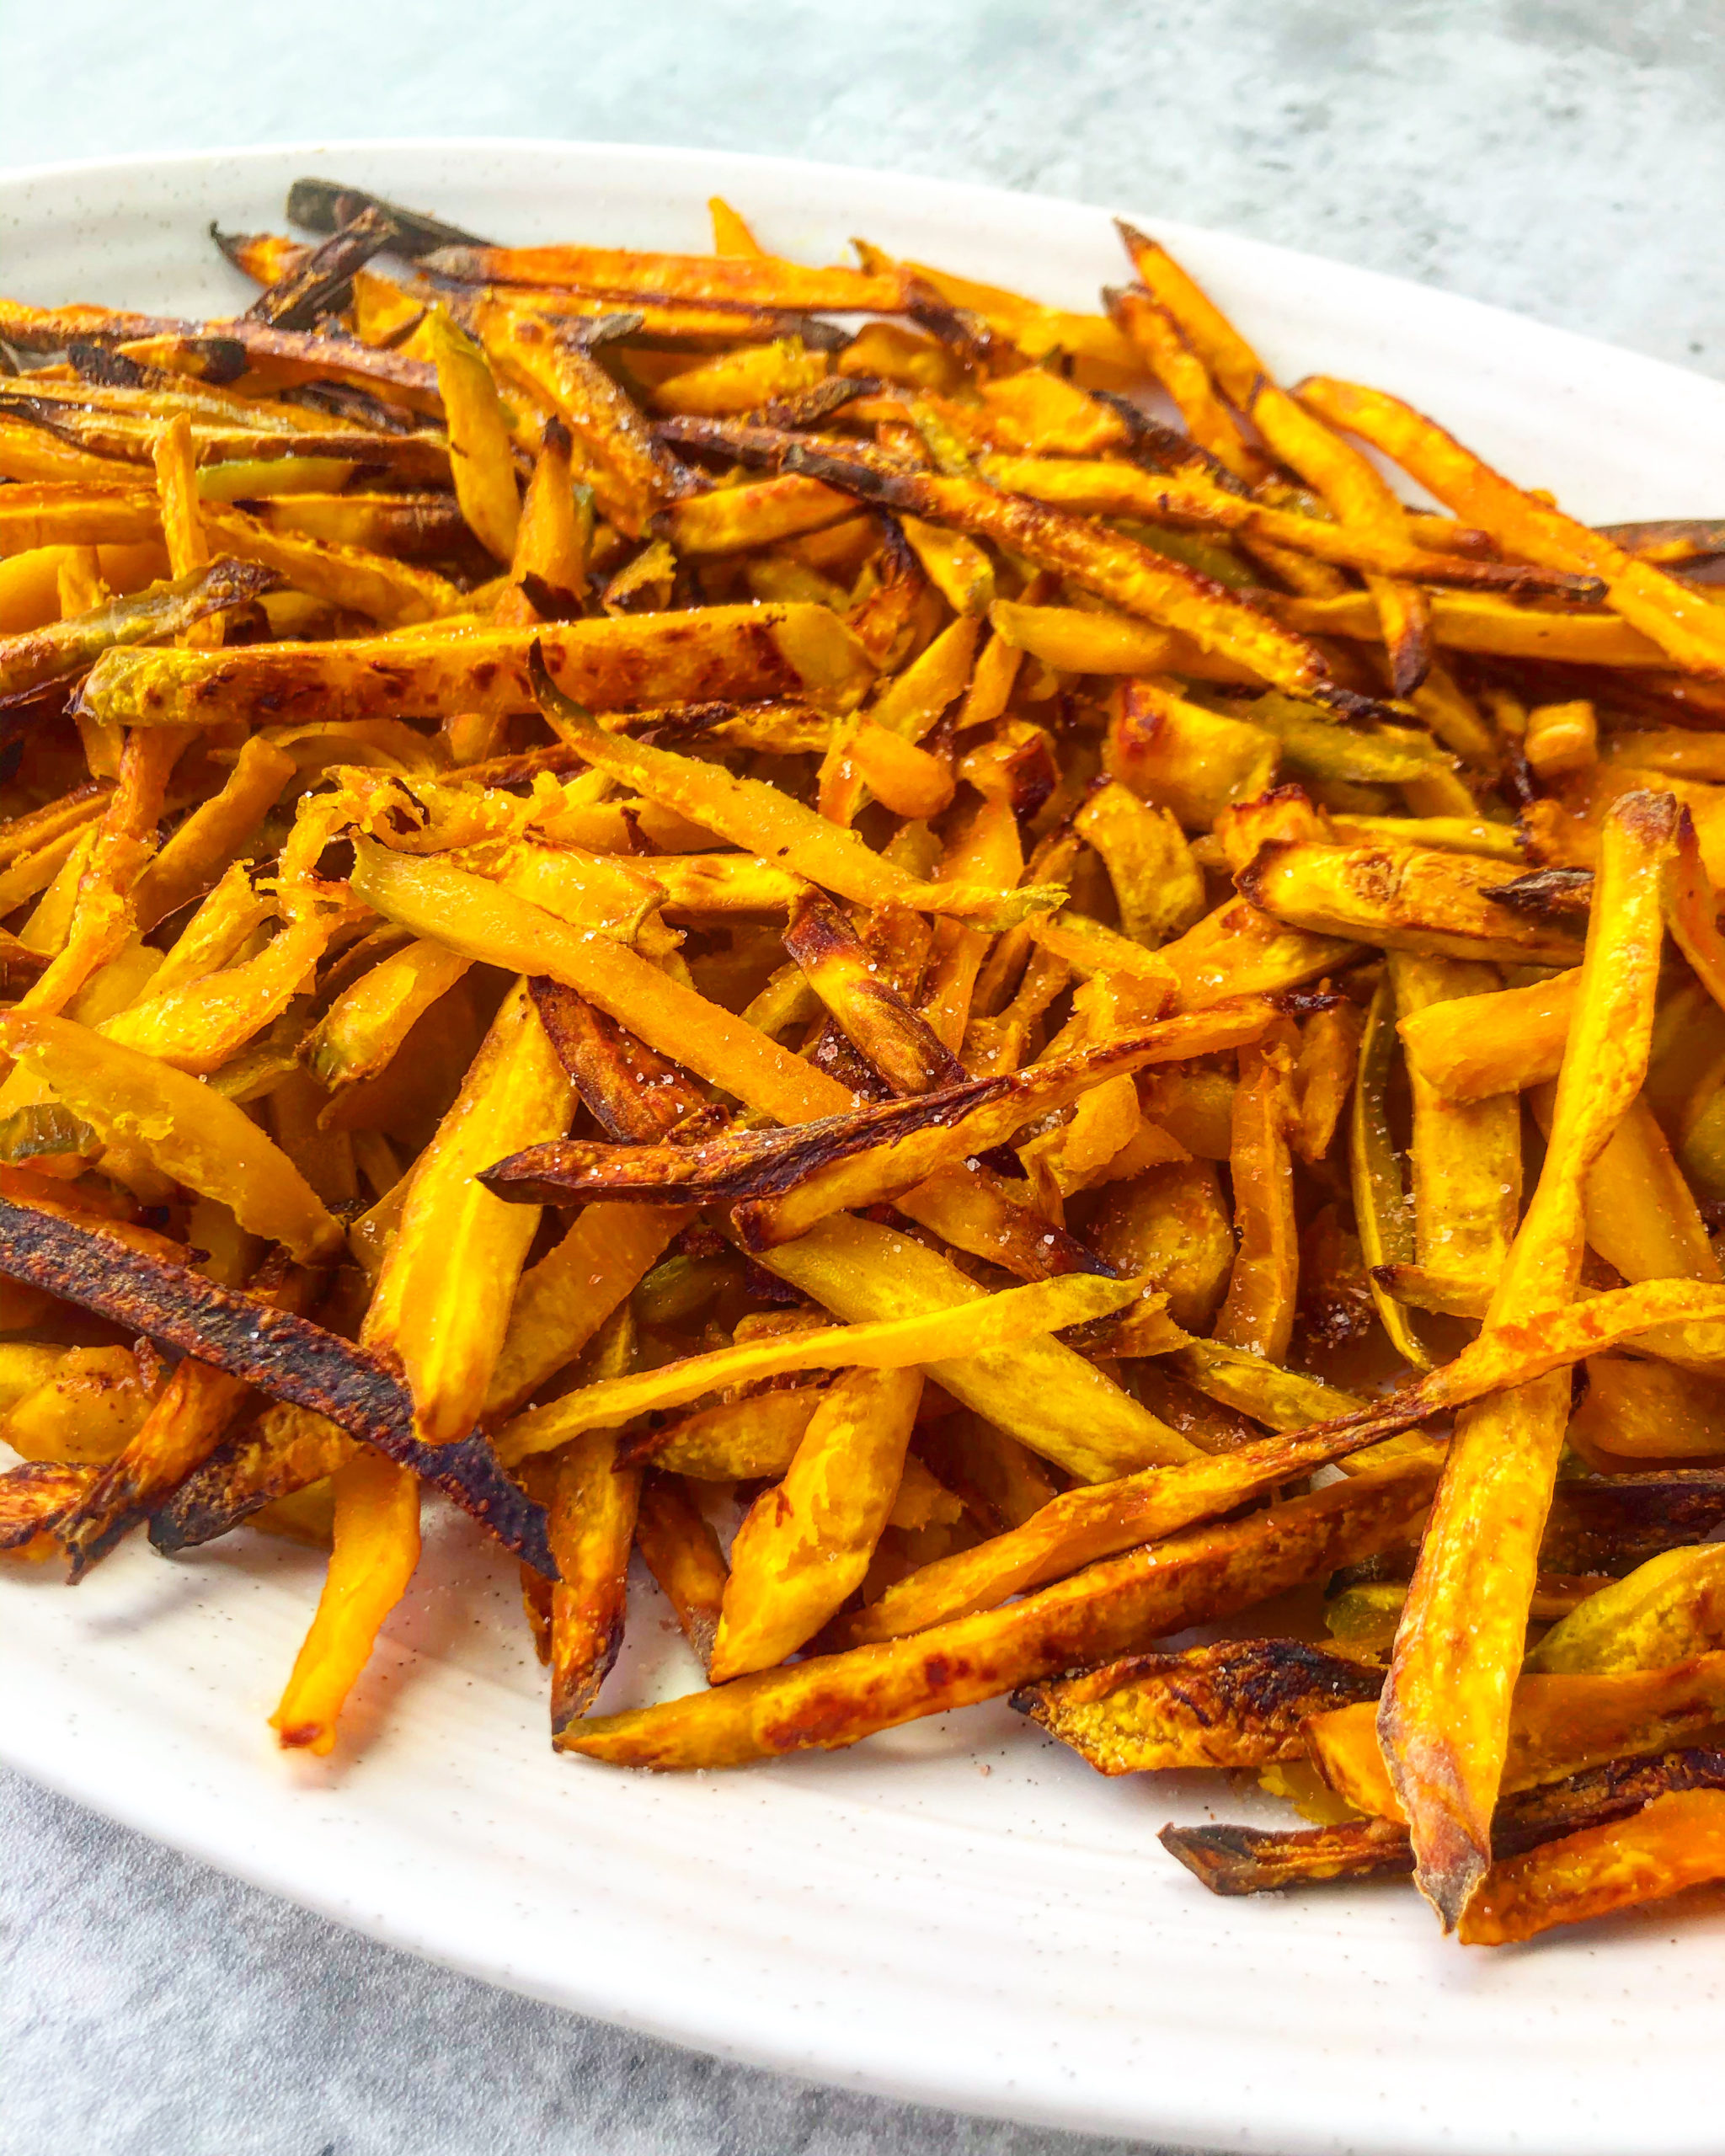
These oven-baked kabocha squash fries are simple, crispy, crunchy, delicious, and only require three ingredients – kabocha squash, animal fat, and salt. Easy to make and good for you!

What you need to make Crispy Oven-Baked Kabocha Squash Fries
Ingredients:
- Kabocha squash
- Grass-fed ghee (or butter)
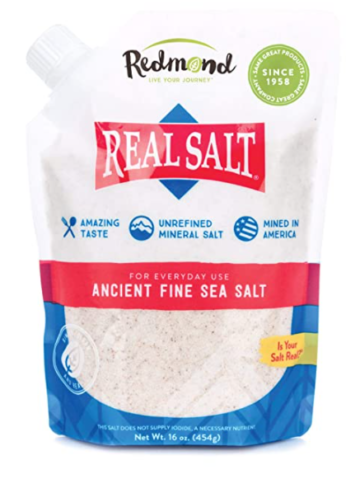
- Sea salt (ASHLEYR for 15% off)
Equipment:
- Vegetable peeler
- Parchment paper (optional)

How to make Crispy Oven-Baked Kabocha Squash Fries
Prepare the kabocha squash.
Take the raw kabocha squash and cut it in half. Use your vegetable peeler and skin the halves.
Note: While skinning, you’ll notice that if you skin the same area a few times, you’ll get past what’s left of the green part of the skin and into the yellow meat. It’s not necessary to rid the squash of the green color entirely. I usually shoot for a light green-yellowish hue to know when I’m done skinning.
Once the kabocha squash halves are skinned, scoop out the seeds and mush.
Place the squash on a cutting board (or cutting surface) with the scooped out sides facing down.
Cut the squash into strips, slicing it the “long” ways.
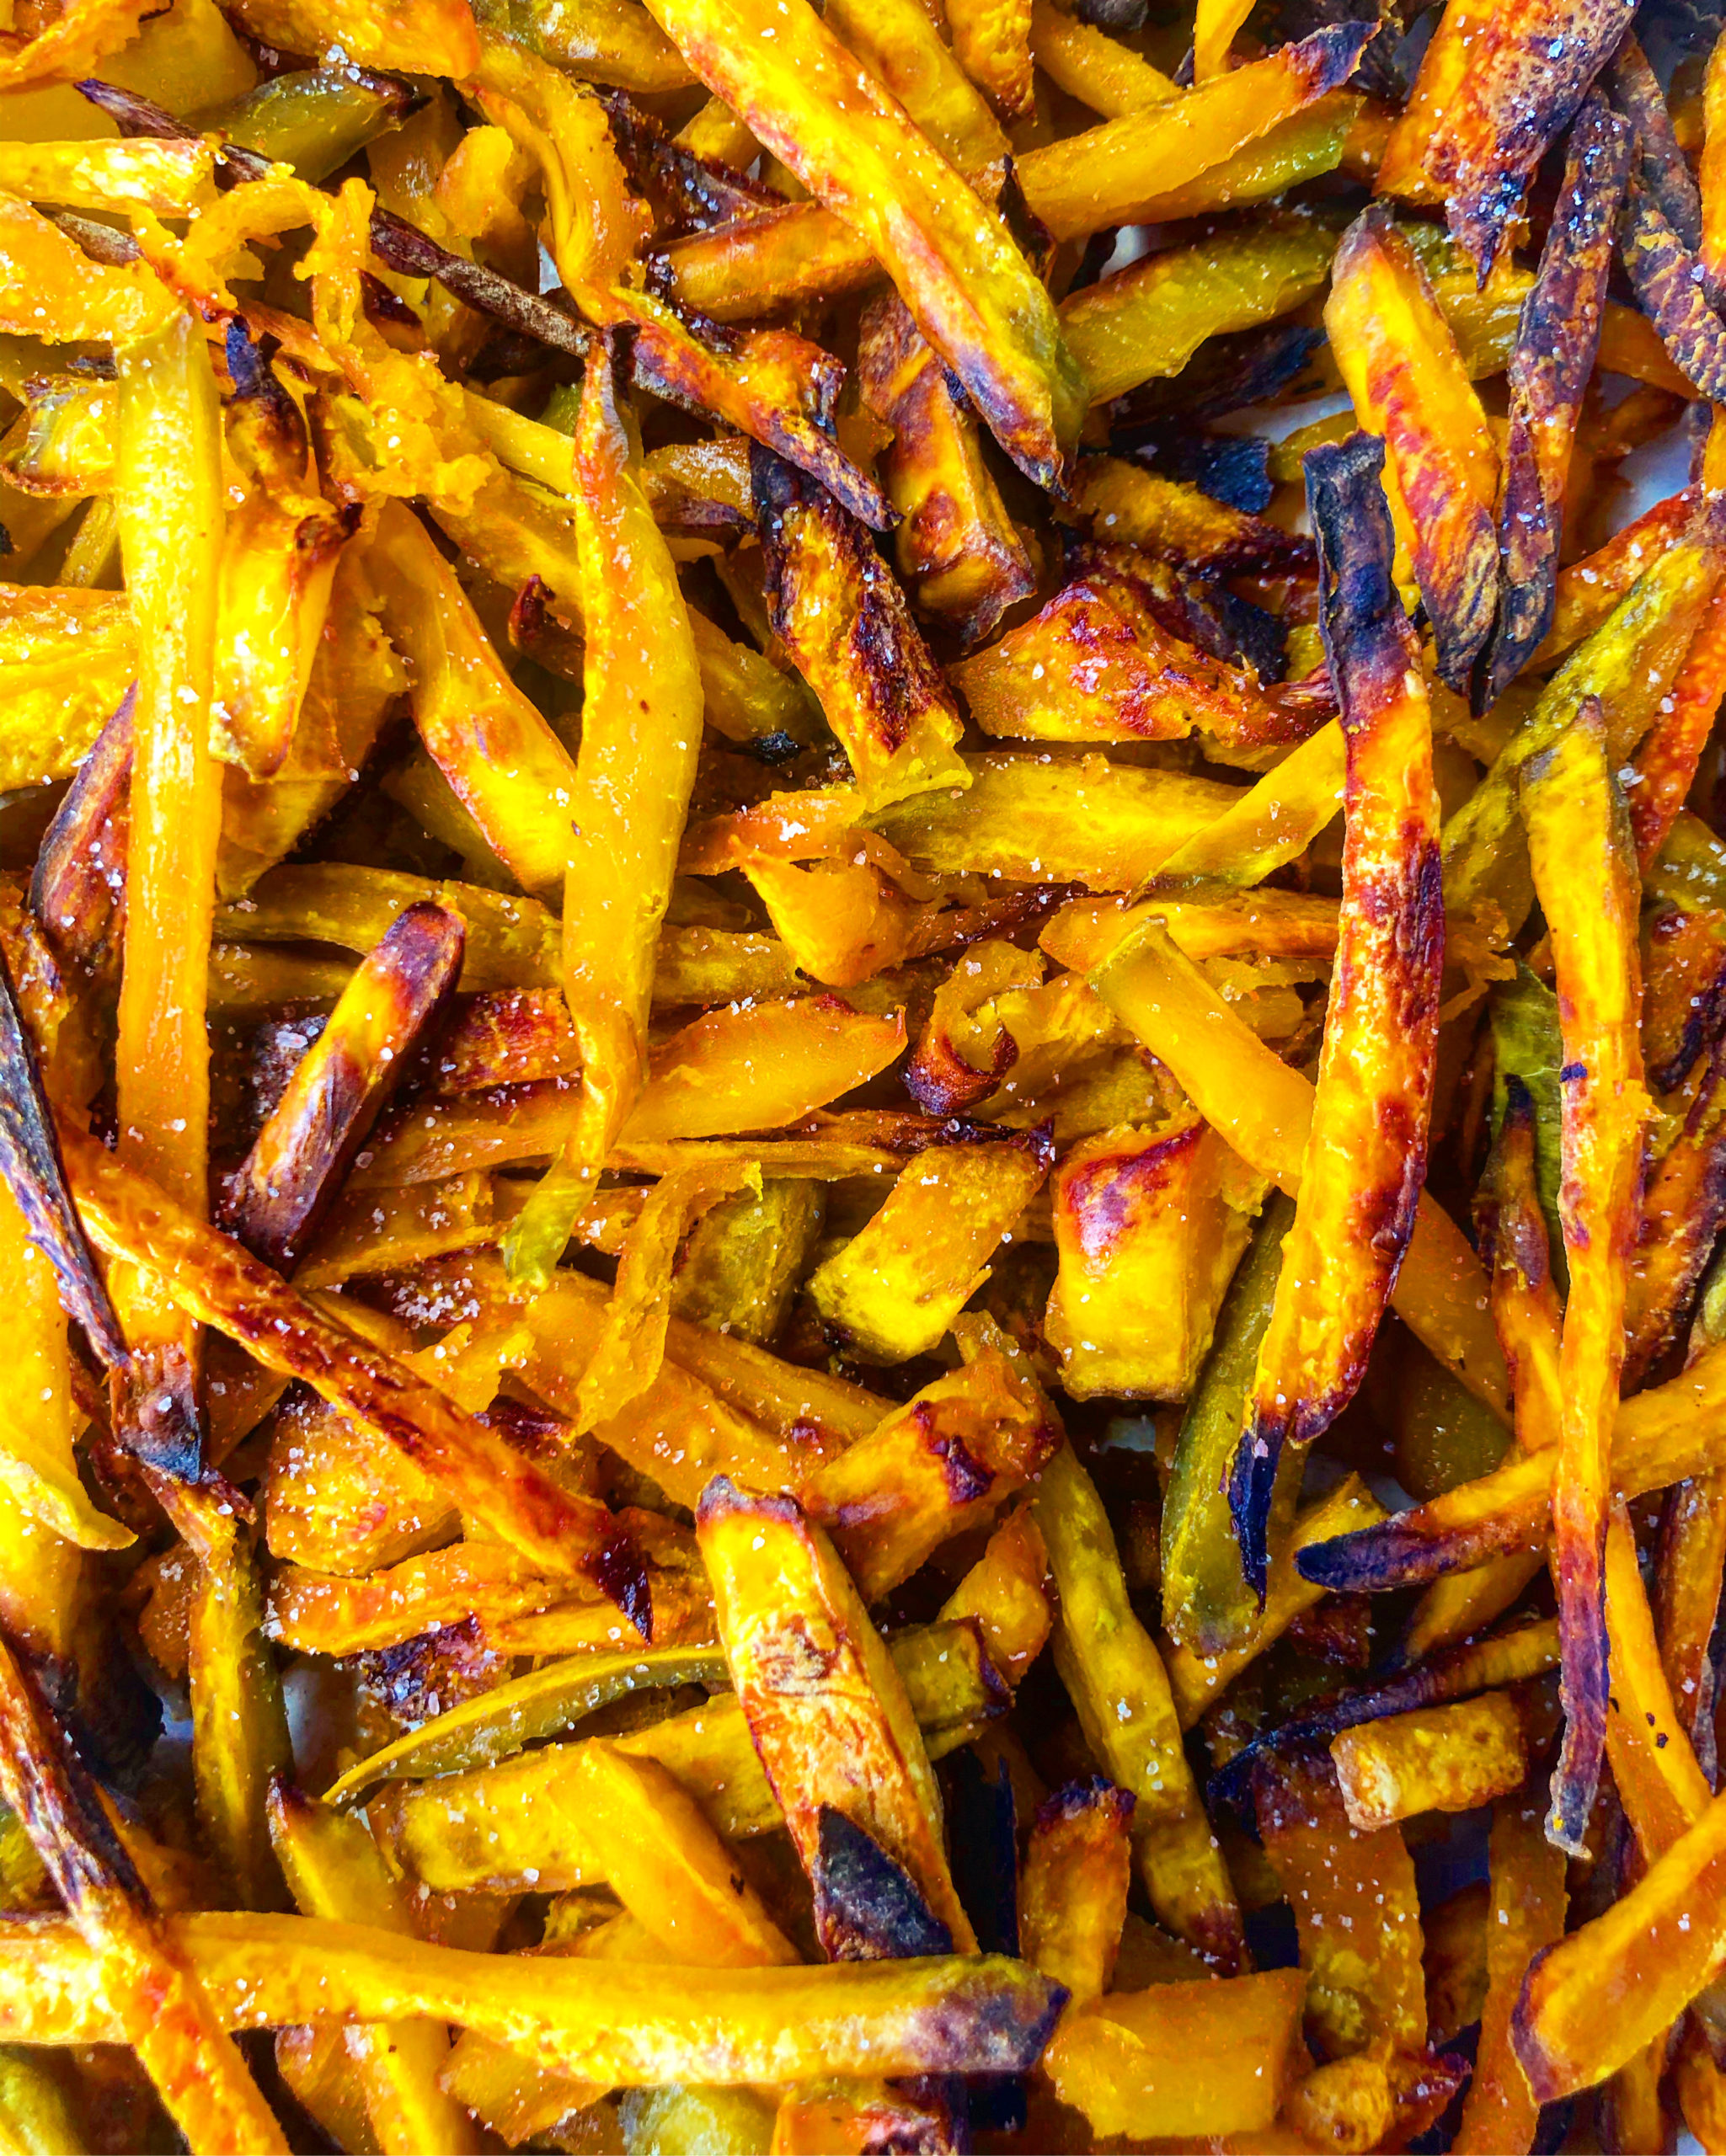
Cut the squash strips into fry-sized pieces. I try to cut them as thin as possible. The thinner they are, the easier it is for them to crisp up.

Bake the fries.
Place the fries on a large baking sheet. If you have a baking sheet that is prone to sticking, use parchment paper under the fries.
Pour about 1 tbsp of melted ghee or animal fat over the fries. Swish the fries around to incorporate the oil. Make sure all of the fries are coated in oil.
Sprinkle a light coating of sea salt over the fries.
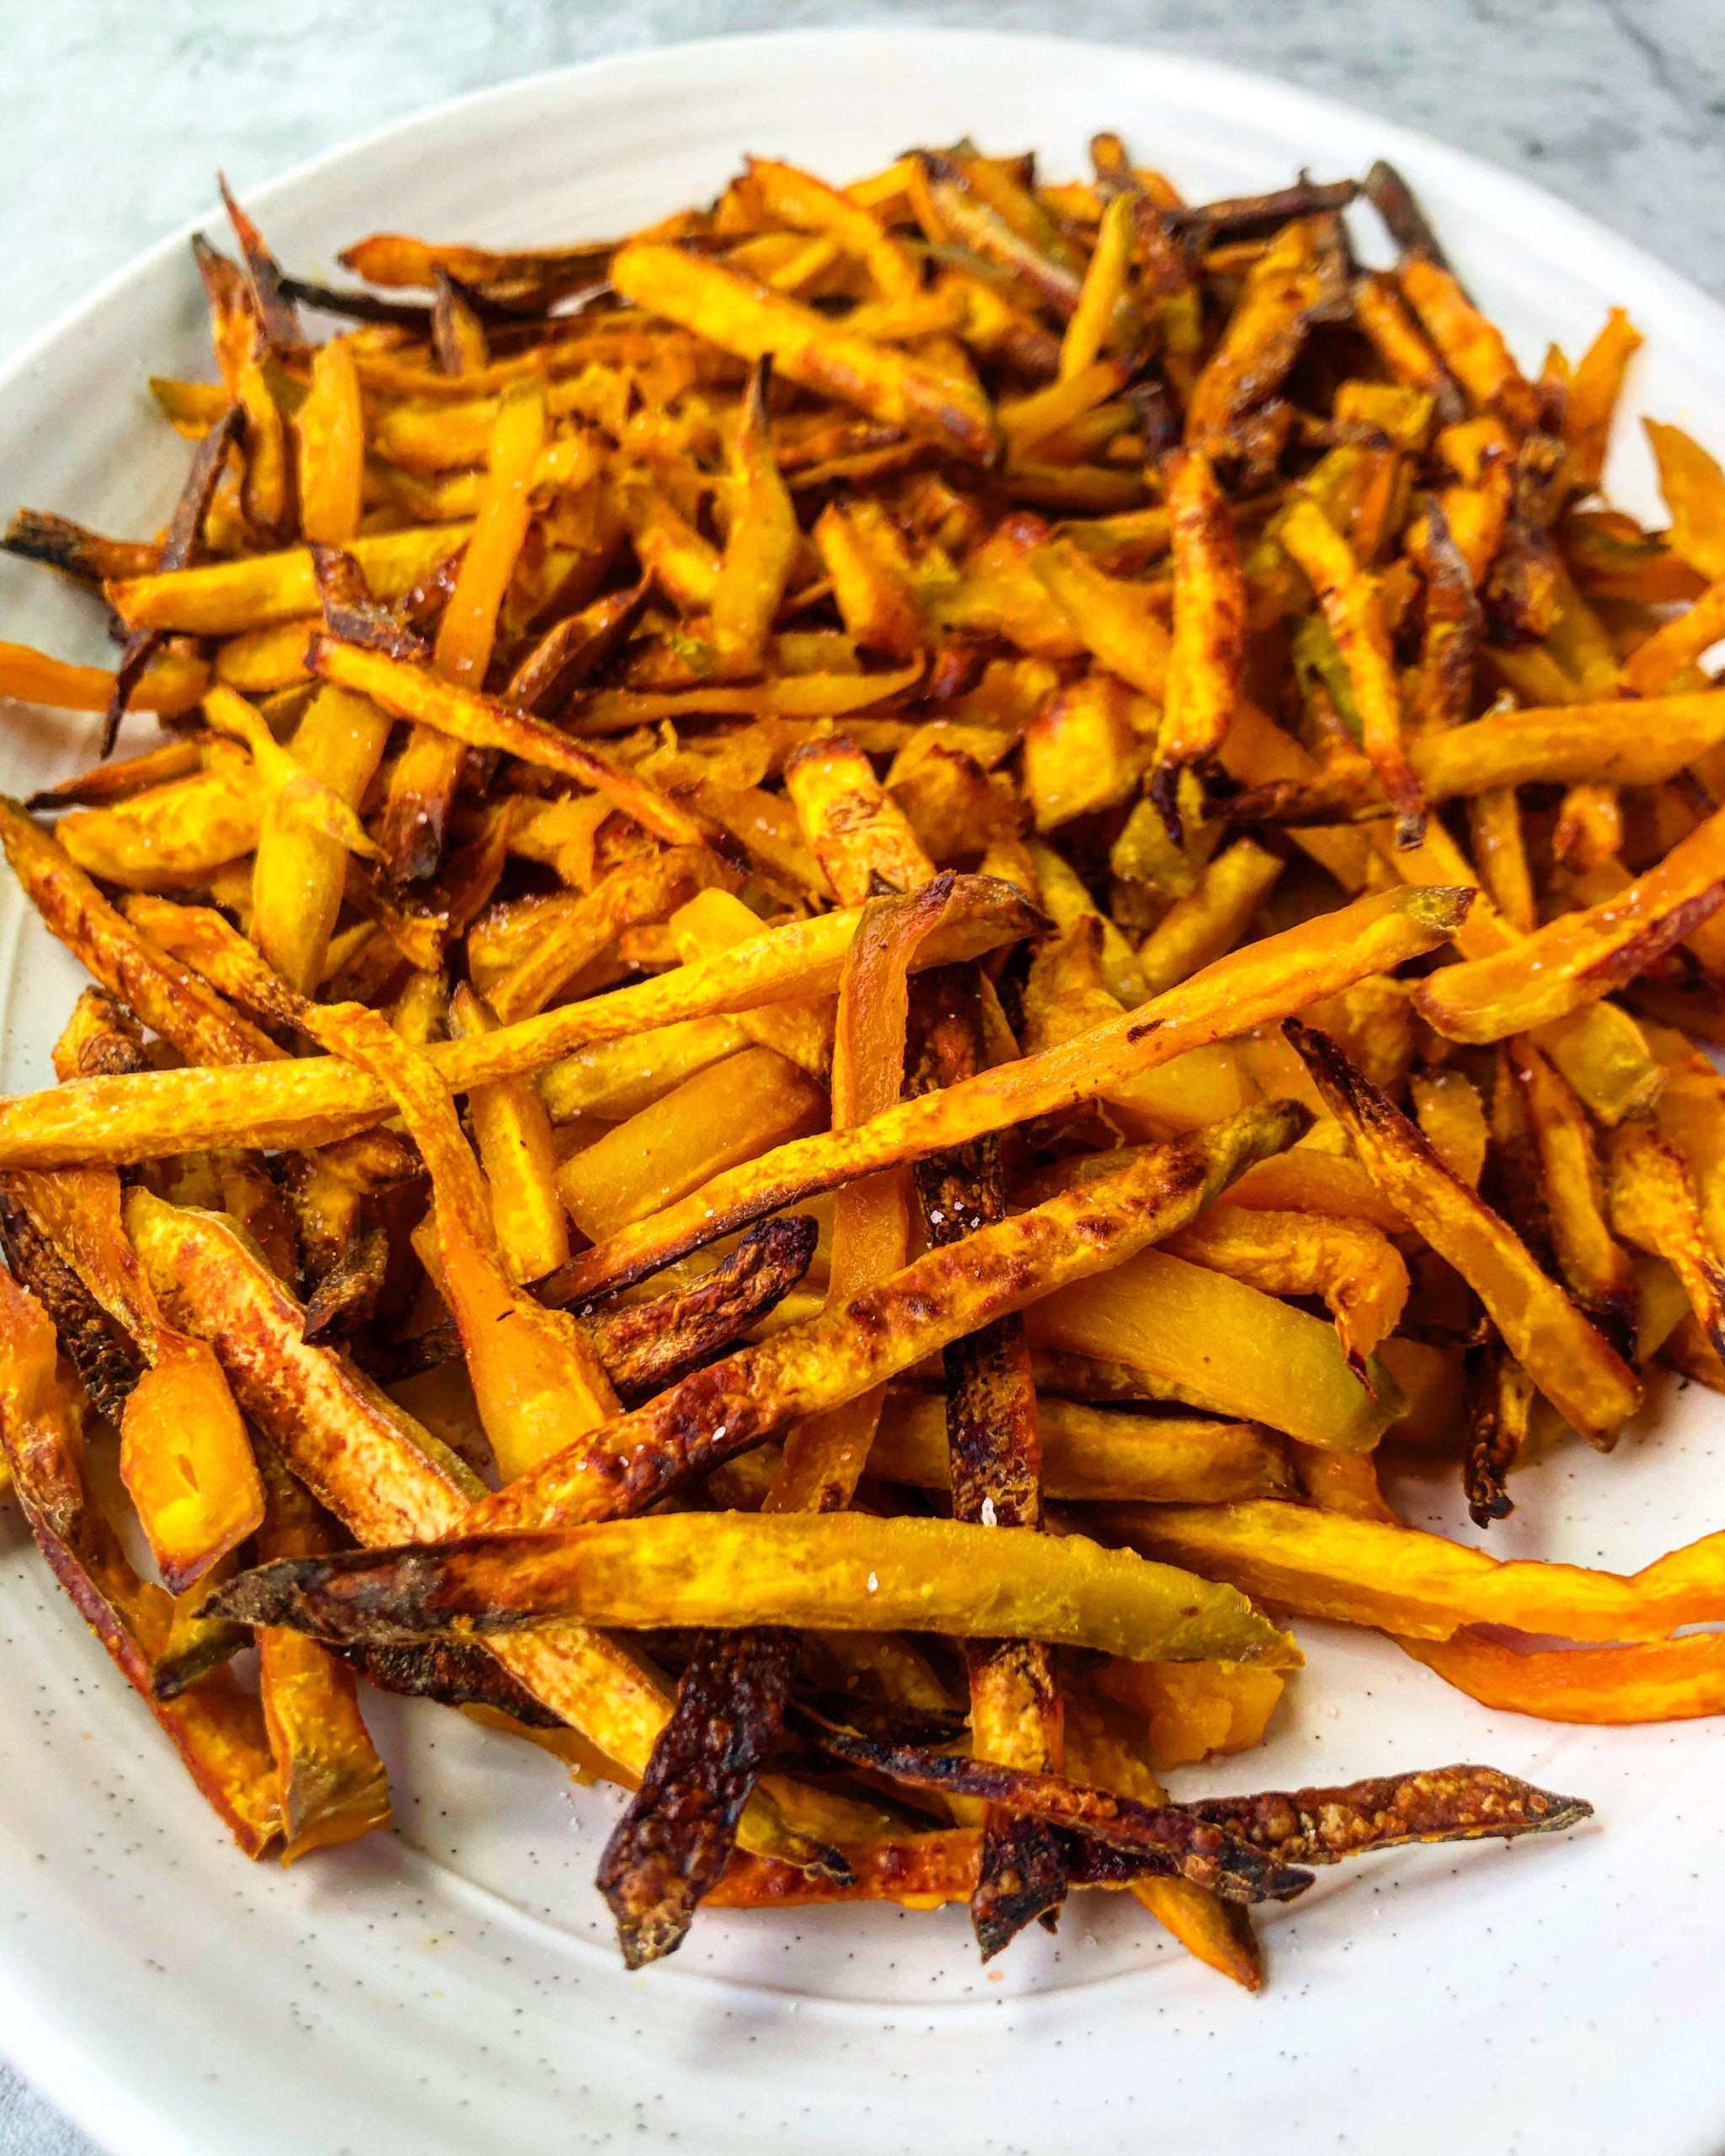
Bake the fries at 375 degrees for 50-60 minutes. The edges will start to brown (or blacken) when they’re done. The majority of the fries should not look mushy or have a bright orange color. They should look dry and have more of a brown hue when finished.

Finish and serve.
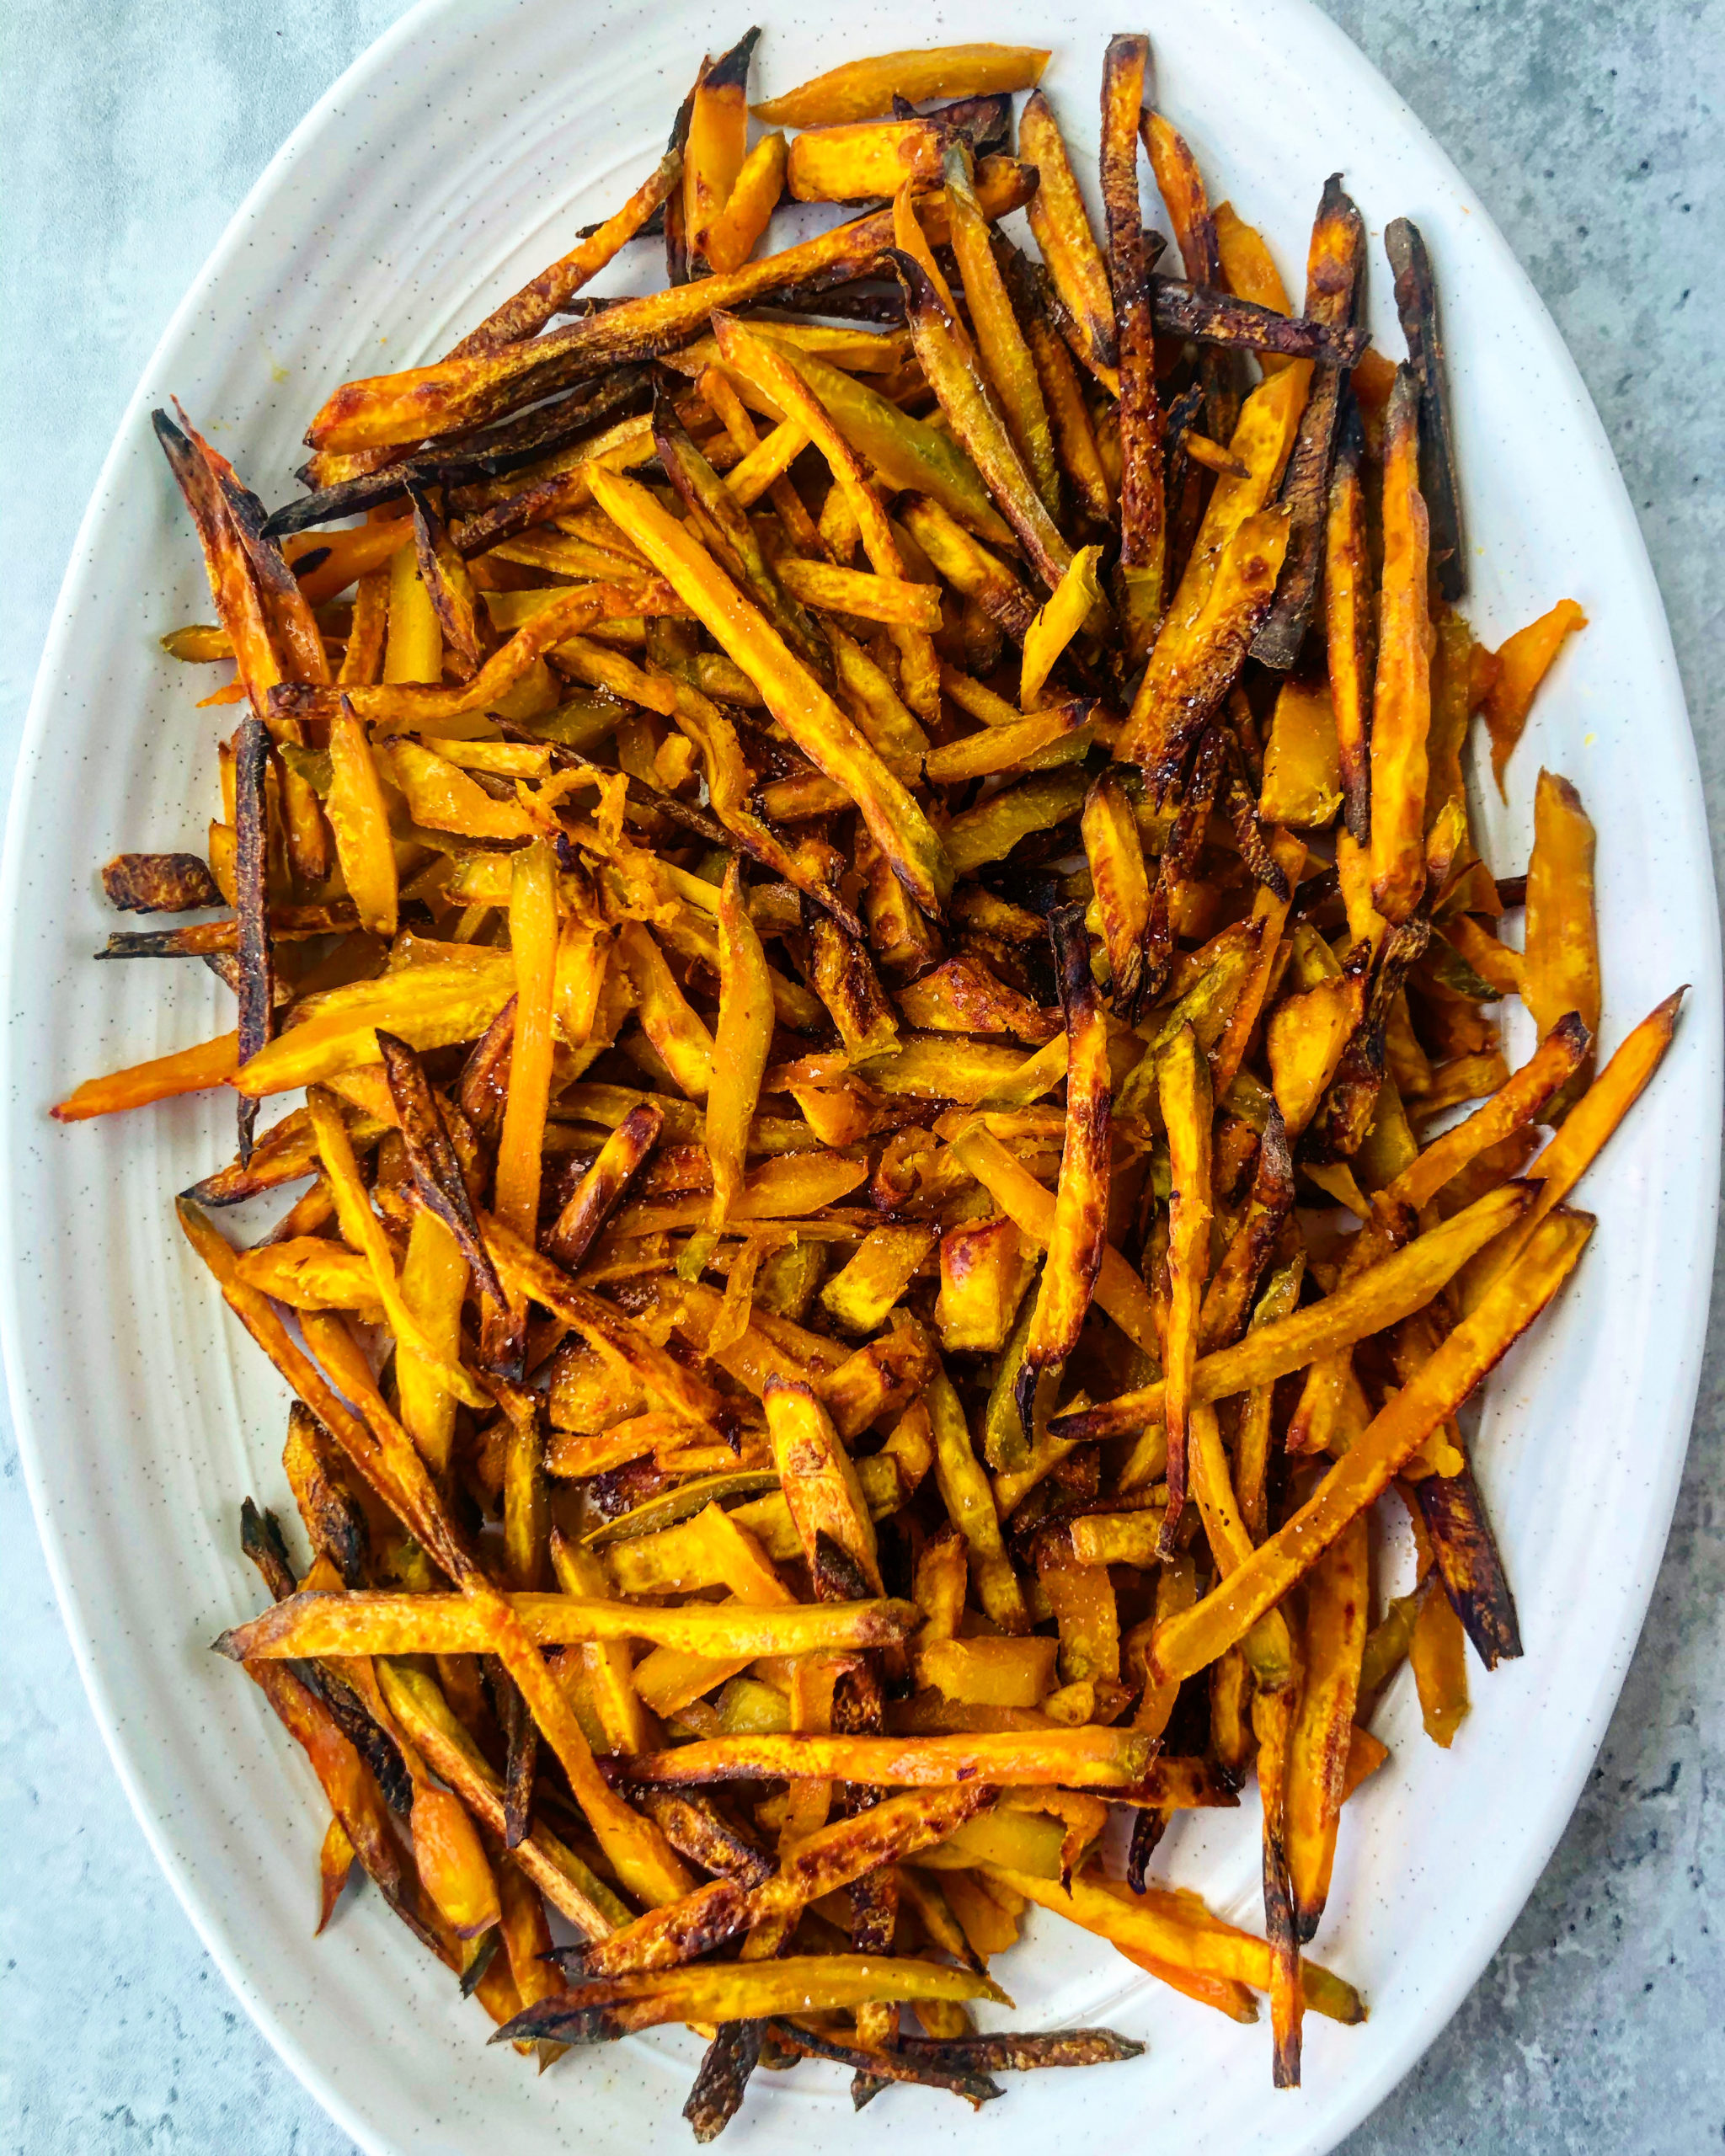
Once the fries are done baking, remove them from the oven. Sprinkle another layer of salt (to taste) over the fries and allow them to rest and cool for about 10 minutes.
Once cooled, transfer them to your serving platter. Serve and enjoy!
These fries are best served fresh, but leftovers can be stored in an airtight container in the fridge for 2-3 days.

Tips to make the best Crispy Oven-Baked Kabocha Squash Fries
- Cut the fries as thin as possible, and before baking, make sure all fries are coated in fat.
- You can flip them halfway through if you want, but it is not necessary.
- If you have a baking sheet that is prone to sticking, use parchment paper under the fries.
Dips & sauces to try with these Crispy Oven-Baked Kabocha Squash Fries:
Tomato-Free Thousand Island Dressing
Some more of my favorite snacks:
Bacon-Wrapped Dates Stuffed with Raw Cheese
Carnivore Fried Chicken Strips
Pork Belly Chips with Honey Mustard Dipping Sauce
Crispy Oven-Baked Kabocha Squash Fries
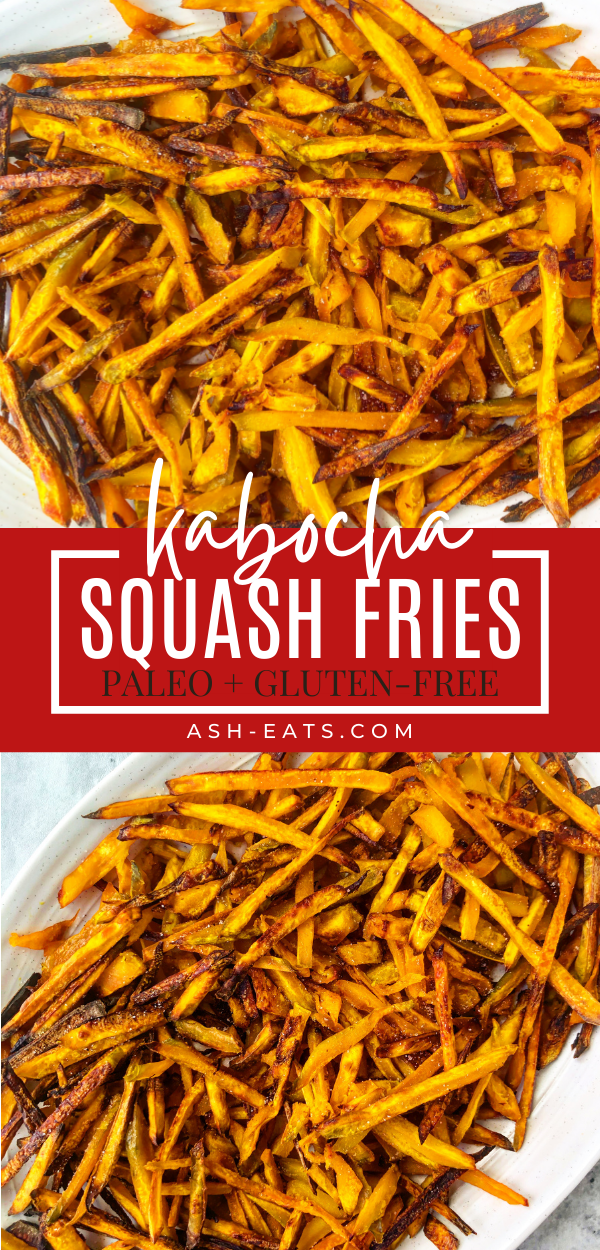

Crispy Oven-Baked Kabocha Squash Fries
Equipment
- Baking sheet
Ingredients
- 1 medium kabocha squash
- 1 tbsp grass-fed ghee (or butter)
- sea salt, to taste (ASHLEYR for 15% off)
Instructions
- If you’re interested solely in the recipe, skip this bullet point and keep on reading. For those interested in sourcing nutrient-dense food, low-toxic household products, and discounts on brands that may support your AB journey, you may find value in my product guides. Head over to this page if you’d like to check them out. All are free (and always will be).
Prepare the kabocha squash.
- Take the raw kabocha squash and cut it in half.
- your vegetable peeler and skin the halves.
- Note: While skinning, you'll notice that if you skin the same area a few times, you'll get past what's left of the green part of the skin and into the yellow meat. It's not necessary to rid the squash of the green color entirely. I usually shoot for a light green-yellowish hue to know when I'm done skinning.
- Once the kabocha squash halves are skinned, scoop out the seeds and mush.
Cut the squash into fries.
- Place the squash on a cutting board (or cutting surface) with the scooped out sides facing down.
- Cut the squash into strips, slicing it the "long" ways.
- Cut the squash strips into fry-sized pieces. I try to cut them as thin as possible. The thinner they are, the easier it is for them to crisp up.
Bake the fries.
- Place the fries on a large baking sheet. If you have a baking sheet that is prone to sticking, use parchment paper under the fries.
- Pour about 1 tbsp of melted ghee or animal fat over the fries. Swish the fries around to incorporate the oil. Make sure all of the fries are coated in oil.
- Sprinkle a light coating of sea salt (ASHLEYR for 15% off) over the fries.
- Note: if you go through tons of salt in your household like we do, check out this salt purchasing hack that will save you money + make things more efficient. We started this last year, and I'm so happy we did!
- Bake the fries at 375 degrees for 50-60 minutes. The edges will start to brown (or blacken) when they're done. The majority of the fries should not look mushy or have a bright orange color. They should look dry and have more of a brown hue when finished.
Finish and serve.
- Once the fries are done baking, remove them from the oven. Sprinkle another layer of salt (to taste) over the fries and allow them to rest and cool for about 10 minutes.
- Once cooled, transfer them to your serving platter. Serve and enjoy!
- These fries are best served fresh, but leftovers can be stored in an airtight container in the fridge for 2-3 days.
What I used for this recipe:

Looking for other snack ideas? Try one of these:
Bacon-Wrapped Dates Stuffed with Raw Cheese
Carnivore Fried Chicken Strips
Pork Belly Chips with Honey Mustard Dipping Sauce
Note: This post contains Amazon affiliate links. This means that if you click on a link and make a purchase, I will receive a small commission at no cost to you. Thank you for supporting me!

Ashley Rothstein develops tasty, whole food, animal-based recipes that include a moderate amount of “minimally toxic” plant foods. To fix her own health issues, she bounced around between the carnivore, keto, and paleo diets for a few years. After experiencing and studying each diet philosophy, she learned she feels her best by merging the three and following an animal-based diet. As a glut at heart, she likes to channel her creativity and create meals that are healthy but also satisfy her inner gluttonous spirits.
