Prep time: 1 hr Cook time: 1 hr 30 mins Rest time: 15 mins Total time: 2 hrs 45 mins
Makes: 4 stuffed apples
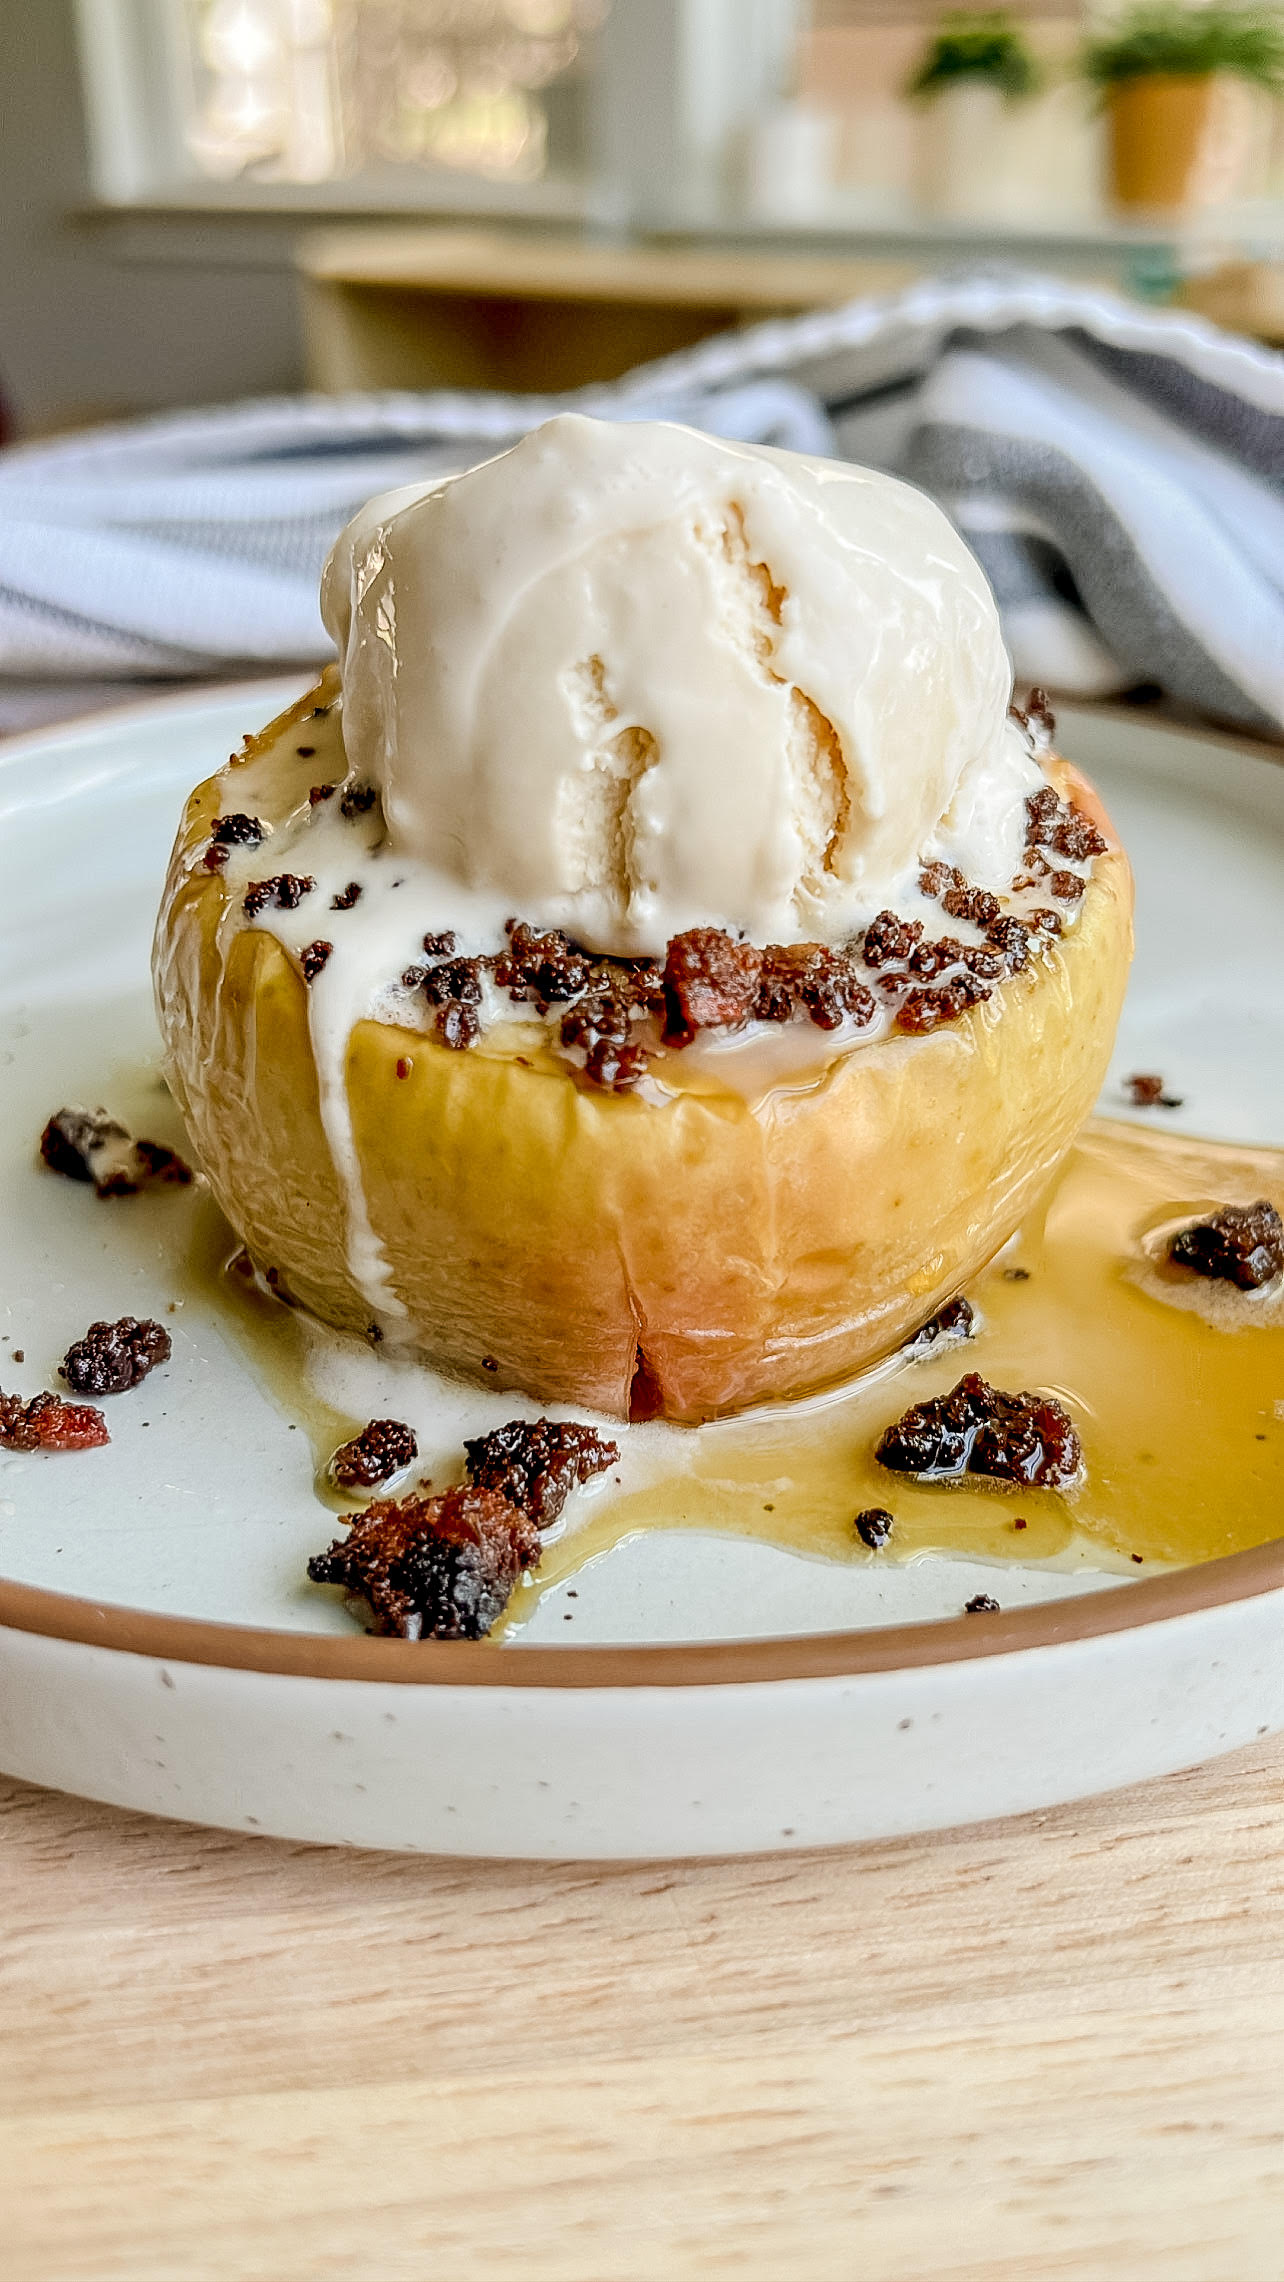
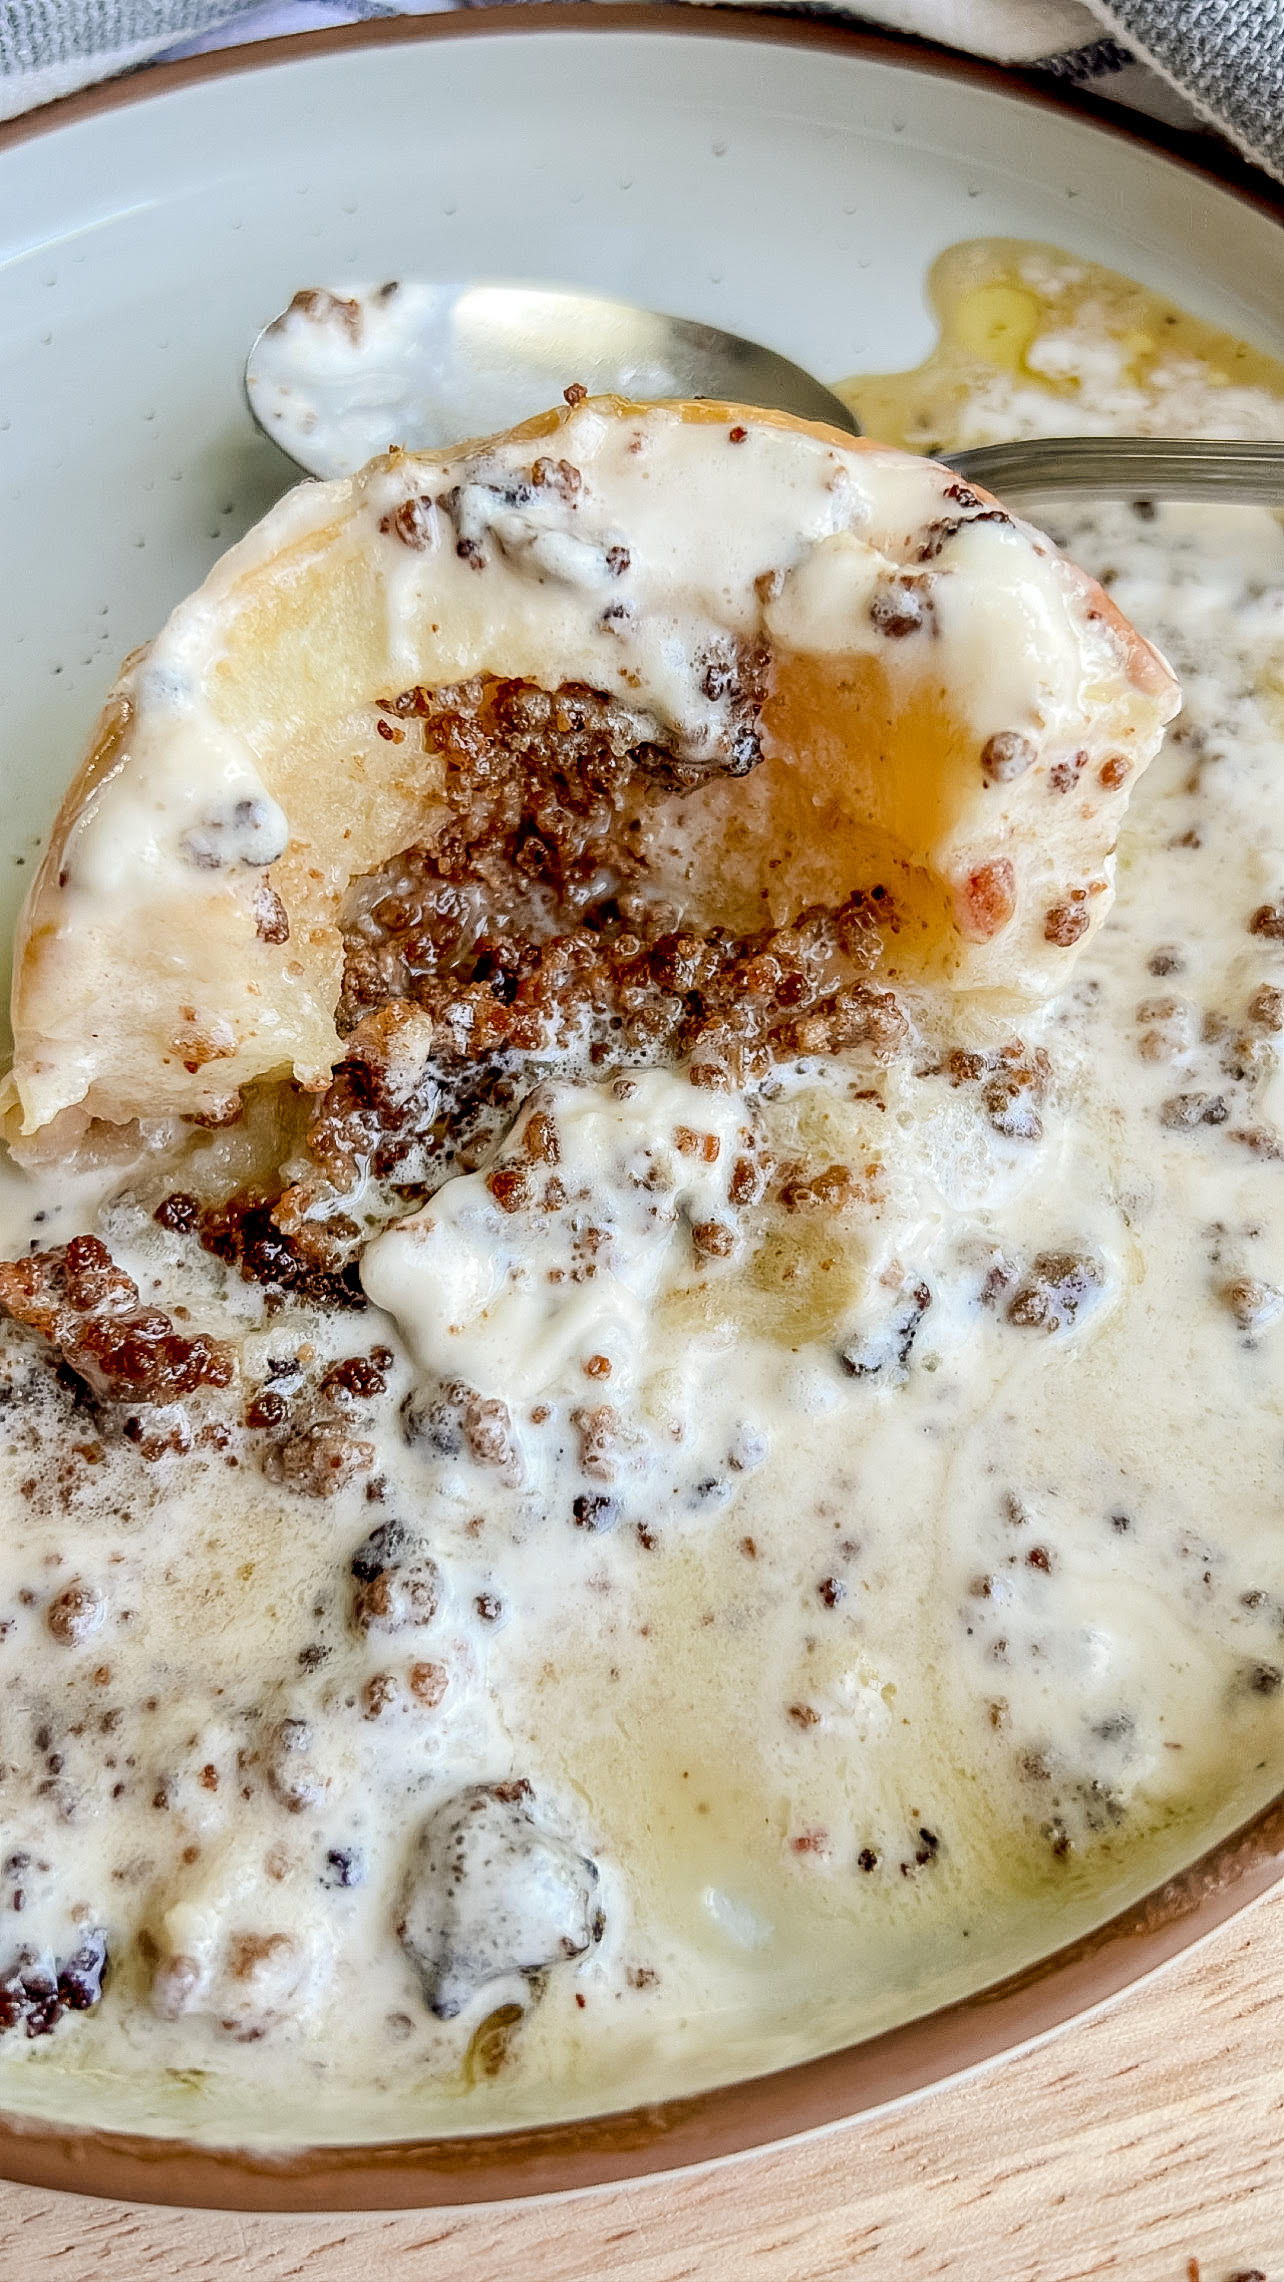
These animal-based baked apples are stuffed with a beef-date-egg yolk-sea salt mixture and are topped with raw milk ice cream.

What you need to make Beef-Stuffed Baked Apples with Raw Milk Ice Cream
Ingredients:
For the filling:
- Carnivore Crisps beef flour (ASHLEYR for 10% off – or dehydrated ground beef – see this recipe for instructions)
- Medjool dates
- Egg yolks
- Sea salt (ASHLEYR for 15% off)
For the apples:
- Apples
- Grass-fed ghee (or butter)
For topping:
- Raw milk ice cream (I used raw cream instead of the raw milk cream when I made the ice cream for this recipe; I also used 1/2 cup maple syrup instead of dates)
- Maple syrup
Equipment:
- Food processor
- Baking sheet
- Parchment paper
- Ice cream maker
(for the full recipe, scroll to the bottom)
Substitutions
Dehydrated ground beef (that is then blended into “flour”) will work in place of Carnivore Crisps beef flour (ASHLEYR for 10% off). See this recipe for instructions.
Any sort of ice cream will work.
Butter will work in place of ghee, and you can use the whole egg if you don’t want to waste the whites. (I feel better eating yolks only which is why I usually leave the whites out of my recipes.) If you use the full egg, use 2 eggs instead of 4 yolks.

How to make Beef-Stuffed Baked Apples with Raw Milk Ice Cream
If a visual will help, watch the Instagram Reel for this recipe.
Make the raw milk ice cream.
Follow this recipe here. Make a 1/2 batch.
Note: I used raw cream instead of the raw milk cream top when I made the ice cream for this recipe. I also used maple syrup instead of dates.
Make the filling.
In your food processor, add the beef flour (ASHLEYR for 10% off), egg yolks, dates, and sea salt (ASHLEYR for 15% off).
Note: If you want to use the full egg, use 2 full eggs instead of 4 yolks.
Note: if you go through tons of salt in your household like we do, check out this salt-purchasing hack that will save you money + make things more efficient. We started this last year, and I’m so happy we did!
Blend until all ingredients are incorporated. The filling will be pretty dry.

Prepare the apples.
Slice a sliver off of the top of each apple (for a visual, see the Instagram Reel) and scoop the core out. I used a melon baller, but a spoon will work too.
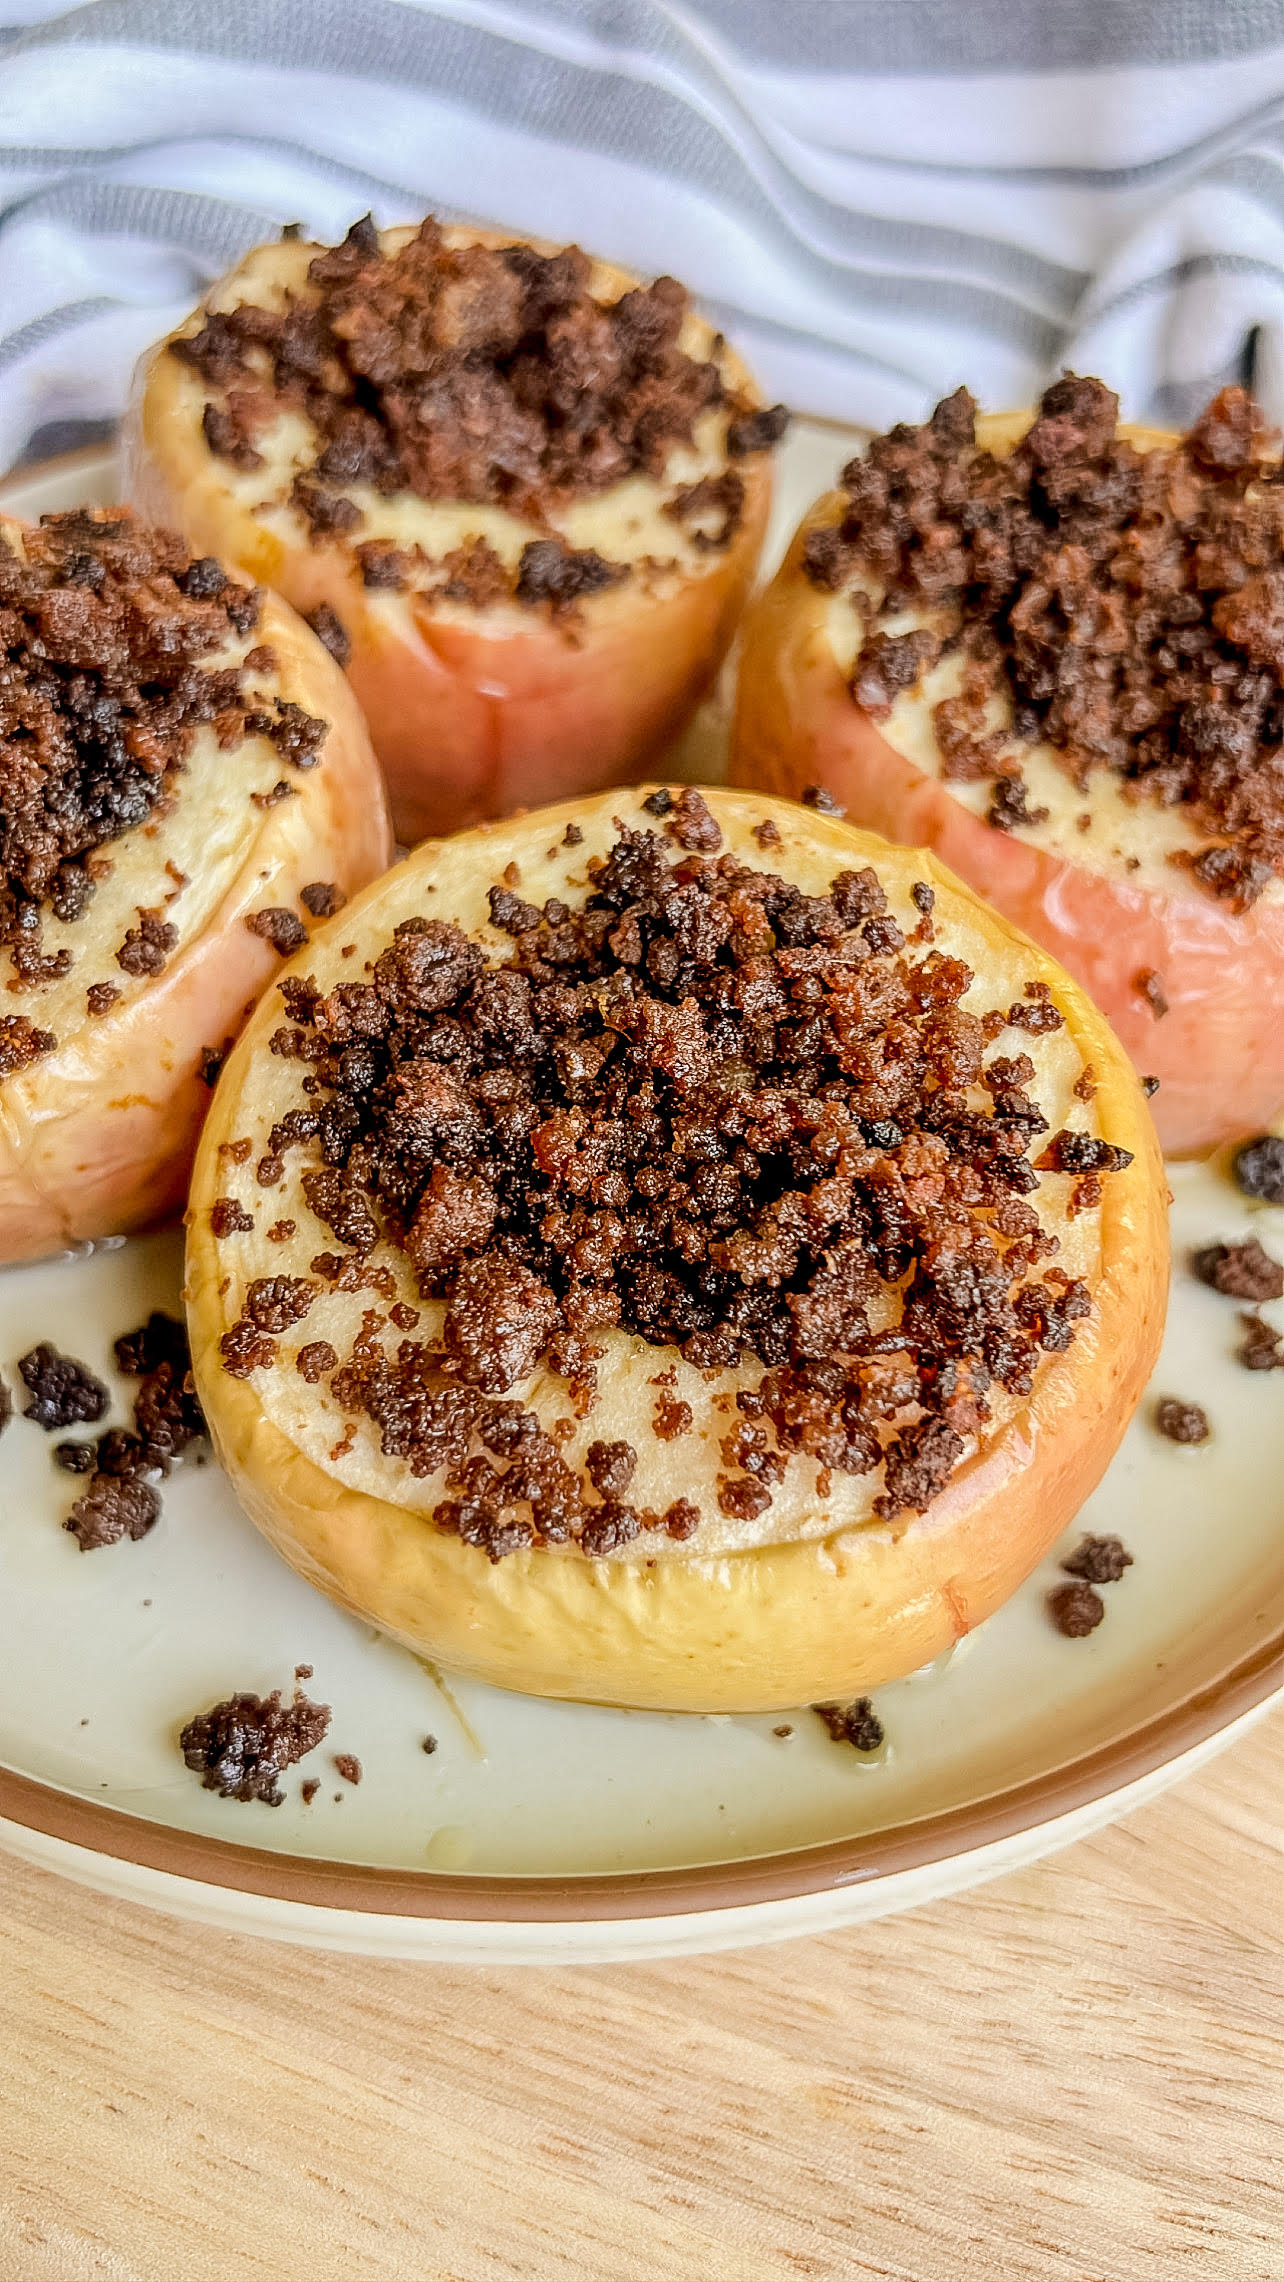
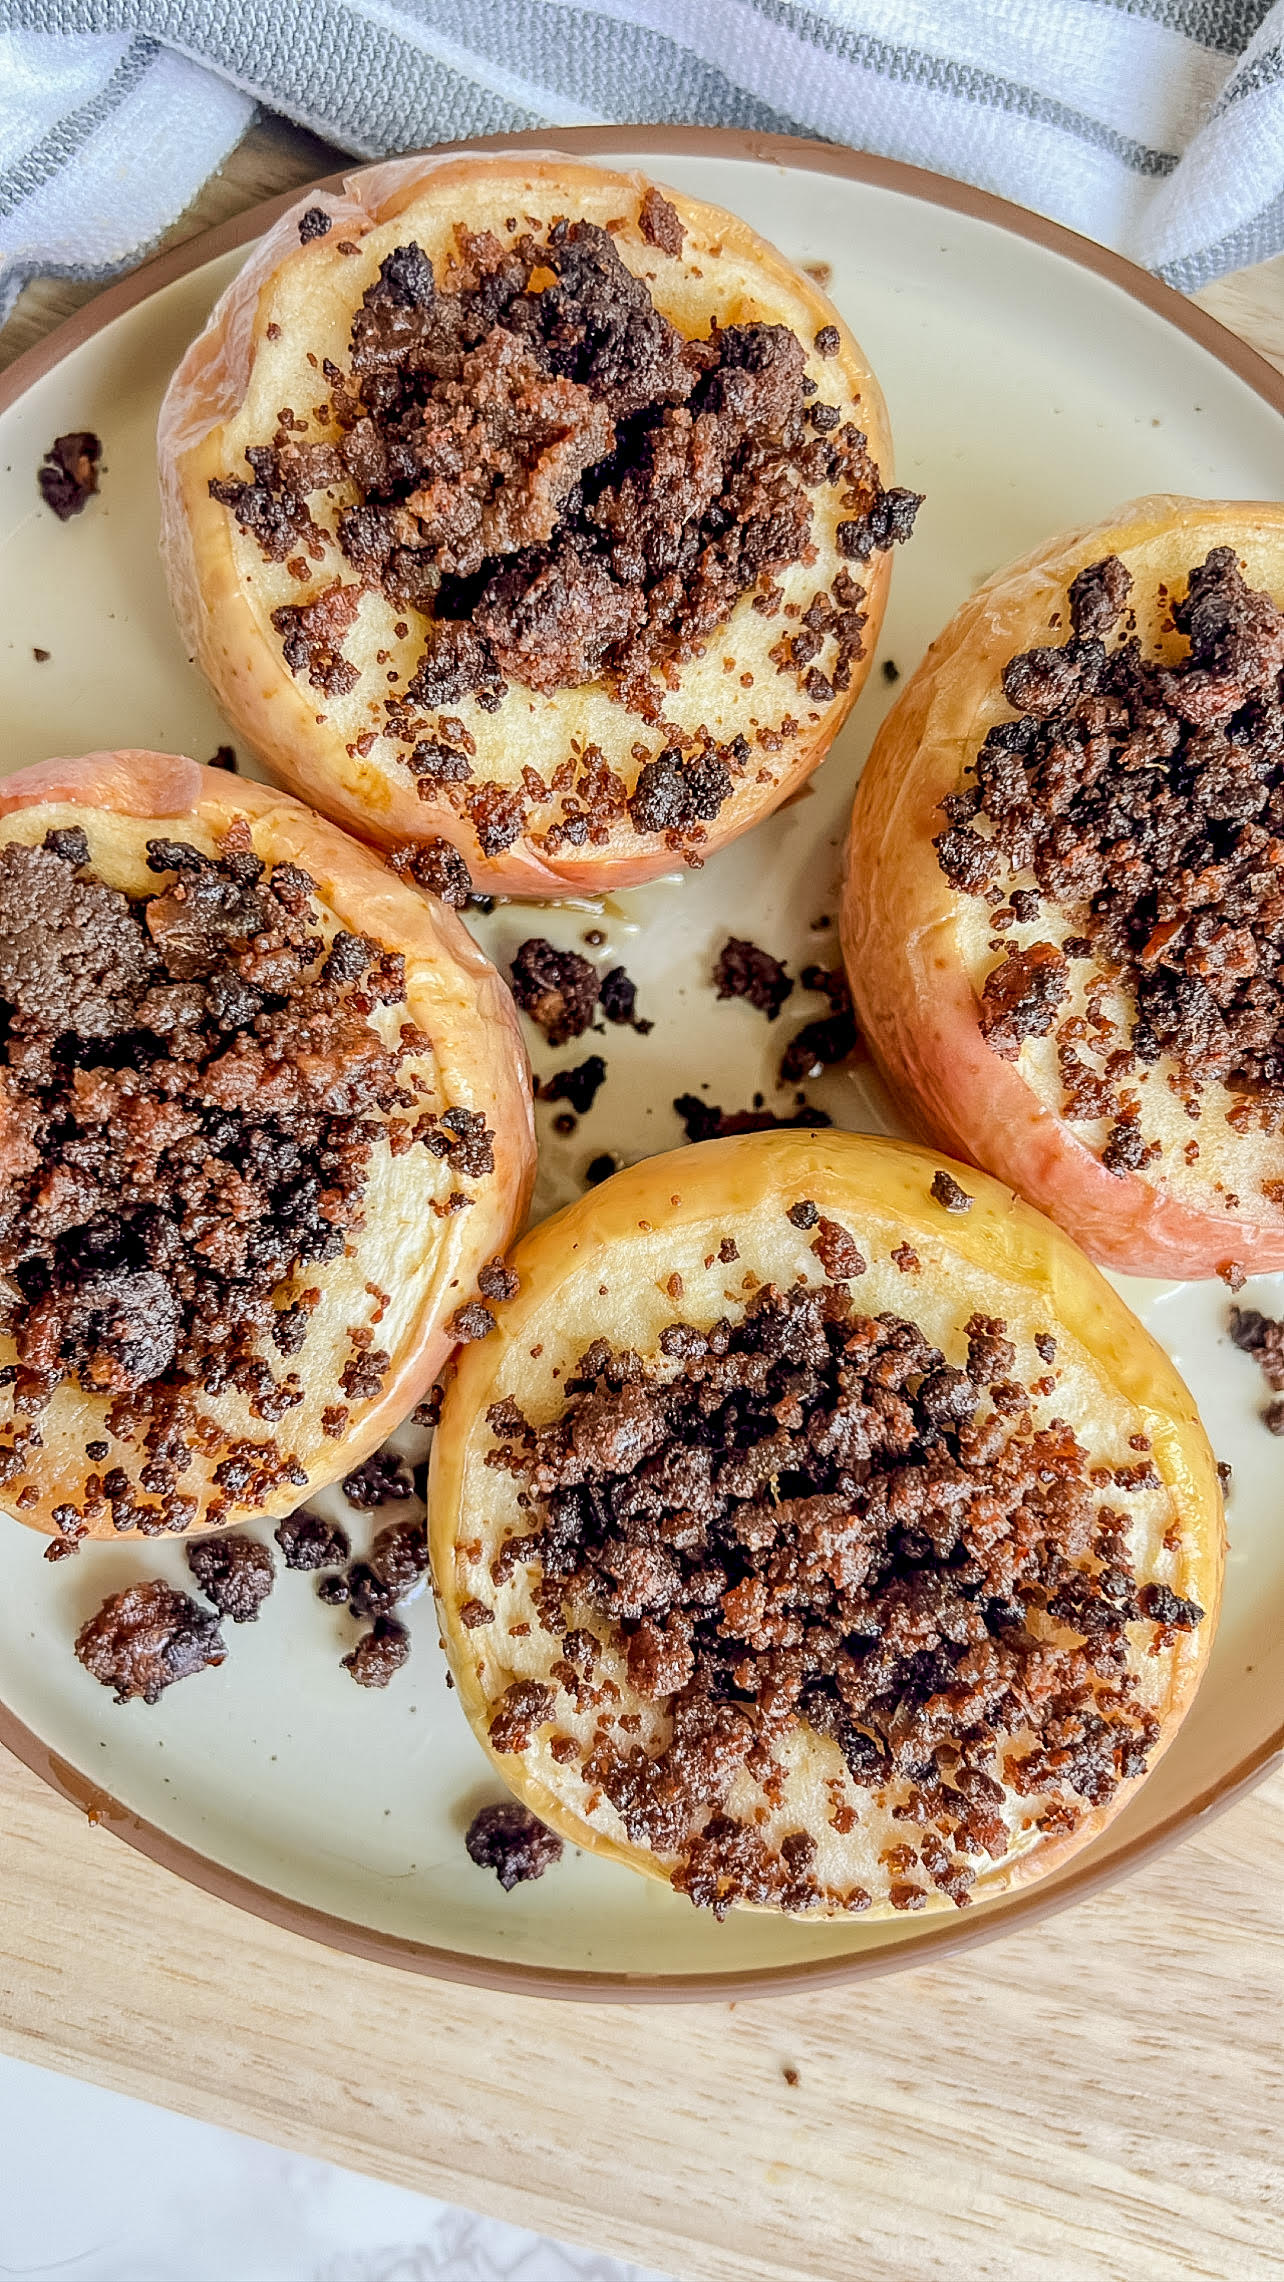
Stuff the empty core of the apples with the filling.
Note: If you want a large amount of filling in each apple, scoop out larger holes inside the apples. If you’d like more apple than filling, leave the hole smaller.
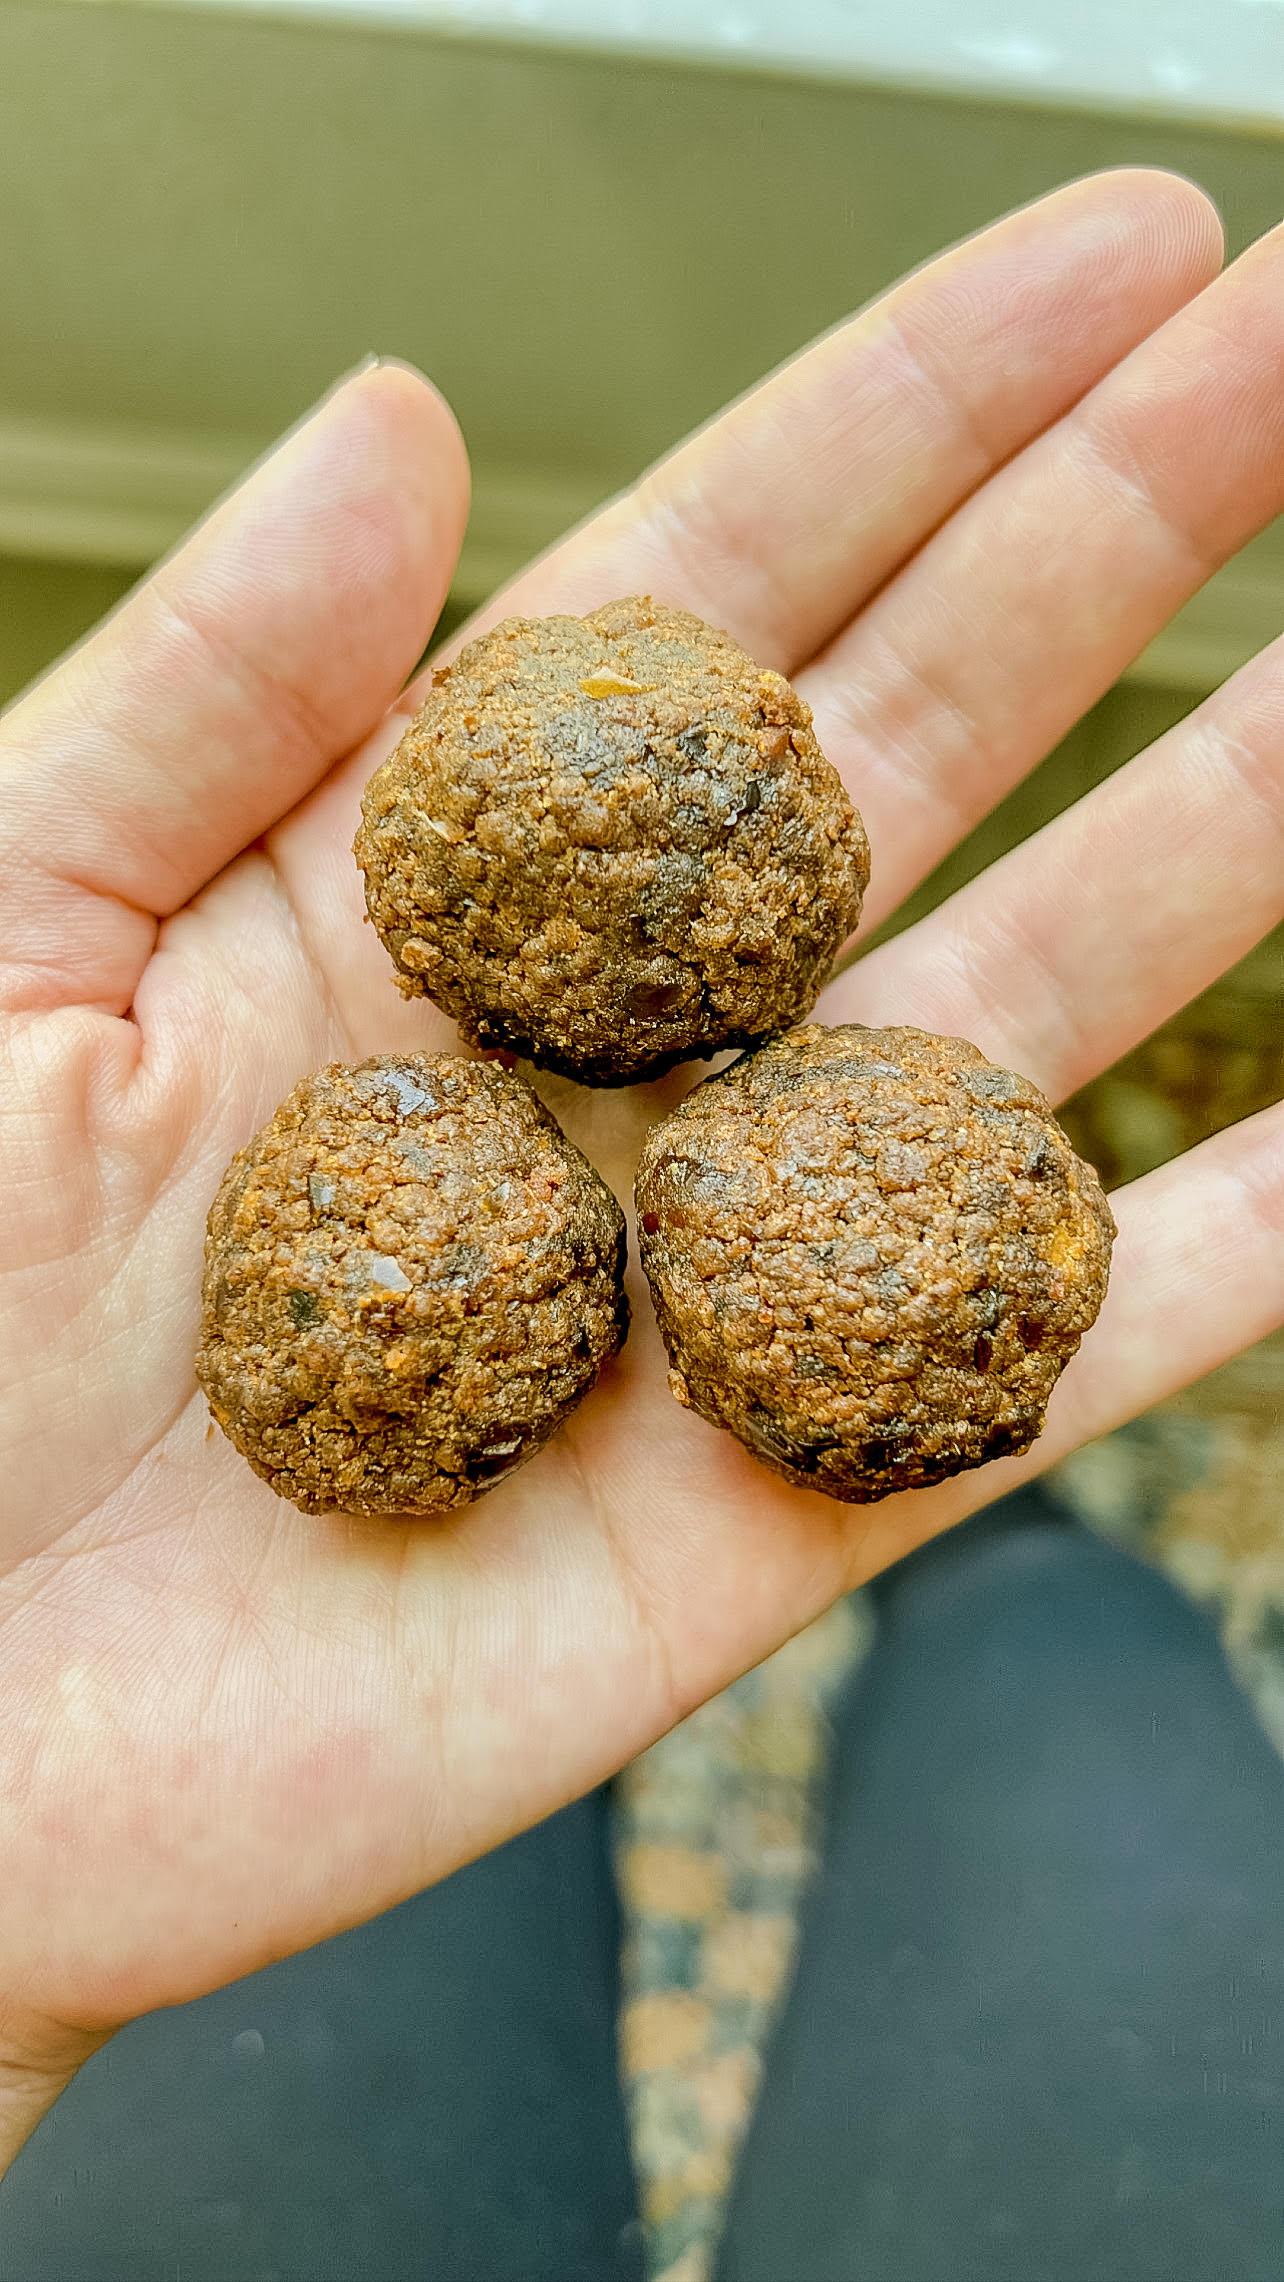
Note: You may have some extra filling depending on the size apples you use and the size of the holes you carve out. You can eat it by itself, with some raw milk like cereal, roll it into little energy balls (pictured above in the “Tips to make the best…” section), or find some other creative use for it.
Top the stuffing of each apple with a generous amount of ghee or butter, about 1 tsp (or more) per apple.
Place the apples on top of a piece of parchment paper on your baking sheet.

Bake the apples.
Place the apples in oven and bake on the lowest rack at 300 degrees for 1 hr 10 minutes.
Note: The apples will start to collapse when they’re done. The bake time listed above creates an al dente texture for the apples, not “melt in your mouth” consistency. I loved them this way. You could bake for longer, but the longer you leave them in, the more the beef bits will burn, so that’s something to consider. About halfway through, I brushed some of the melted ghee onto the apple skins and I think this helped them bake/soften faster.
Note: Some of the filling (mainly the top) will blacken/burn. I haven’t found a way around this as lowering the temperature to prevent burning would mean leaving the apples in the oven for hours. If you prefer to not eat the burnt pieces, you can scrape the top of the filling off and discard it. I mixed mine into the rest of the filling and couldn’t taste the difference.
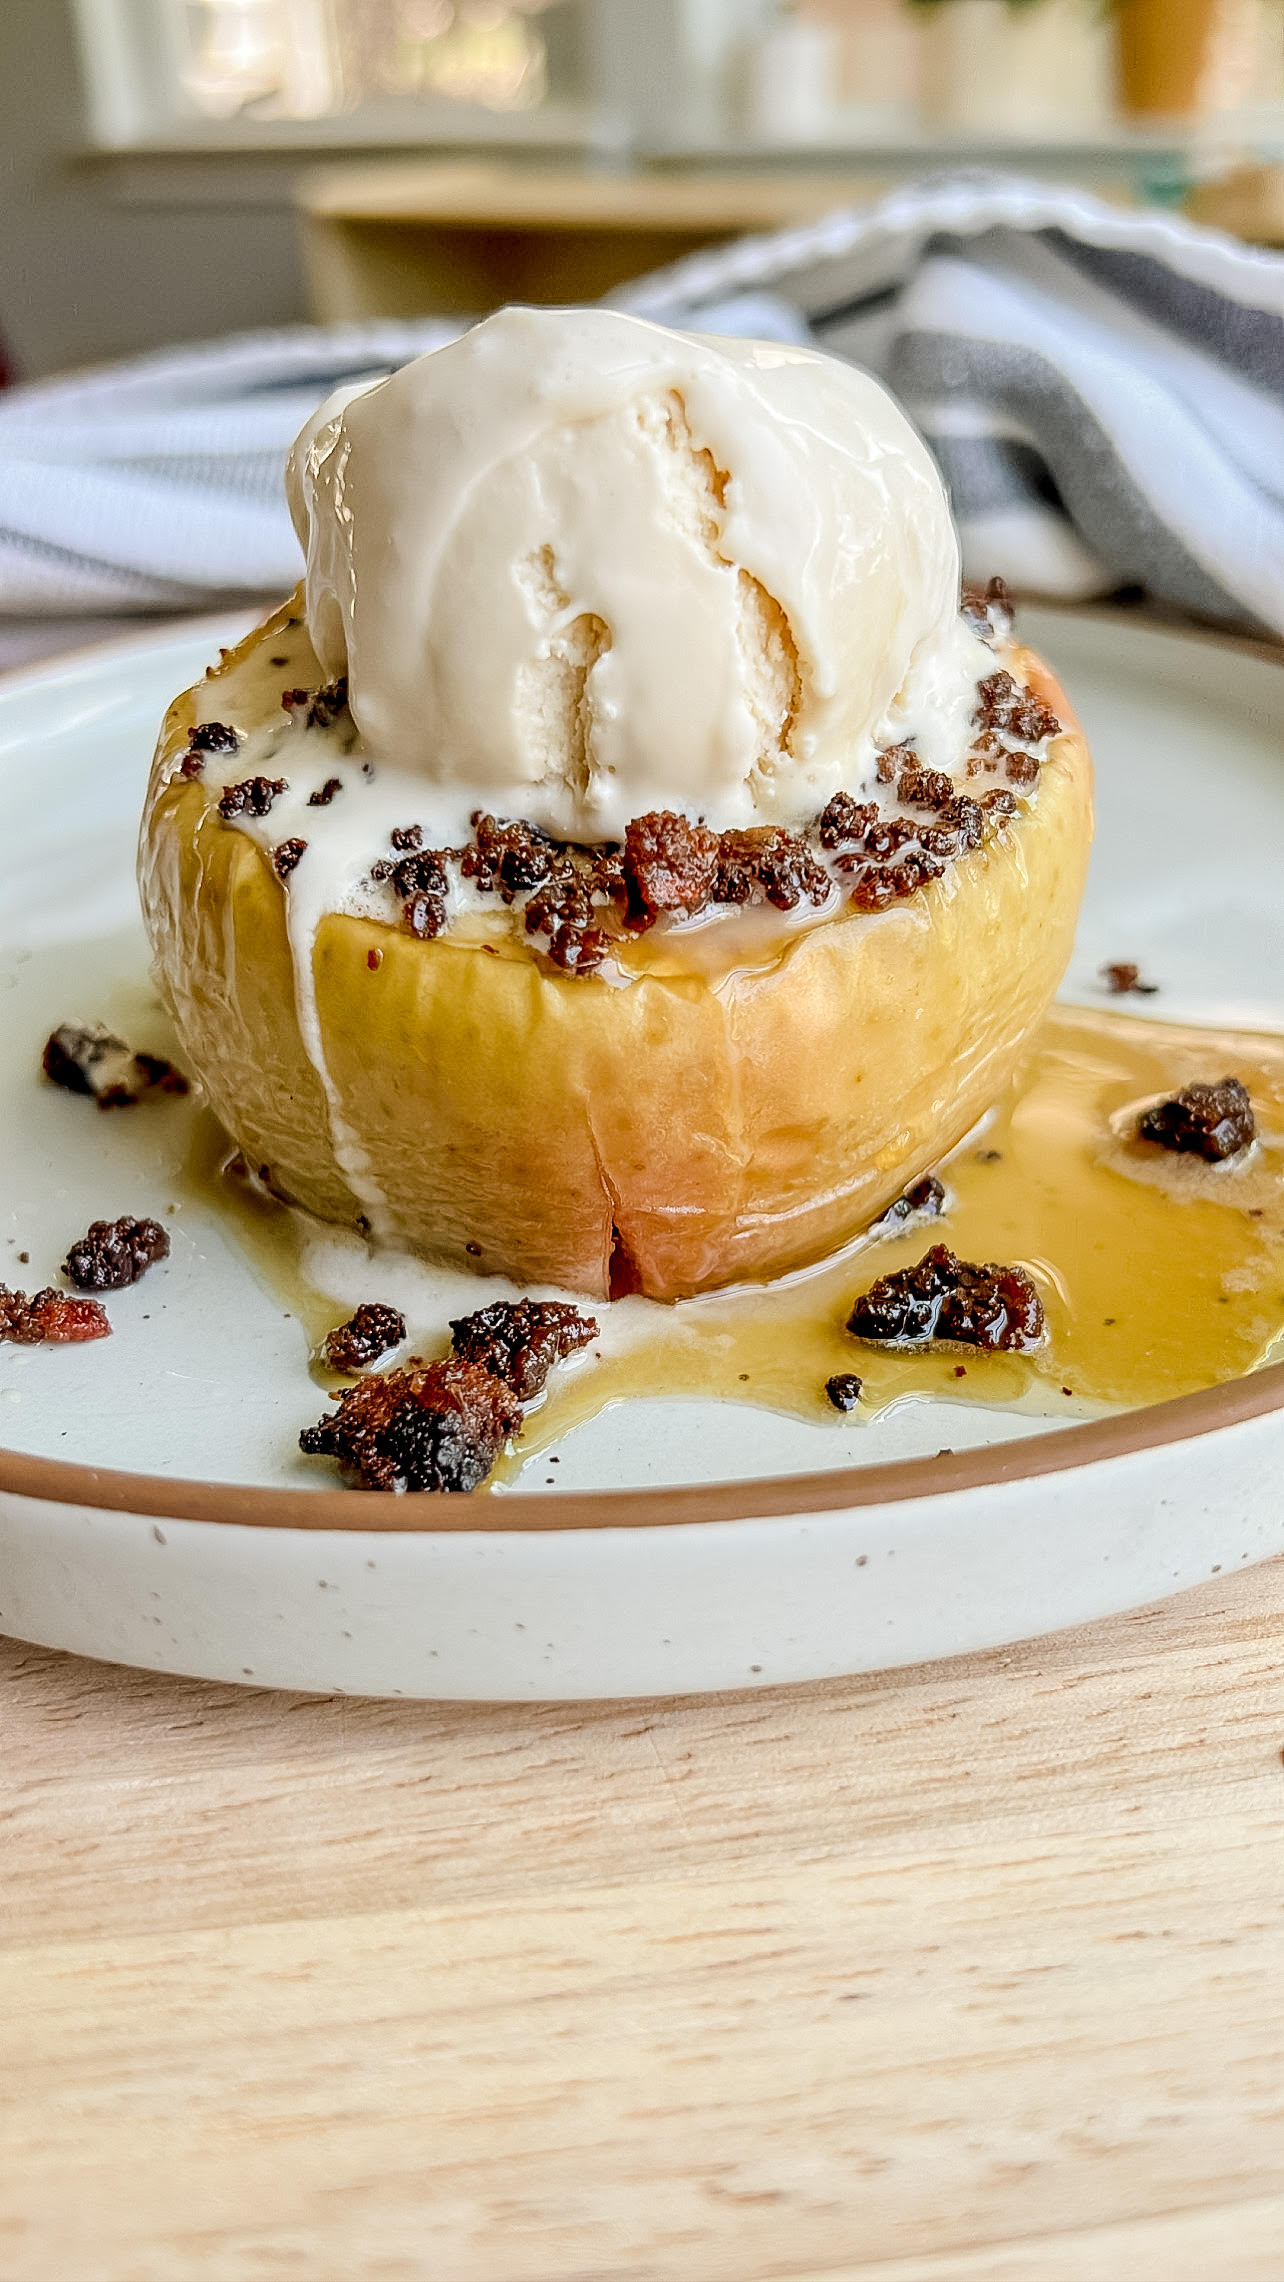
Let the apples cool, top with ice cream, then serve.
Once the apples are done baking, remove them from the oven, allow them to cool for 10-15 minutes or so, then top them with raw milk ice cream and/or maple syrup. The combo of the apples, filling, ice cream, and maple syrup was so delicious!
Note: This dessert is best enjoyed fresh. If saving leftovers for later, store the apples in an airtight container at room temperature for a day or two and store the ice cream in the freezer. You could store the apples in the fridge, but they will likely become firm and less enjoyable.


Tips to make the best Beef-Stuffed Baked Apples with Raw Milk Ice Cream
- I used raw cream instead of the raw milk cream top when I made the ice cream for this recipe. I also used maple syrup instead of dates.
- If you want to use the full egg instead of yolks only, use 2 full eggs instead of 4 yolks.
- If you want a large amount of filling in each apple, scoop out larger holes inside the apples. If you’d like more apple than filling, leave the hole smaller. You may have some extra filling depending on the size apples you use and the size of the holes you carve out. You can eat it by itself, with some raw milk like cereal, roll it into little energy balls (pictured below), or find some other creative use for it.
- The apples will start to collapse when they’re done. The bake time listed above creates an al dente texture for the apples, not “melt in your mouth” consistency. I loved them this way. You could bake for longer, but the longer you leave them in, the more the beef bits will burn, so that’s something to consider. About halfway through, I brushed some of the melted ghee onto the apple skins and I think this helped them bake/soften faster.
- Some of the filling (mainly the top) will blacken/burn. I haven’t found a way around this as lowering the temperature to prevent burning would mean leaving the apples in the oven for hours. If you prefer to not eat the burnt pieces, you can scrape the top of the filling off and discard it. I mixed mine into the rest of the filling and couldn’t taste the difference.
- This dessert is best enjoyed fresh. If saving leftovers for later, store the apples in an airtight container at room temperature for a day or two and store the ice cream in the freezer. You could store the apples in the fridge, but they will likely become firm and less enjoyable.
A few of my other favorite sweet eats:
Jumbo Chocolate Cups with Salted Chunky Date Filling
Flourless Lemon Blueberry Muffins
Beef-Stuffed Baked Apples with Raw Milk Ice Cream
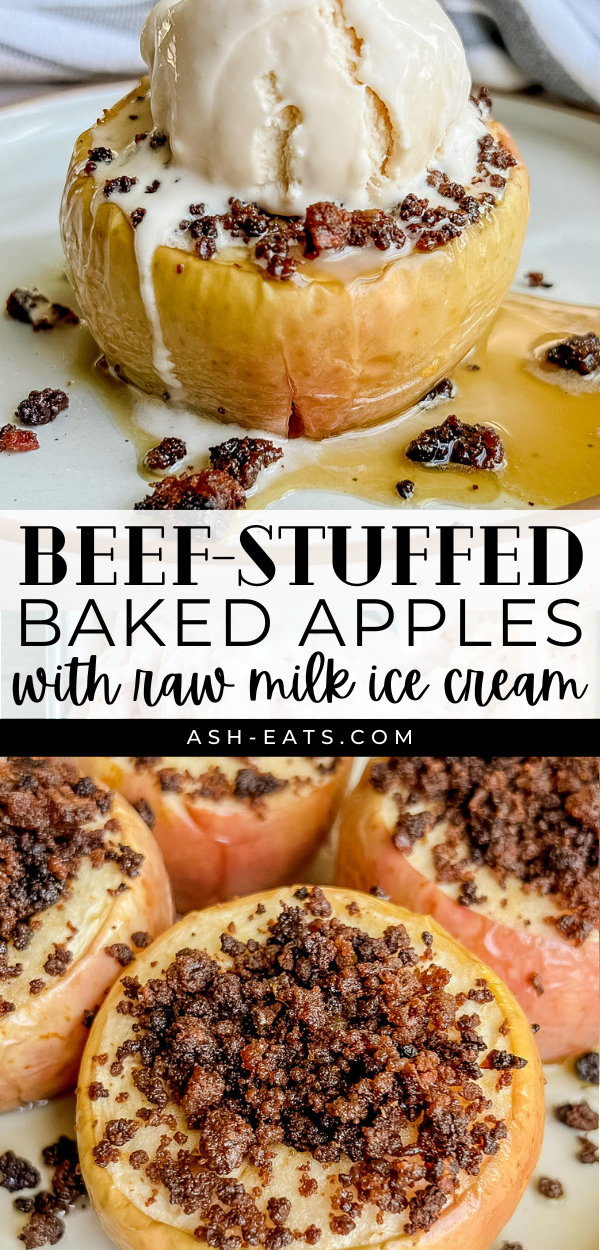

Beef-Stuffed Baked Apples with Raw Milk Ice Cream
Equipment
- Baking sheet
Ingredients
For the apples:
- 4 apples
- 1 tsp grass-fed ghee (or butter)
For the filling:
- 2/3 cup Carnivore Crisps beef flour (ASHLEYR for 10% off – or dehydrated ground beef blended into "flour" – see this recipe for instructions)
- 6 pitted Medjool dates
- 4 egg yolks
- few dashes sea salt (ASHLEYR for 15% off)
For topping:
- 1/2 batch raw milk ice cream
- maple syrup
Instructions
- If you’re interested solely in the recipe, skip this bullet point and keep on reading. For those interested in sourcing nutrient-dense food, low-toxic household products, and discounts on brands that may support your AB journey, you may find value in my product guides. Head over to this page if you’d like to check them out. All are free (and always will be).
If a visual will help, watch the Instagram Reel for this recipe.
Make the raw milk ice cream.
- Follow this recipe here. Make a 1/2 batch.
- Note: I used raw cream instead of the raw milk cream top when I made the ice cream for this recipe. I also used maple syrup instead of dates.
Make the filling.
- In your food processor, add the beef flour (ASHLEYR for 10% off), egg yolks, dates, and sea salt (ASHLEYR for 15% off).
- Note: If you want to use the full egg, use 2 full eggs instead of 4 yolks.
- Note: if you go through tons of salt in your household like we do, check out this salt-purchasing hack that will save you money + make things more efficient. We started this last year, and I'm so happy we did!
- Blend until all ingredients are incorporated. The filling will be pretty dry.
Prepare the apples.
- Slice a sliver off of the top of each apple (for a visual, see the Instagram Reel) and scoop the core out. I used a melon baller, but a spoon will work too.
- Stuff the empty core of the apples with the filling.
- Note: If you want a large amount of filling in each apple, scoop out larger holes inside the apples. If you'd like more apple than filling, leave the hole smaller.
- Note: You may have some extra filling depending on the size apples you use and the size of the holes you carve out. You can eat it by itself, with some raw milk like cereal, roll it into little energy balls (pictured above in the "Tips to make the best..." section), or find some other creative use for it.
- Top the stuffing of each apple with a generous amount of ghee or butter, about 1 tsp (or more) per apple.
- Place the apples on top of a piece of parchment paper on your baking sheet.
Bake the apples.
- Place the apples in oven and bake on the lowest rack at 300 degrees for 1 hr 10 minutes.
- Note: The apples will start to collapse when they're done. The bake time listed above creates an al dente texture for the apples, not "melt in your mouth" consistency. I loved them this way. You could bake for longer, but the longer you leave them in, the more the beef bits will burn, so that's something to consider. About halfway through, I brushed some of the melted ghee onto the apple skins and I think this helped them bake/soften faster.
- Note: Some of the filling (mainly the top) will blacken/burn. I haven't found a way around this as lowering the temperature to prevent burning would mean leaving the apples in the oven for hours. If you prefer to not eat the burnt pieces, you can scrape the top of the filling off and discard it. I mixed mine into the rest of the filling and couldn't taste the difference.
Let the apples cool, top with ice cream, then serve.
- Once the apples are done baking, remove them from the oven, allow them to cool for 10-15 minutes or so, then top them with raw milk ice cream and/or maple syrup. The combo of the apples, filling, ice cream, and maple syrup was so delicious!
- Note: This dessert is best enjoyed fresh. If saving leftovers for later, store the apples in an airtight container at room temperature for a day or two and store the ice cream in the freezer. You could store the apples in the fridge, but they will likely become firm and less enjoyable.
Looking for some more easy sweet eats? Try one of these recipes:
Jumbo Chocolate Cups with Salted Chunky Date Filling
Flourless Lemon Blueberry Muffins
Note: This post contains Amazon affiliate links. This means that if you click on a link and make a purchase, I will receive a small commission at no cost to you. Thank you for supporting me!

Ashley Rothstein develops tasty, whole food, animal-based recipes that include a moderate amount of “minimally toxic” plant foods. To fix her own health issues, she bounced around between the carnivore, keto, and paleo diets for a few years. After experiencing and studying each diet philosophy, she learned she feels her best by merging the three and following an animal-based diet. As a glut at heart, she likes to channel her creativity and create meals that are healthy but also satisfy her inner gluttonous spirits.
