Prep time: 15 mins Cook time: 5 mins Rest time: 20 mins Total time: 40 mins
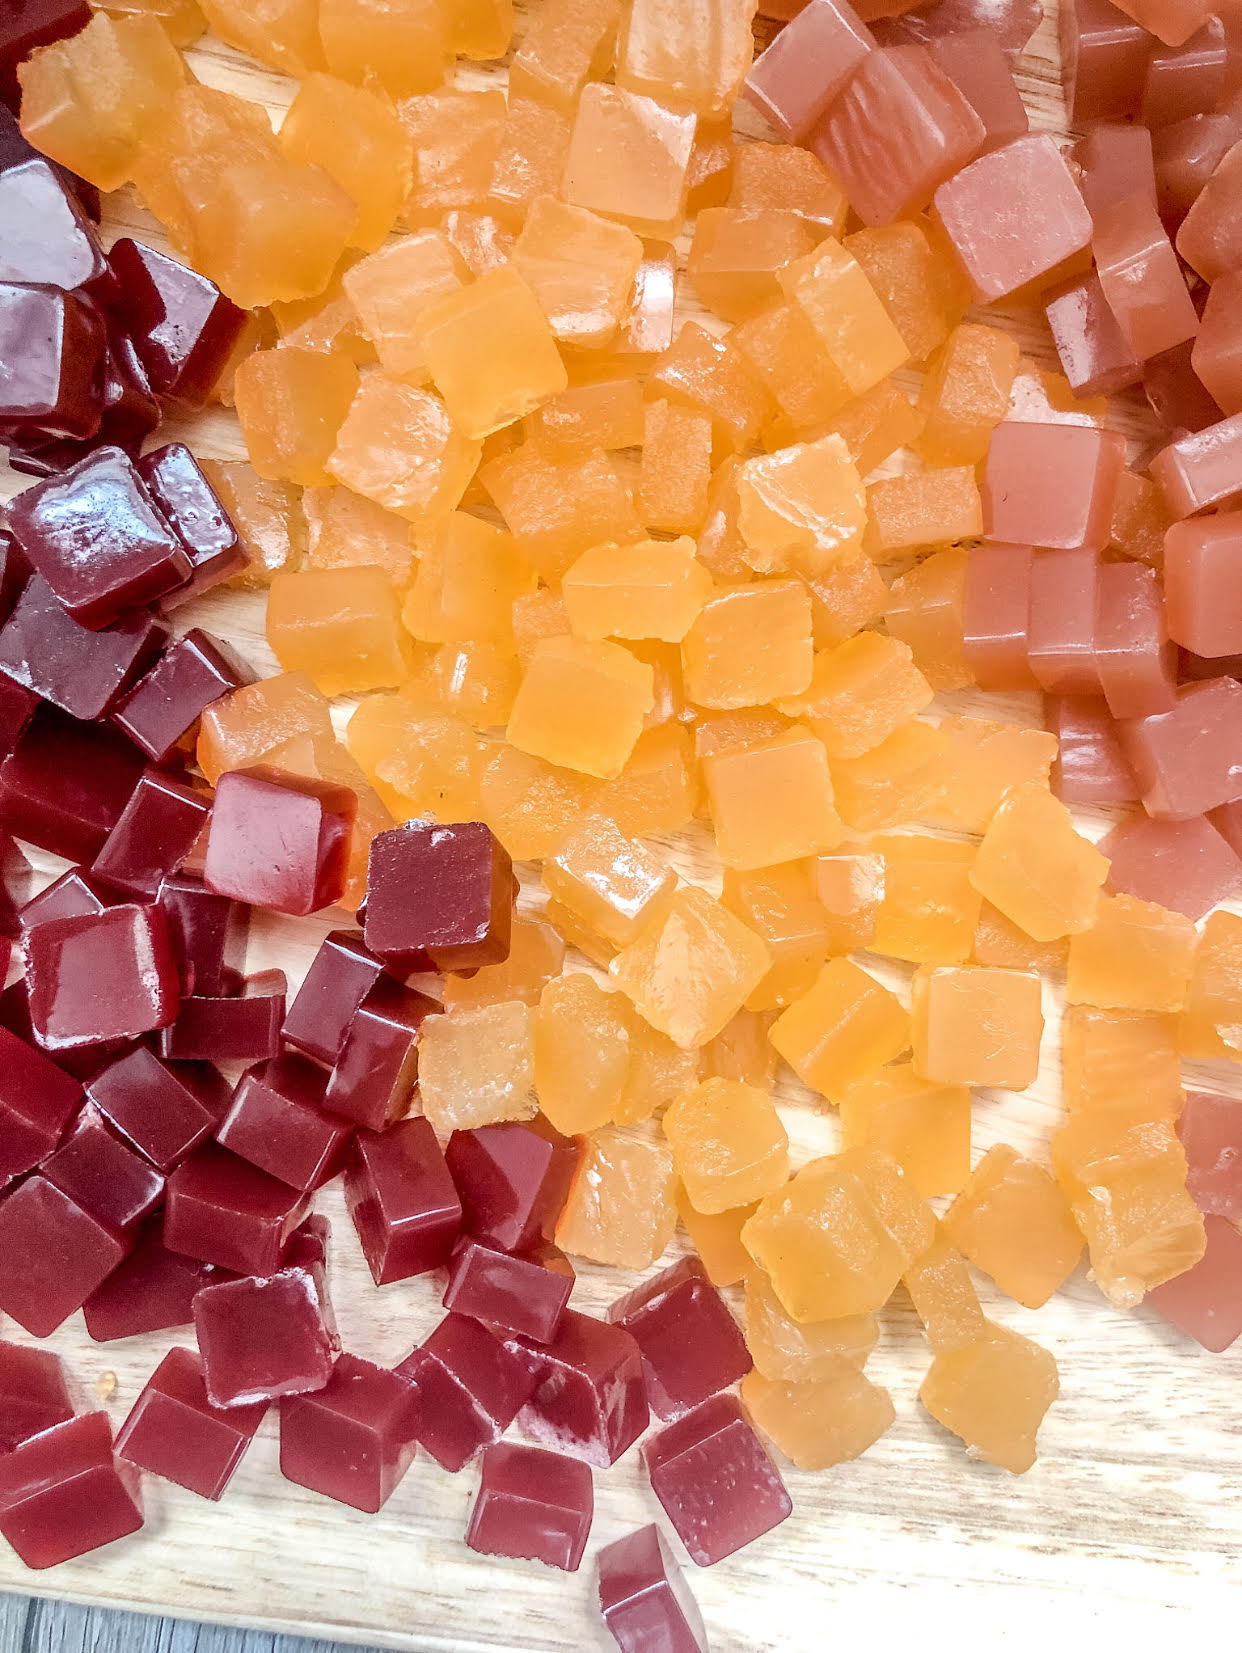
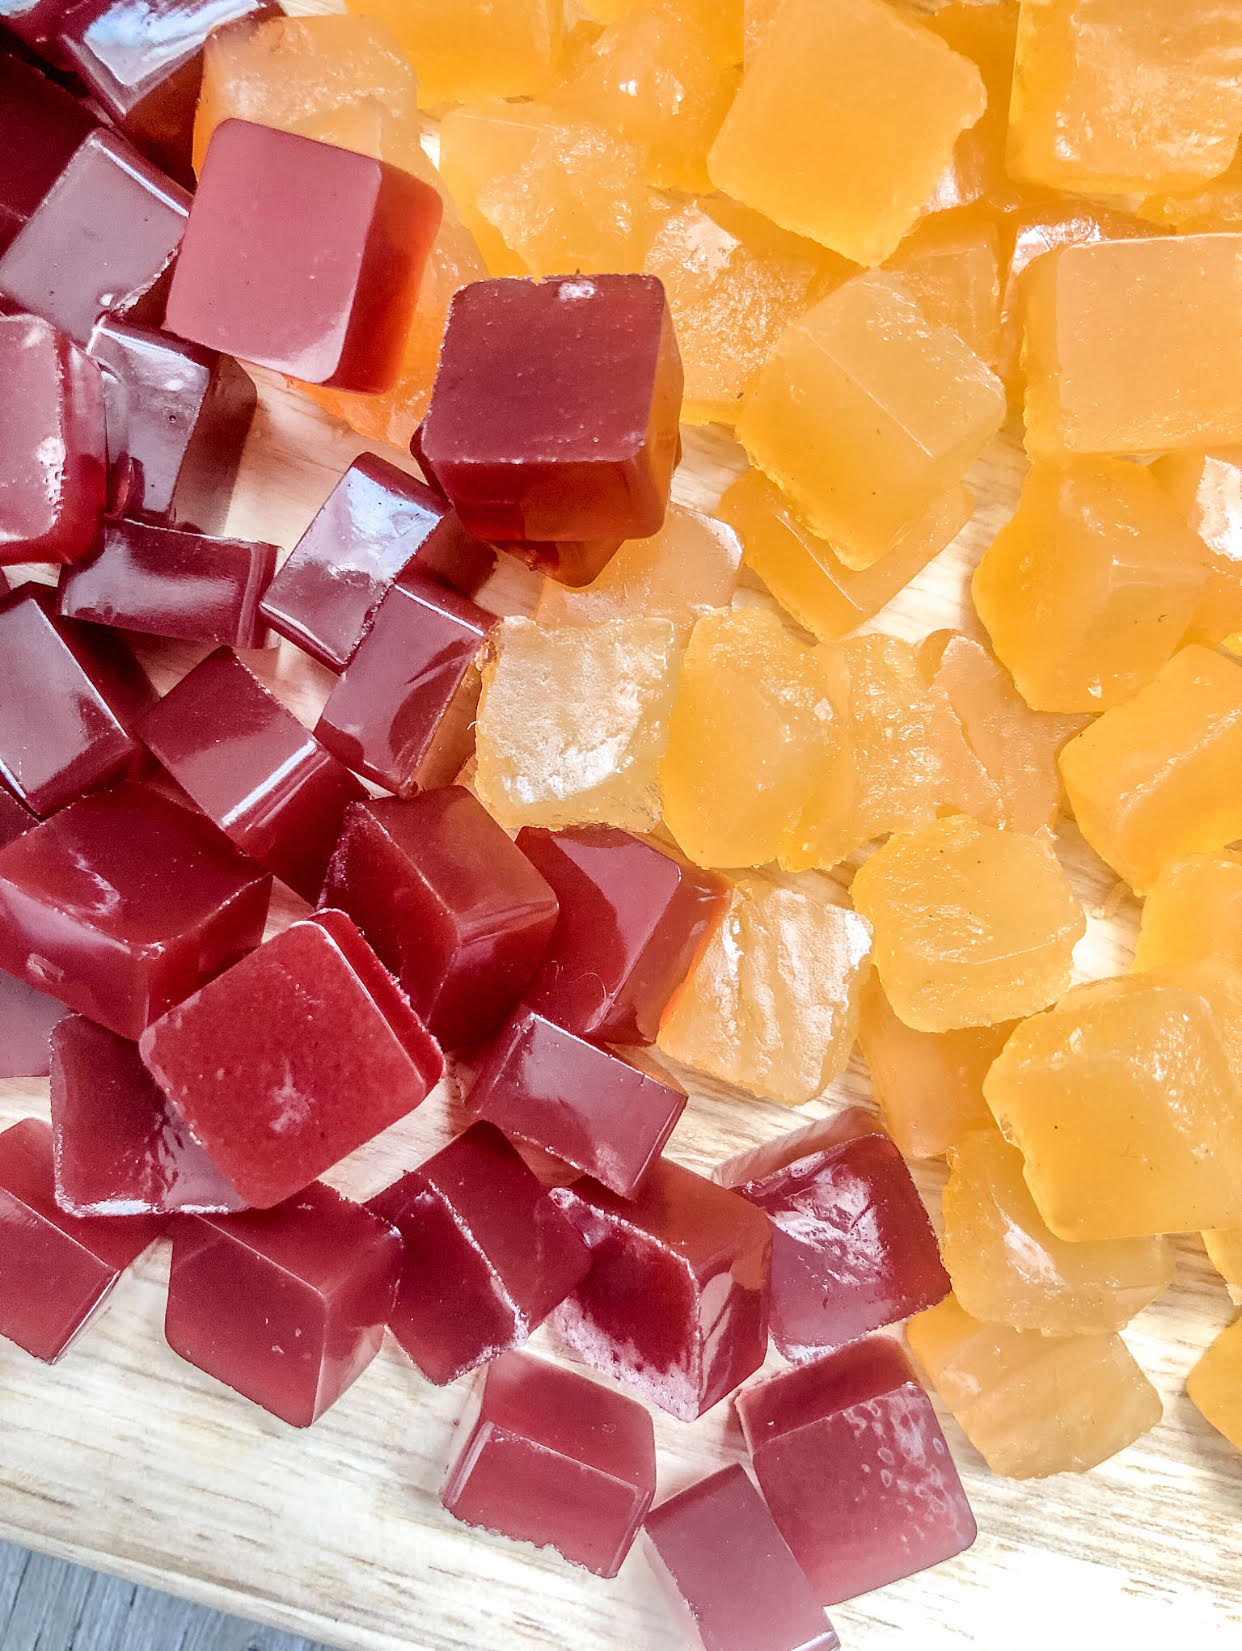
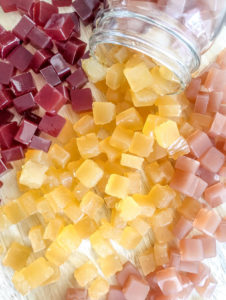
Makes: Around 130 gummies (if using the same gummy mold I used)
![]()
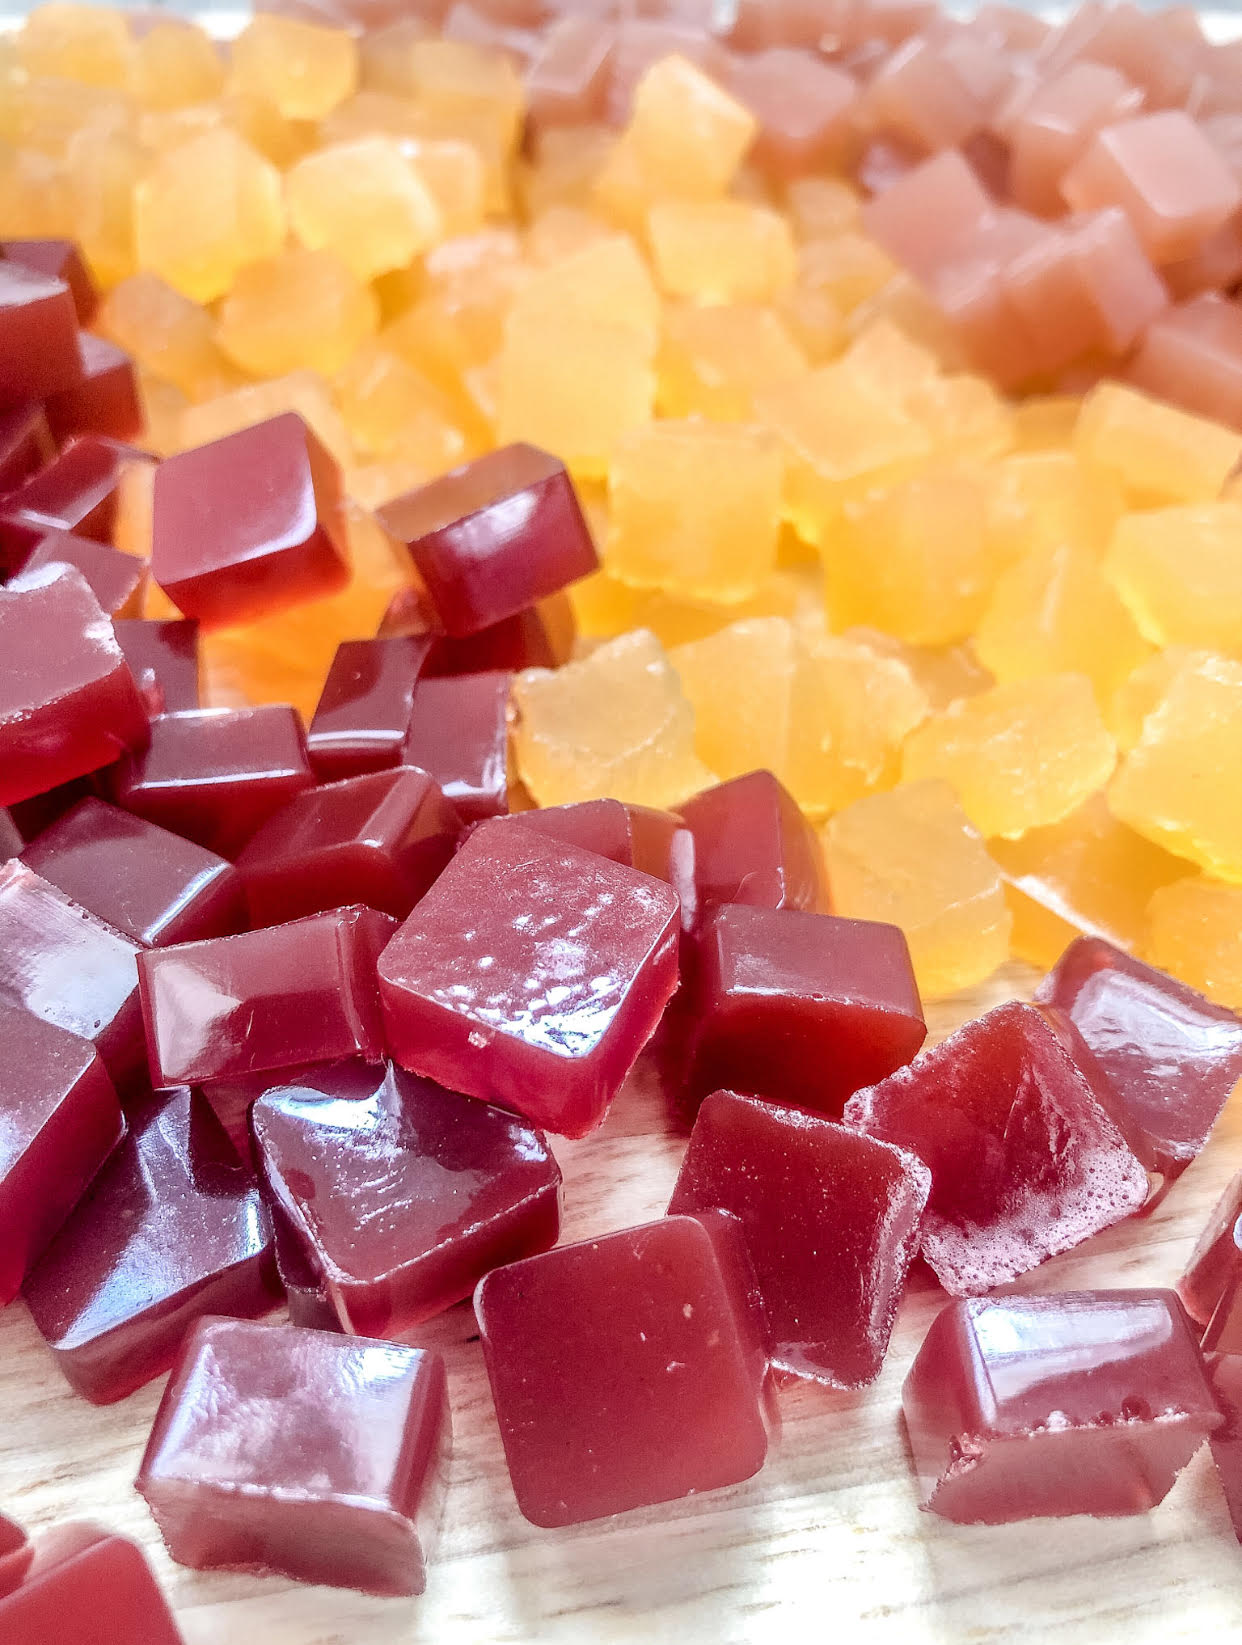
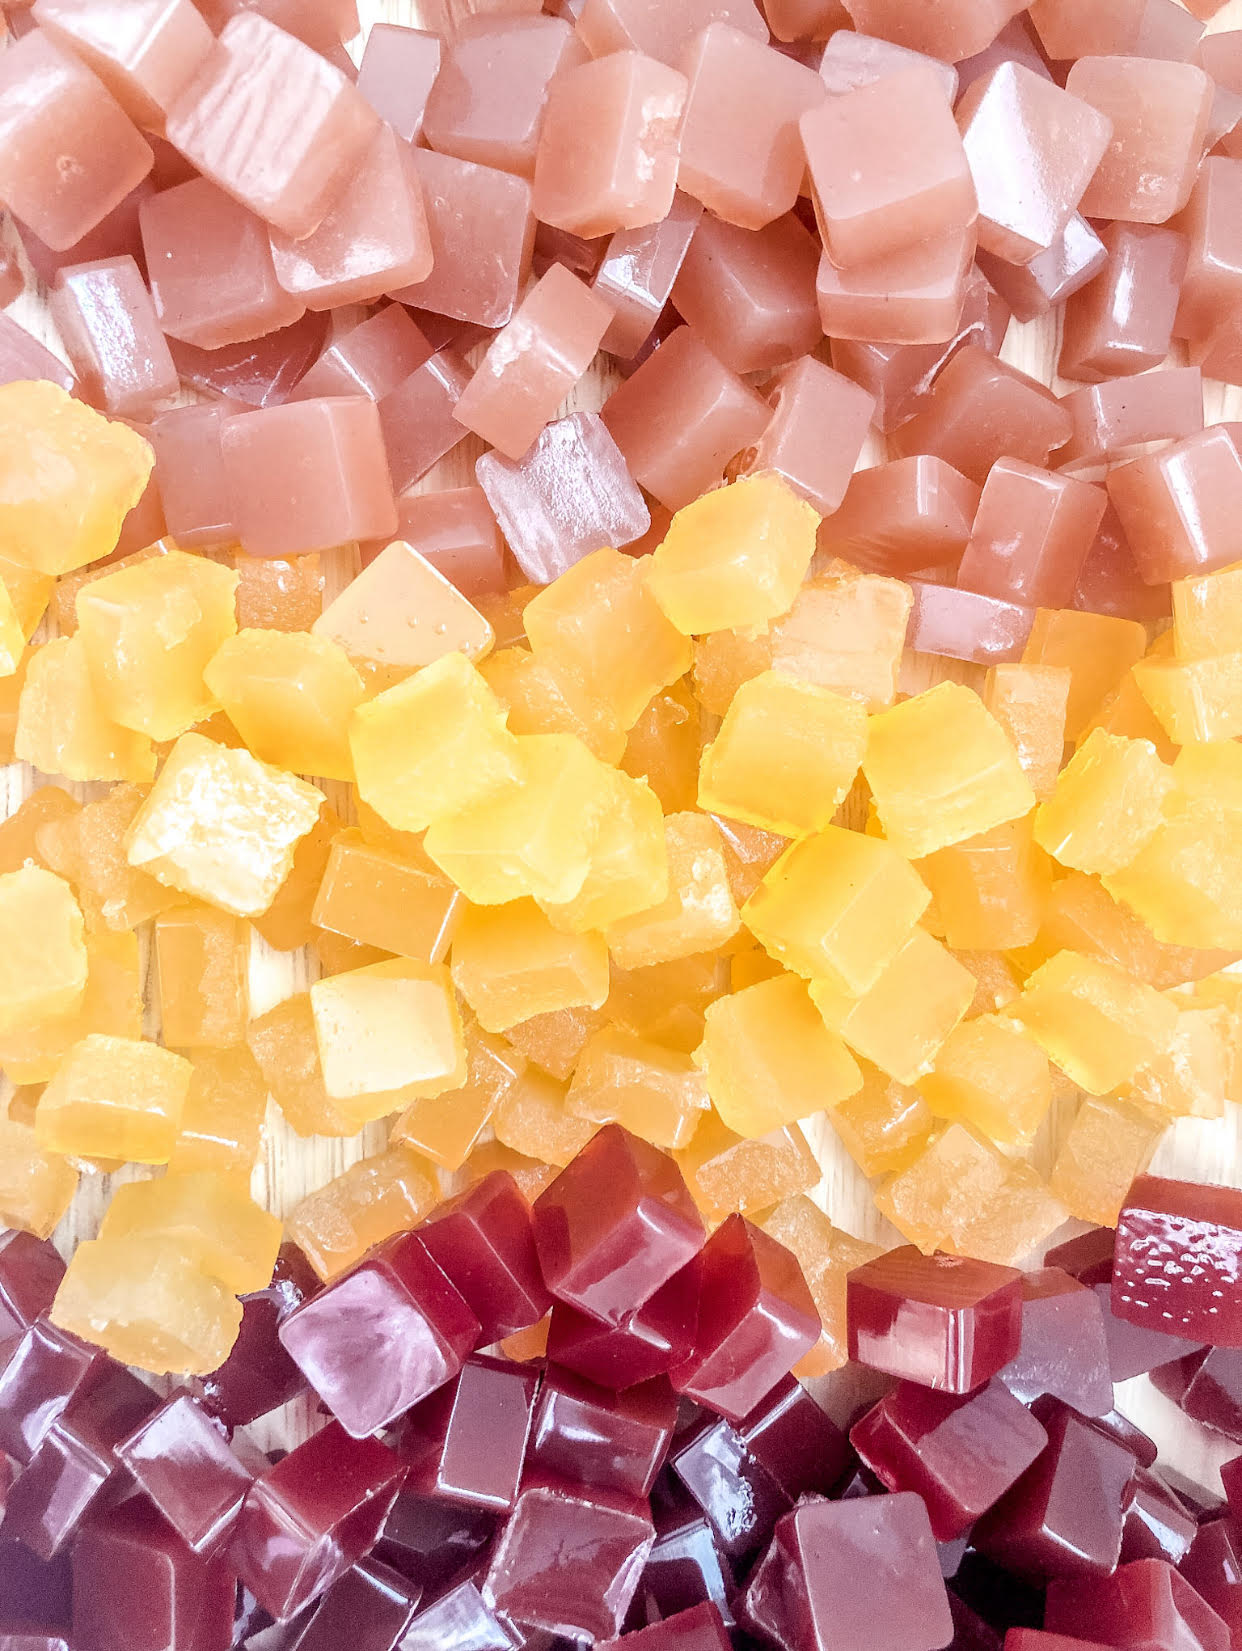
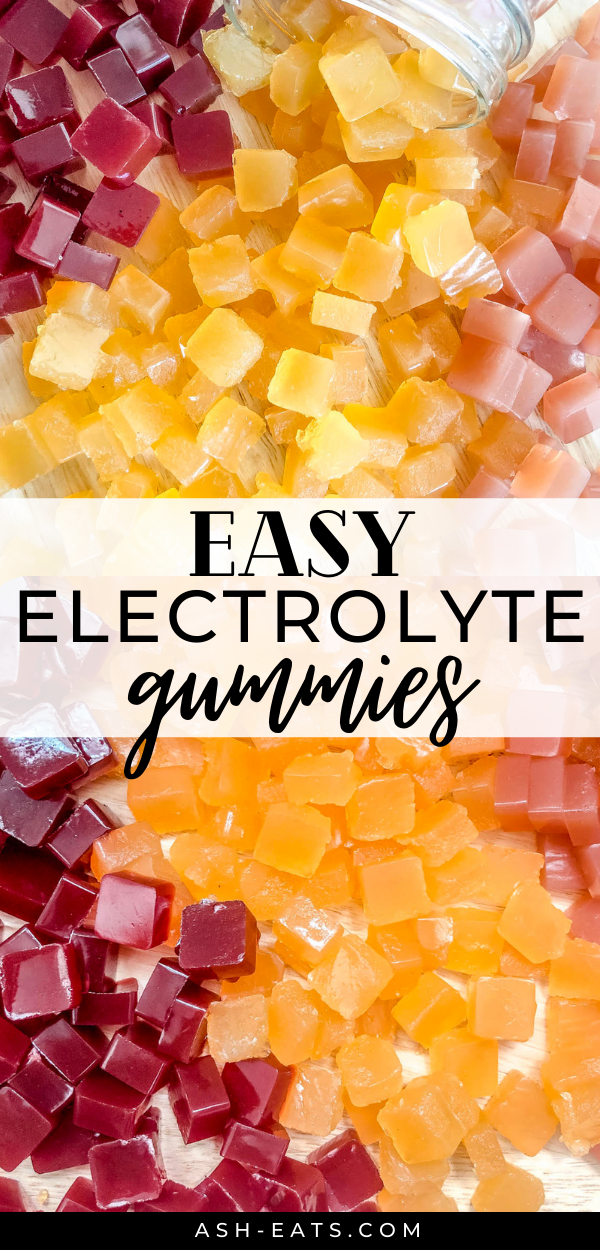
These easy electrolyte gummies are animal-based, made with just five whole ingredients, and take just a few minutes to whip up.


What you need to make Easy Electrolyte Gummies
Ingredients:
- Beef gelatin
- Raw honey (ASHLEYR for 10% off); Note: I recommend local or Manuka
- Fruit juice*
- Water or coconut water
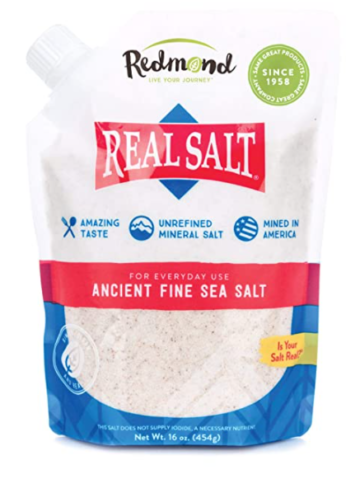
- Sea salt (ASHLEYR for 15% off) or LMNT
Equipment:
- Cooking pot
- Gummy mold
- Dropper (if your gummy mold doesn’t come with one; the above linked mold comes with a dropper)
Substitutions
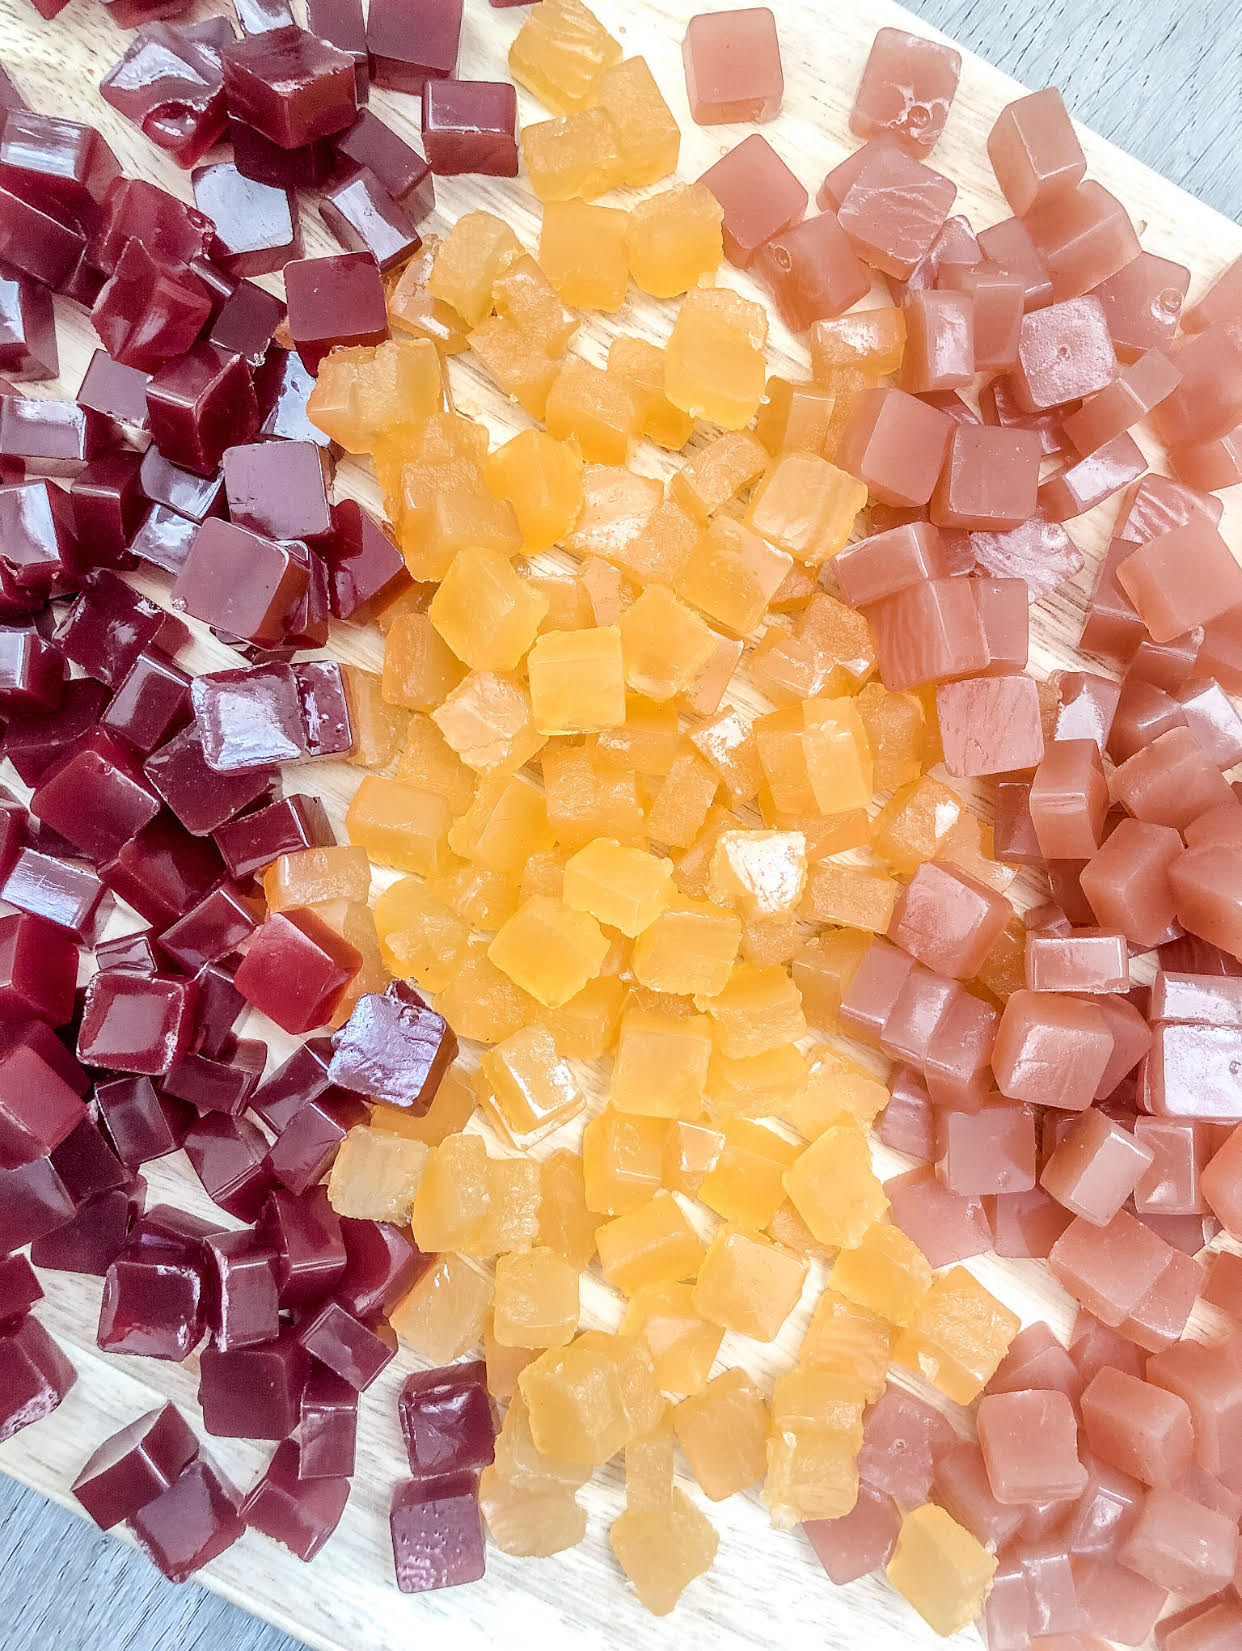
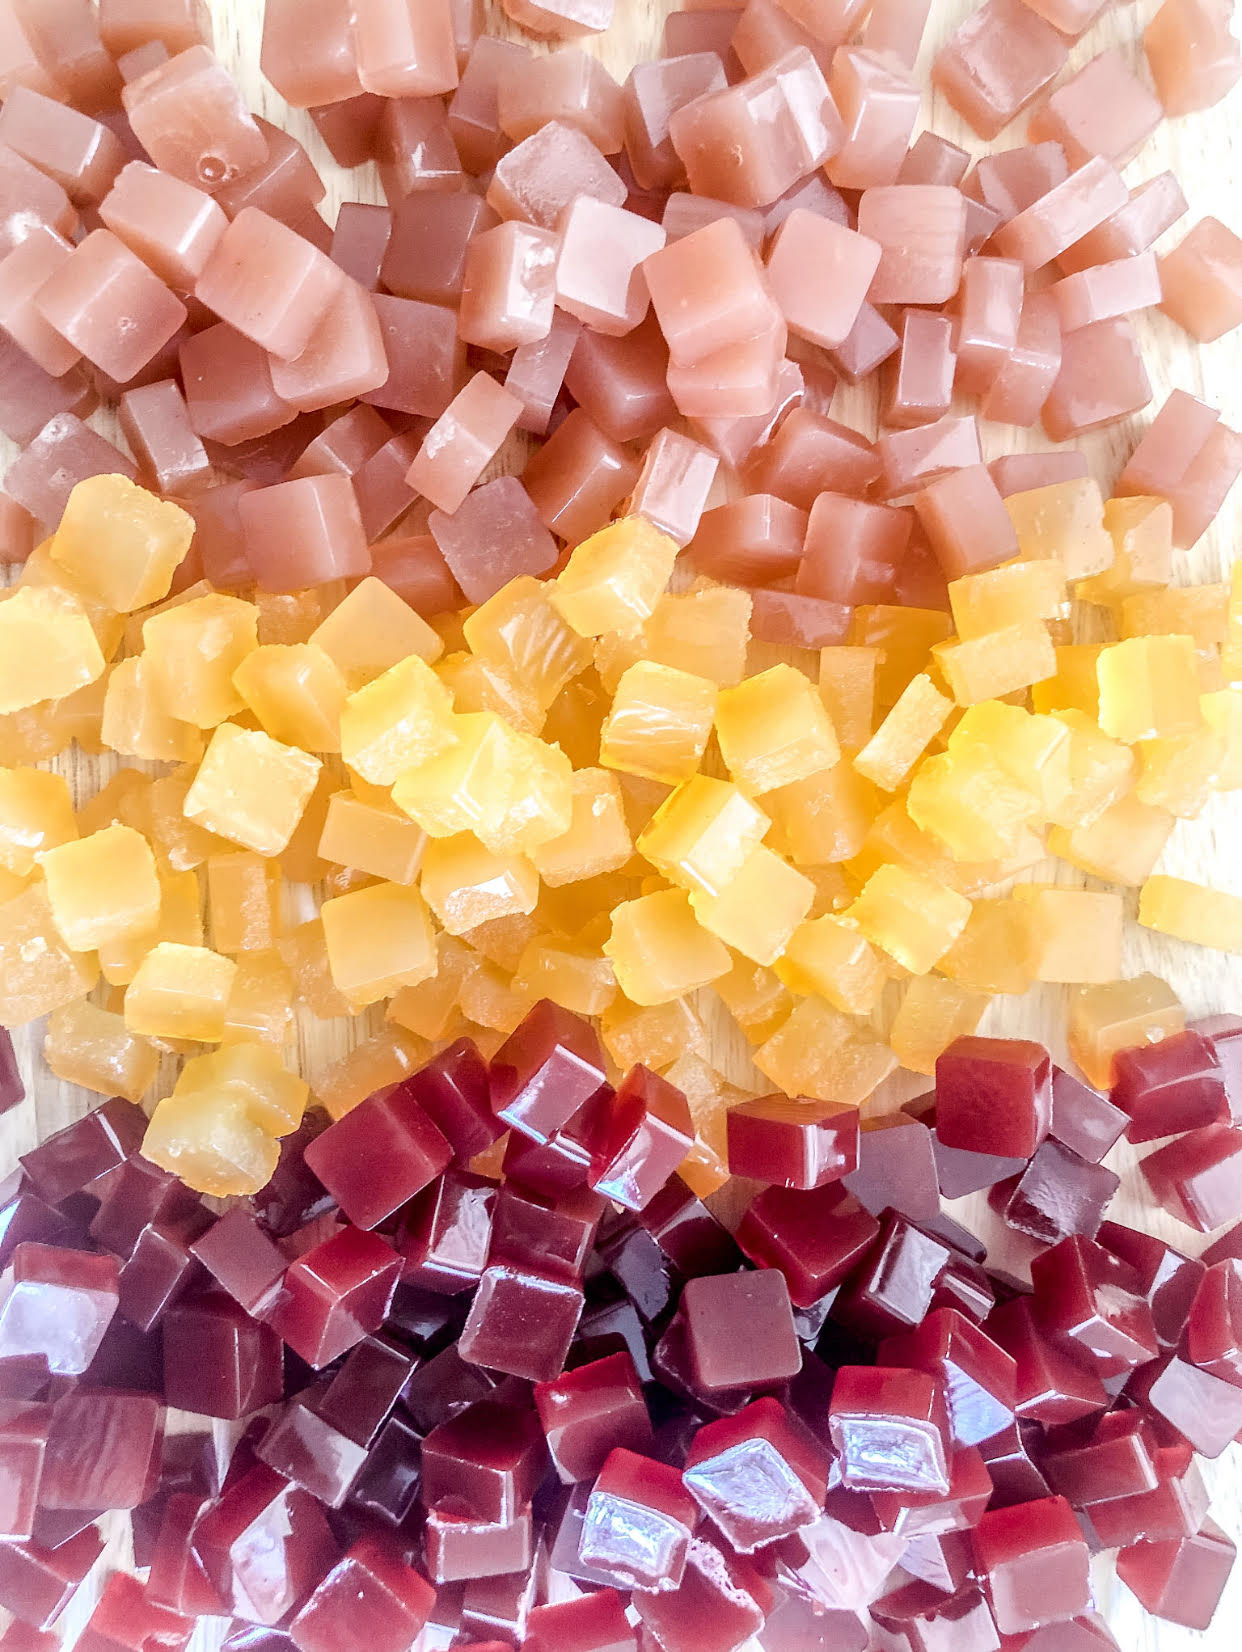
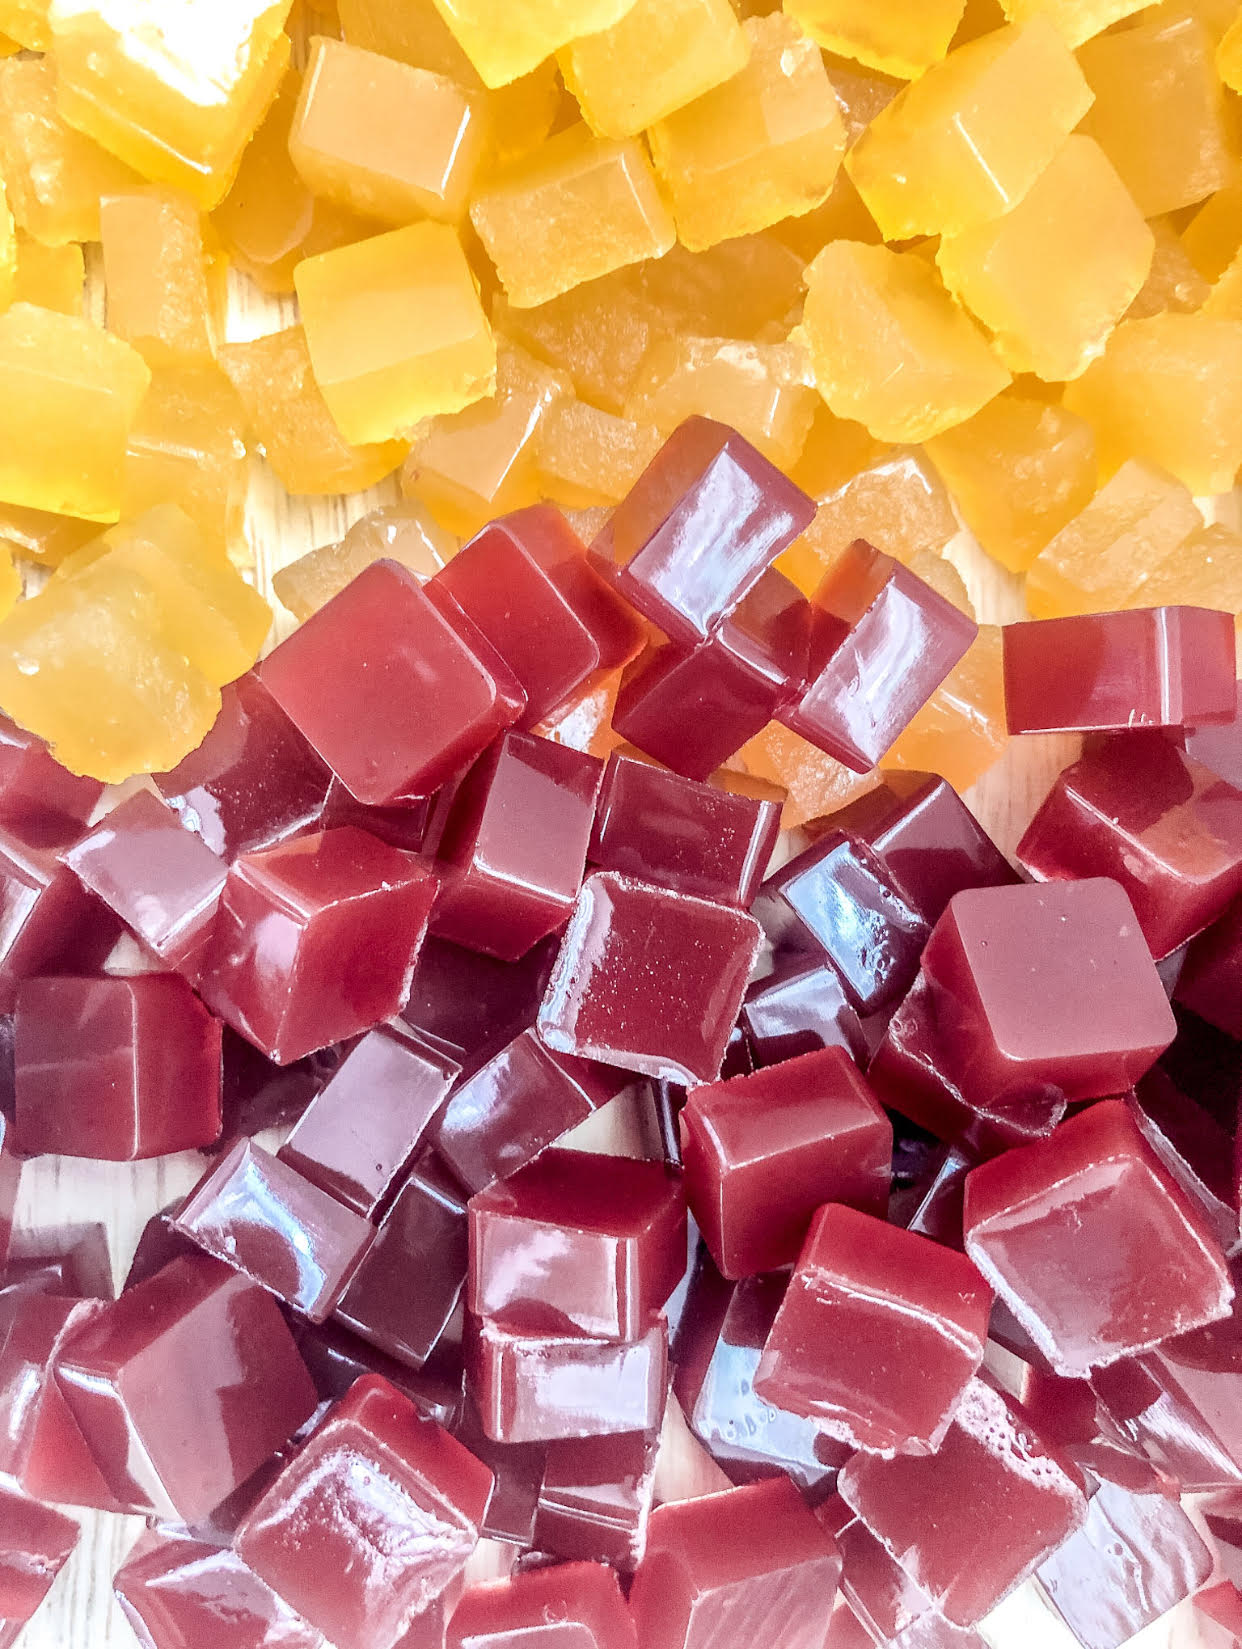
*I tested the following four fruit juices with this recipe.
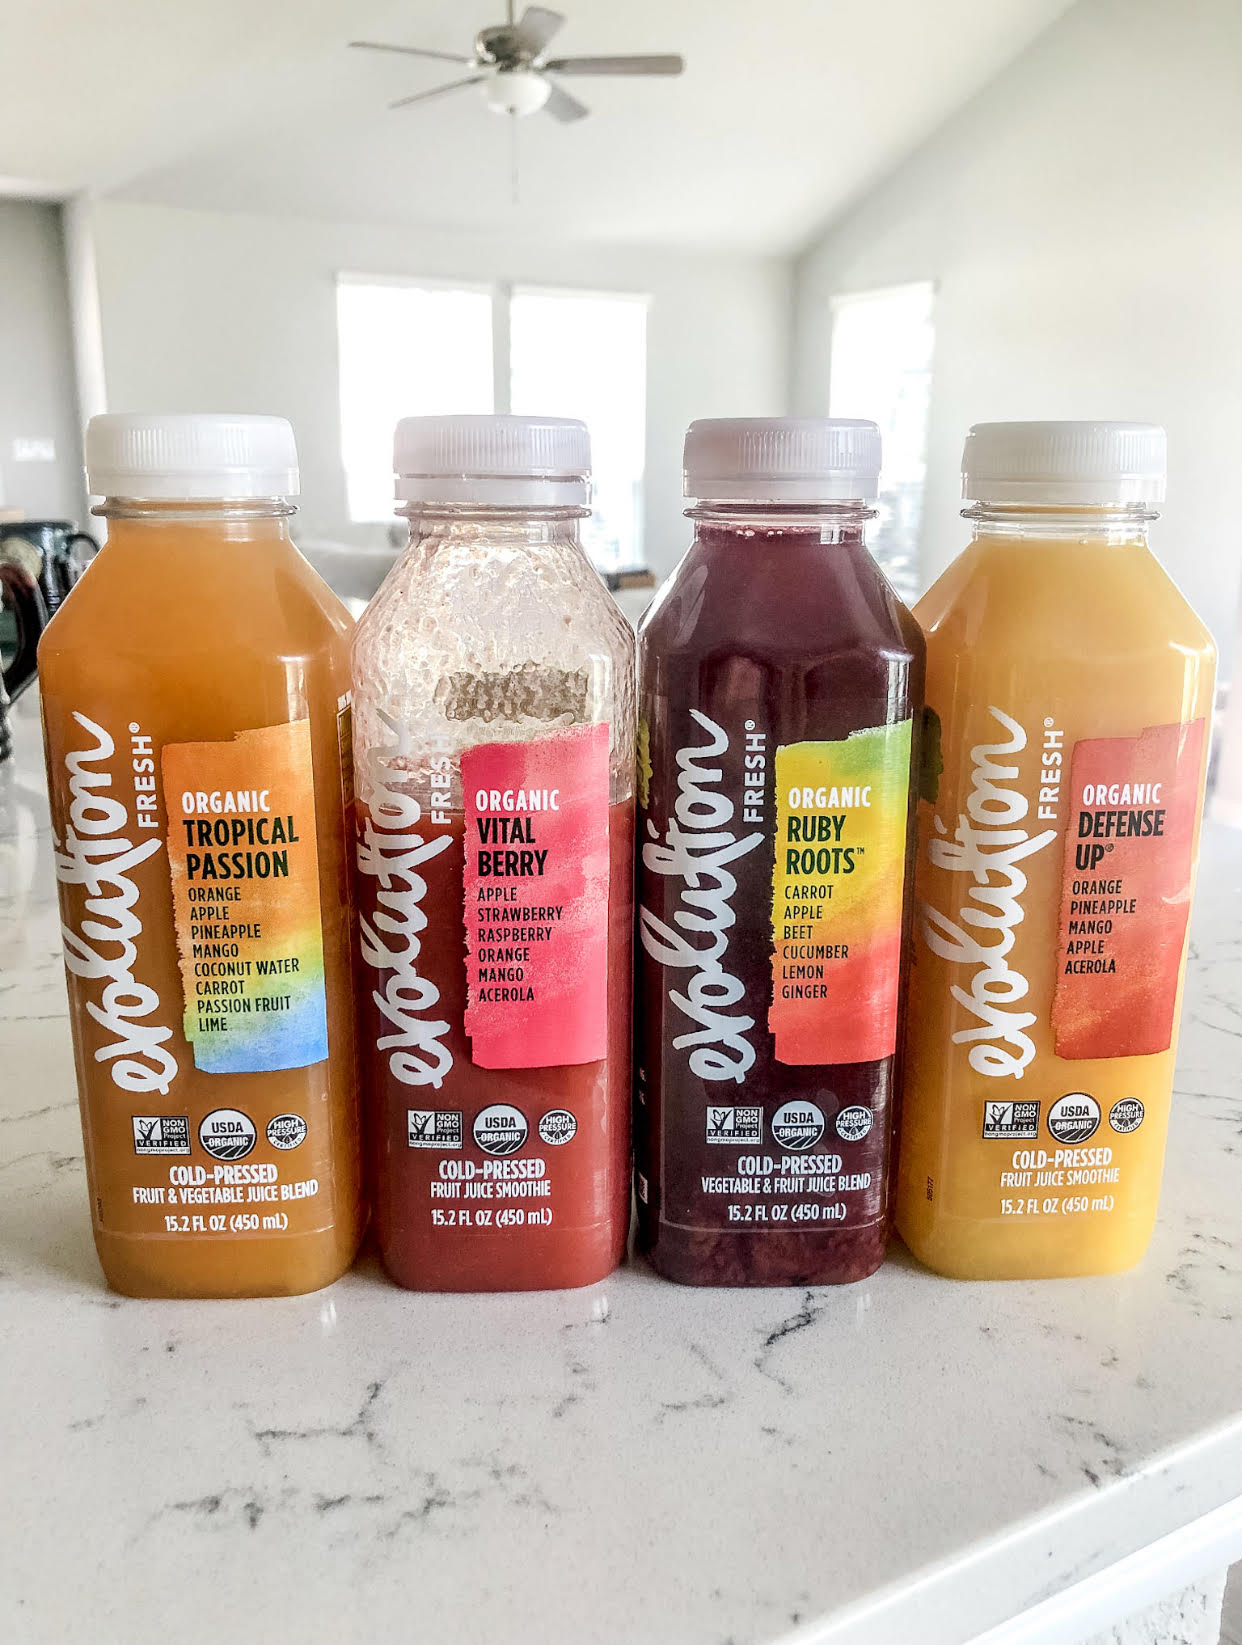
Three worked (Vital Berry, Tropical Passion, Ruby Roots) and one did not (Defense Up – it didn’t hold together and melted in minutes at room temperature).
Also, the Tropical Passion did not hold together as well as the Vital Berry and Ruby Roots. It worked, but did not maintain its full shape when taking it out of the gummy mold. Since Tropical Passion has some of the same ingredients as Defense Up, I’m thinking it may have to do with either the orange, pineapple, or mango juices. I read somewhere that pineapple, mango, and papaya can be finicky in gummies because they have digestive enzymes in them which breaks down the proteins in the gelatin, so keep that in mind when choosing what juice you’d like to use for yours.
While I haven’t tried all possible fruit juice options/combinations…
I have seen other recipe creators use lime juice, lemon juice, and cherry juice with success. If using a tart juice, you may want to add more honey if you prefer your gummies sweet. You can taste test the concoction before it goes in to the gummy molds to determine if it’s sweet enough. If not, just add more honey.
I have also seen recipe creators use herbal/fruit tea and even coffee with success.
You can use LMNT packets in place of the sea salt and coconut water in place of the water if you want to get creative with flavors and/or increase the amount of electrolytes. I personally haven’t tried coconut water or LMNT packets with this recipe, but I have seen other recipe creators successfully use both in other similar gummy recipes.
I included substitution amounts in the recipe card at the bottom of this post.
Note: One reader used coconut water in place of the water and mentioned the gummies came out incredibly salty. She recommends cutting the salt in half if using coconut water.
All this to say, do not be surprised if this recipe takes some experimenting and refining.
For endurance athletes:
If your goal is get the highest amount of electrolytes, you could use a full cup of coconut water instead of 1/2 cup fruit juice + 1/2 cup water, plus LMNT packets, gelatin, and honey.
If having to eat tons of gummies is a concern, you could use bigger gummy molds to not have eat as many. That being said, the gummies that came out of the mold I used are small, and eating lots of them is not hard to do.
Also, putting the gummy mixture into a squeeze packet (instead of making gummies) is another option.
How to make Easy Electrolyte Gummies
Select your fruit juice.
For selecting fruit juice, see the “Substitutions” section near the top of this post.
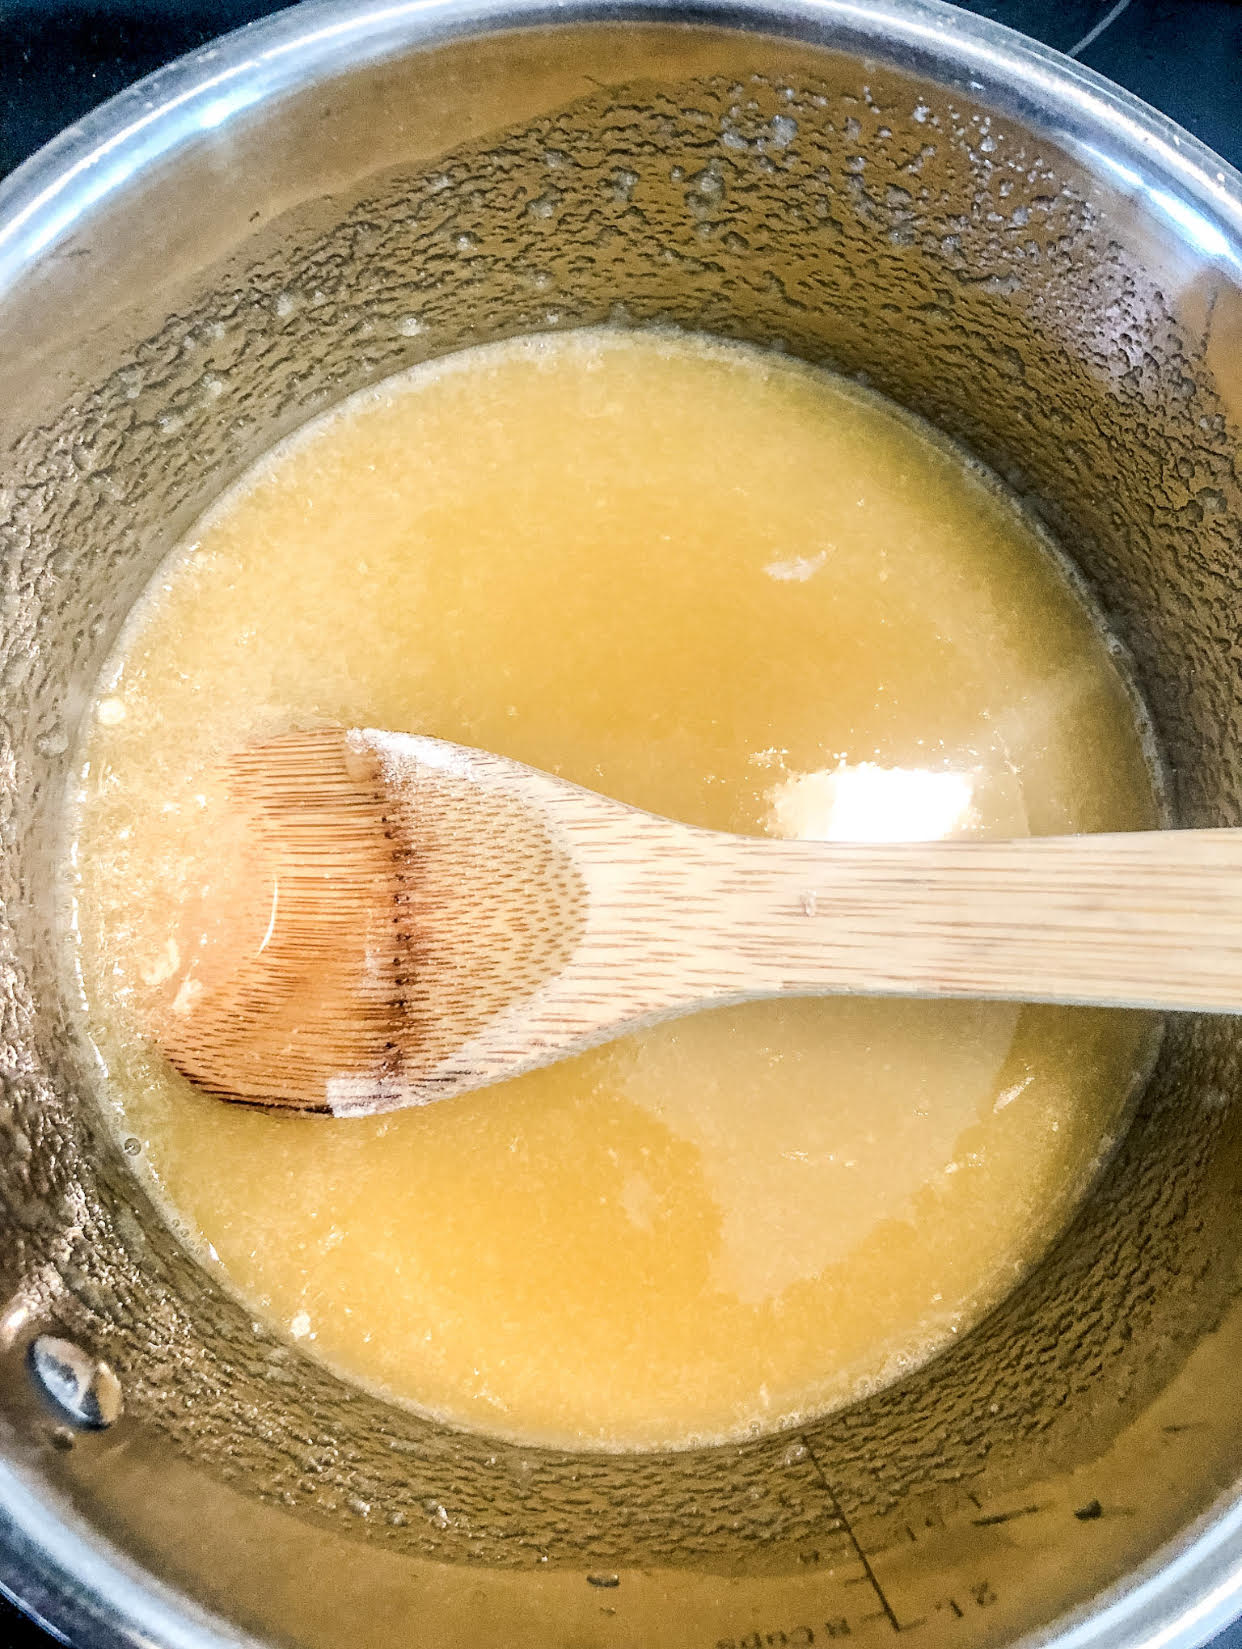
Make the gummy mixture.
In your cooking pot, add the fruit juice and water (or coconut water) and bring to low heat.
Add the raw honey (ASHLEYR for 10% off) and sea salt (ASHLEYR for 15% off) or LMNT packets to the pot and stir until both are fully incorporated, usually 1-2 minutes.
Note: If using Redmond Real Salt, you may see a few dark pieces of salt at the bottom. This is normal.
Add the gelatin into your cooking pot VERY SLOWLY and continue to mix as you pour in the gelatin. Do not stop mixing during the entire gelatin pouring process. Imagine that you’re sprinkling the gelatin like you would salt over a meal. Too big of a gelatin “dump” will result in a clump. The occasional clump is fine, but you want to avoid them as much as possible. It took me 60-90 seconds or so to sprinkle in each tbsp, so take your sweet time.
Once the gelatin is fully mixed in, stir the mixture for another 30 seconds or so and remove from heat.
Note: You may have some clumps. This is fine. Just remove them or leave them in the pot and work around them.
Pour the mixture into your gummy mold.
Take your dropper and fill your gummy mold with the mixture.
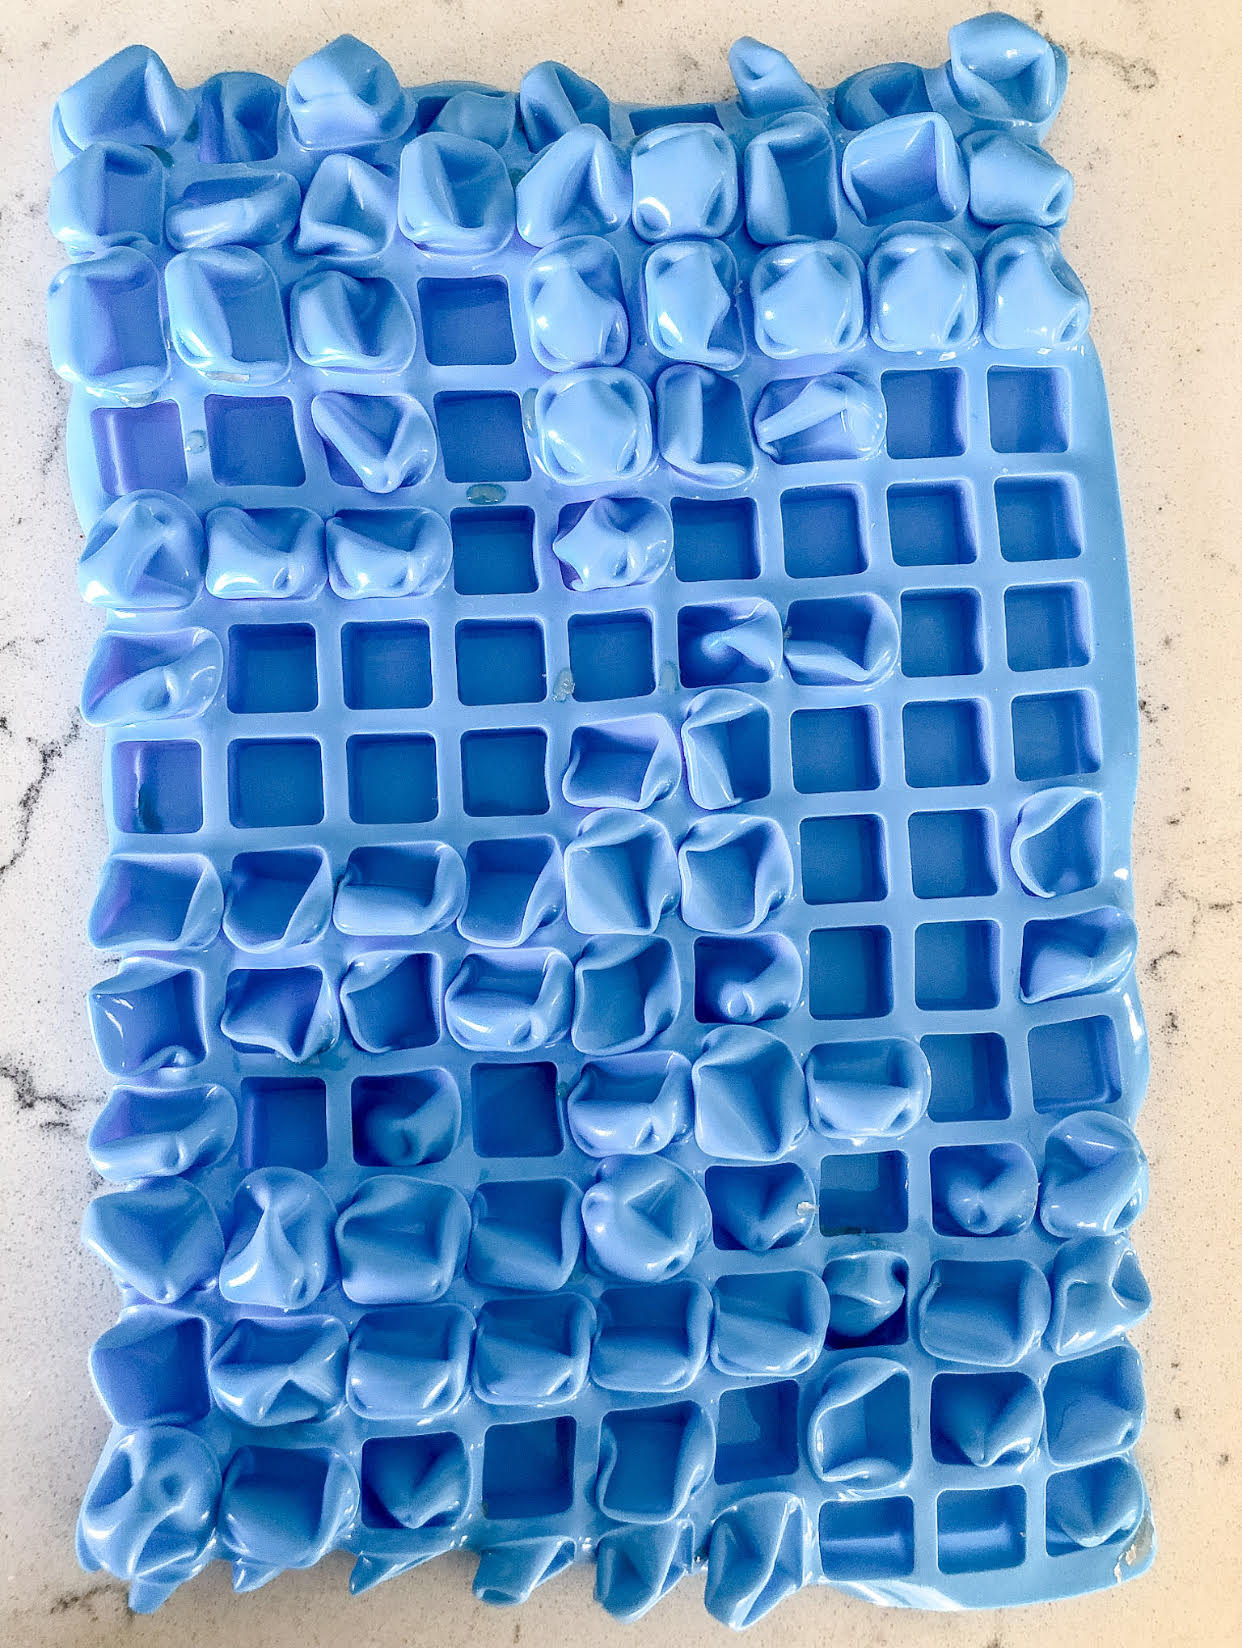
Note: Mixtures with gelatin start to solidify pretty quickly, so you’ll want to act relatively fast. You do have some time (a few minutes or so), but I recommend pouring the mixture into your gummy mold immediately after removing it from heat. Using a dropper helps a lot here. The gummy mold I used comes with one. If you don’t have a dropper, I highly recommend getting one. Also, try to avoid bubbles when you’re pouring the gummy mixture into the mold. I included a picture of what bubbles look like in the “Tips to make the best…” section below. Most of them will probably pop or dissolve so they’re not the end of the world, but if you’re looking to make beautifully shaped gummies, avoid bubbles.
Place your gummies in the freezer to set.
Place your gummies in the freezer for 10 minutes to set. Make sure not to leave them for much longer as they’ll begin to freeze. This won’t harm them in any way, but you’ll have to defrost them if this happens.
Place your gummies in the fridge.
Once you remove them from the freezer, place your gummies in the fridge for about 10 minutes. You can store them here until you’re ready to enjoy them.
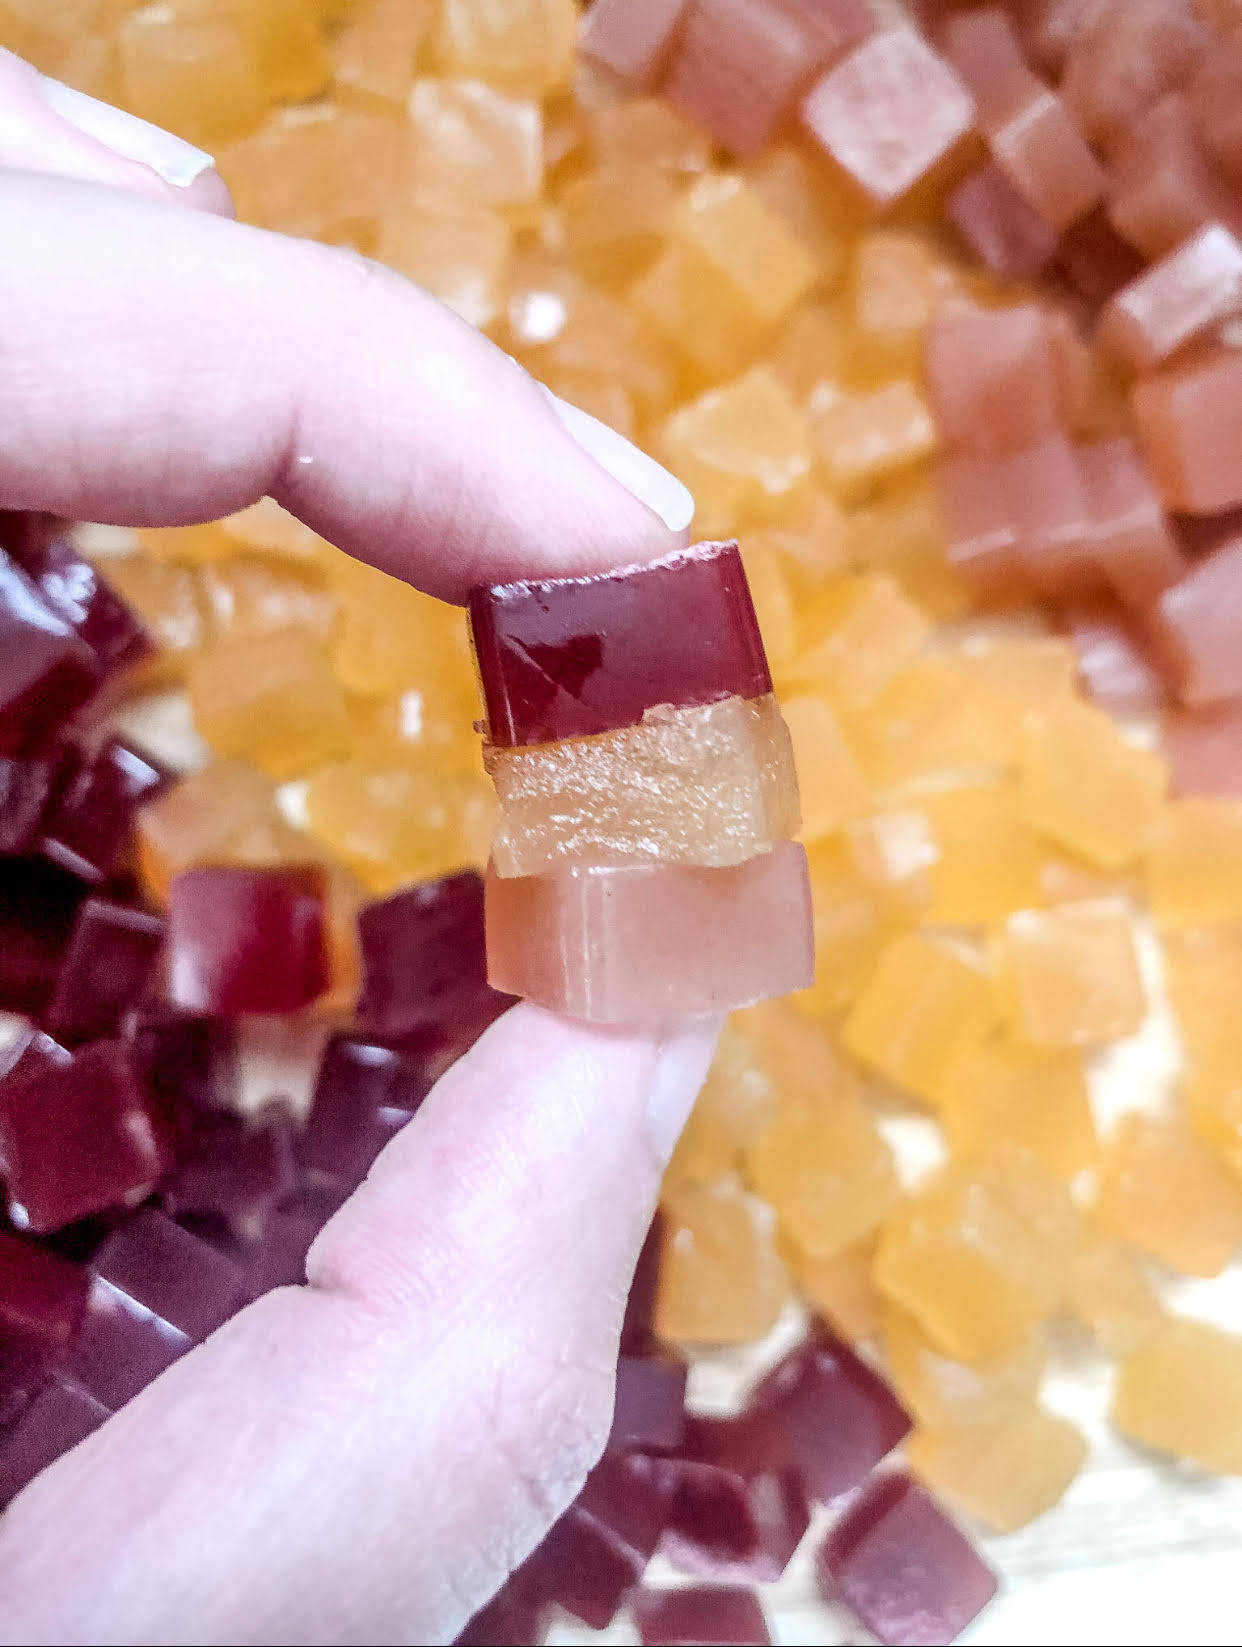
Once you’re ready to enjoy them, pop them out of their molds and dig in!
Because they’re made with real fruit juice, they must be stored in an airtight container in the fridge. They’ll last for up to 1-2 weeks stored like this.
Note: I was able to leave two flavors of the gummies I made out for a couple hours at room temperature with no problems, so depending on the fruit juice you use, they may last at room temperature for a little bit. Some fruit juices are more prone to melting.

Tips to make the best Easy Electrolyte Gummies
- For selecting fruit juice, see the “Substitutions” section near the top of this post.
- When adding in the gelatin to the gummy mixture, pour the gelatin into your cooking pot VERY SLOWLY and continue to mix as you pour in the gelatin. Do not stop mixing during the entire gelatin pouring process. Imagine that you’re sprinkling the gelatin like you would salt over a meal. Too big of a gelatin “dump” will result in a clump. The occasional clump is fine, but you want to avoid them as much as possible. It took me 60-90 seconds or so to sprinkle in each tbsp, so take your sweet time.
- Mixtures with gelatin start to solidify pretty quickly, so after removing the gummy mixture from heat, you’ll want to act relatively fast when it comes to pouring the mixture into your molds. You do have some time (a few minutes or so), but I recommend pouring the mixture into your gummy mold immediately after removing it from heat. Using a dropper helps a lot here. The gummy mold I used comes with one. If you don’t have a dropper, I highly recommend getting one.
- Also, try to avoid bubbles when you’re pouring the gummy mixture into the mold. I included a picture of what bubbles look like below. Most of them will probably pop or dissolve so they’re not the end of the world, but if you’re looking to make beautifully shaped gummies, avoid bubbles.


A few of my other favorite sweet eats:
Jumbo Chocolate Cups with Salted Chunky Date Filling
Flourless Lemon Blueberry Muffins
Easy Electrolyte Gummies
Electrolyte Gummies
Ingredients
- 3 tbsp gelatin, certified glyphosate-free (ASHLEYR for 10% off)
- 3 tbsp raw honey (local or Manuka - ASHLEYR for 10% off)
- 1/2 cup fruit juice*
- 1/2 cup water (or coconut water)
- 1 tsp sea salt (or 2 packets of LMNT)
Instructions
- If you’re interested solely in the recipe, skip this bullet point and keep on reading. For those interested in sourcing nutrient-dense food, low-toxic household products, and discounts on brands that may support your AB journey, you may find value in my product guides. Head over to this page if you’d like to check them out. All are free (and always will be).
Select your fruit juice.
- For selecting fruit juice*, see the "Substitutions" section near the top of this post.
Make the gummy mixture.
- In your cooking pot, add the fruit juice and water (or coconut water) and bring to low heat.
- Note: if you go through tons of salt in your household like we do, check out this salt purchasing hack that will save you money + make things more efficient. We started this last year, and I'm so happy we did!
- Note: If using Redmond Real Salt, you may see a few dark pieces of salt at the bottom. This is normal.
- Add the gelatin into your cooking pot VERY SLOWLY and continue to mix as you pour in the gelatin. Do not stop mixing during the entire gelatin pouring process. Imagine that you're sprinkling the gelatin like you would salt over a meal. Too big of a gelatin "dump" will result in a clump. The occasional clump is fine, but you want to avoid them as much as possible. It took me 60-90 seconds or so to sprinkle in each tbsp, so take your sweet time.
- Once the gelatin is fully mixed in, stir the mixture for another 30 seconds or so and remove from heat.
- Note: You may have some clumps. This is fine. Just remove them or leave them in the pot and work around them.
Pour the mixture into your gummy mold.
- Take your dropper and fill your gummy mold with the mixture.
- Note: Mixtures with gelatin start to solidify pretty quickly, so you'll want to act relatively fast. You do have some time (a few minutes or so), but I recommend pouring the mixture into your gummy mold immediately after removing it from heat. Using a dropper helps a lot here. The gummy mold I used comes with one. If you don't have a dropper, I highly recommend getting one. Also, try to avoid bubbles when you're pouring the gummy mixture into the mold. I included a picture of what bubbles look like in the "Tips to make the best..." section above. Most of them will probably pop or dissolve so they're not the end of the world, but if you're looking to make beautifully shaped gummies, avoid bubbles.
Place your gummies in the freezer to set.
- Place your gummies in the freezer for 10 minutes to set. Make sure not to leave them for much longer as they'll begin to freeze. This won't harm them in any way, but you'll have to defrost them if this happens.
Place your gummies in the fridge.
- Once you remove them from the freezer, place your gummies in the fridge for about 10 minutes. You can store them here until you're ready to enjoy them.
- Once you're ready to enjoy them, pop them out of their molds and dig in!
- Because they're made with real fruit juice, they must be stored in an airtight container in the fridge. They'll last for up to 1-2 weeks stored like this.
- Note: I was able to leave two flavors of the gummies I made out for a couple hours at room temperature with no problems, so depending on the fruit juice you use, they may last at room temperature for a little bit. Some fruit juices are more prone to melting.
Notes
What I used for this recipe:
A few of my other favorite sweet eats:
Jumbo Chocolate Cups with Salted Chunky Date Filling
Flourless Lemon Blueberry Muffins
Note: This post contains Amazon affiliate links. This means that if you click on a link and make a purchase, I will receive a small commission at no cost to you. Thank you for supporting me!

Ashley Rothstein develops tasty, whole food, animal-based recipes that include a moderate amount of “minimally toxic” plant foods. To fix her own health issues, she bounced around between the carnivore, keto, and paleo diets for a few years. After experiencing and studying each diet philosophy, she learned she feels her best by merging the three and following an animal-based diet. As a glut at heart, she likes to channel her creativity and create meals that are healthy but also satisfy her inner gluttonous spirits.
